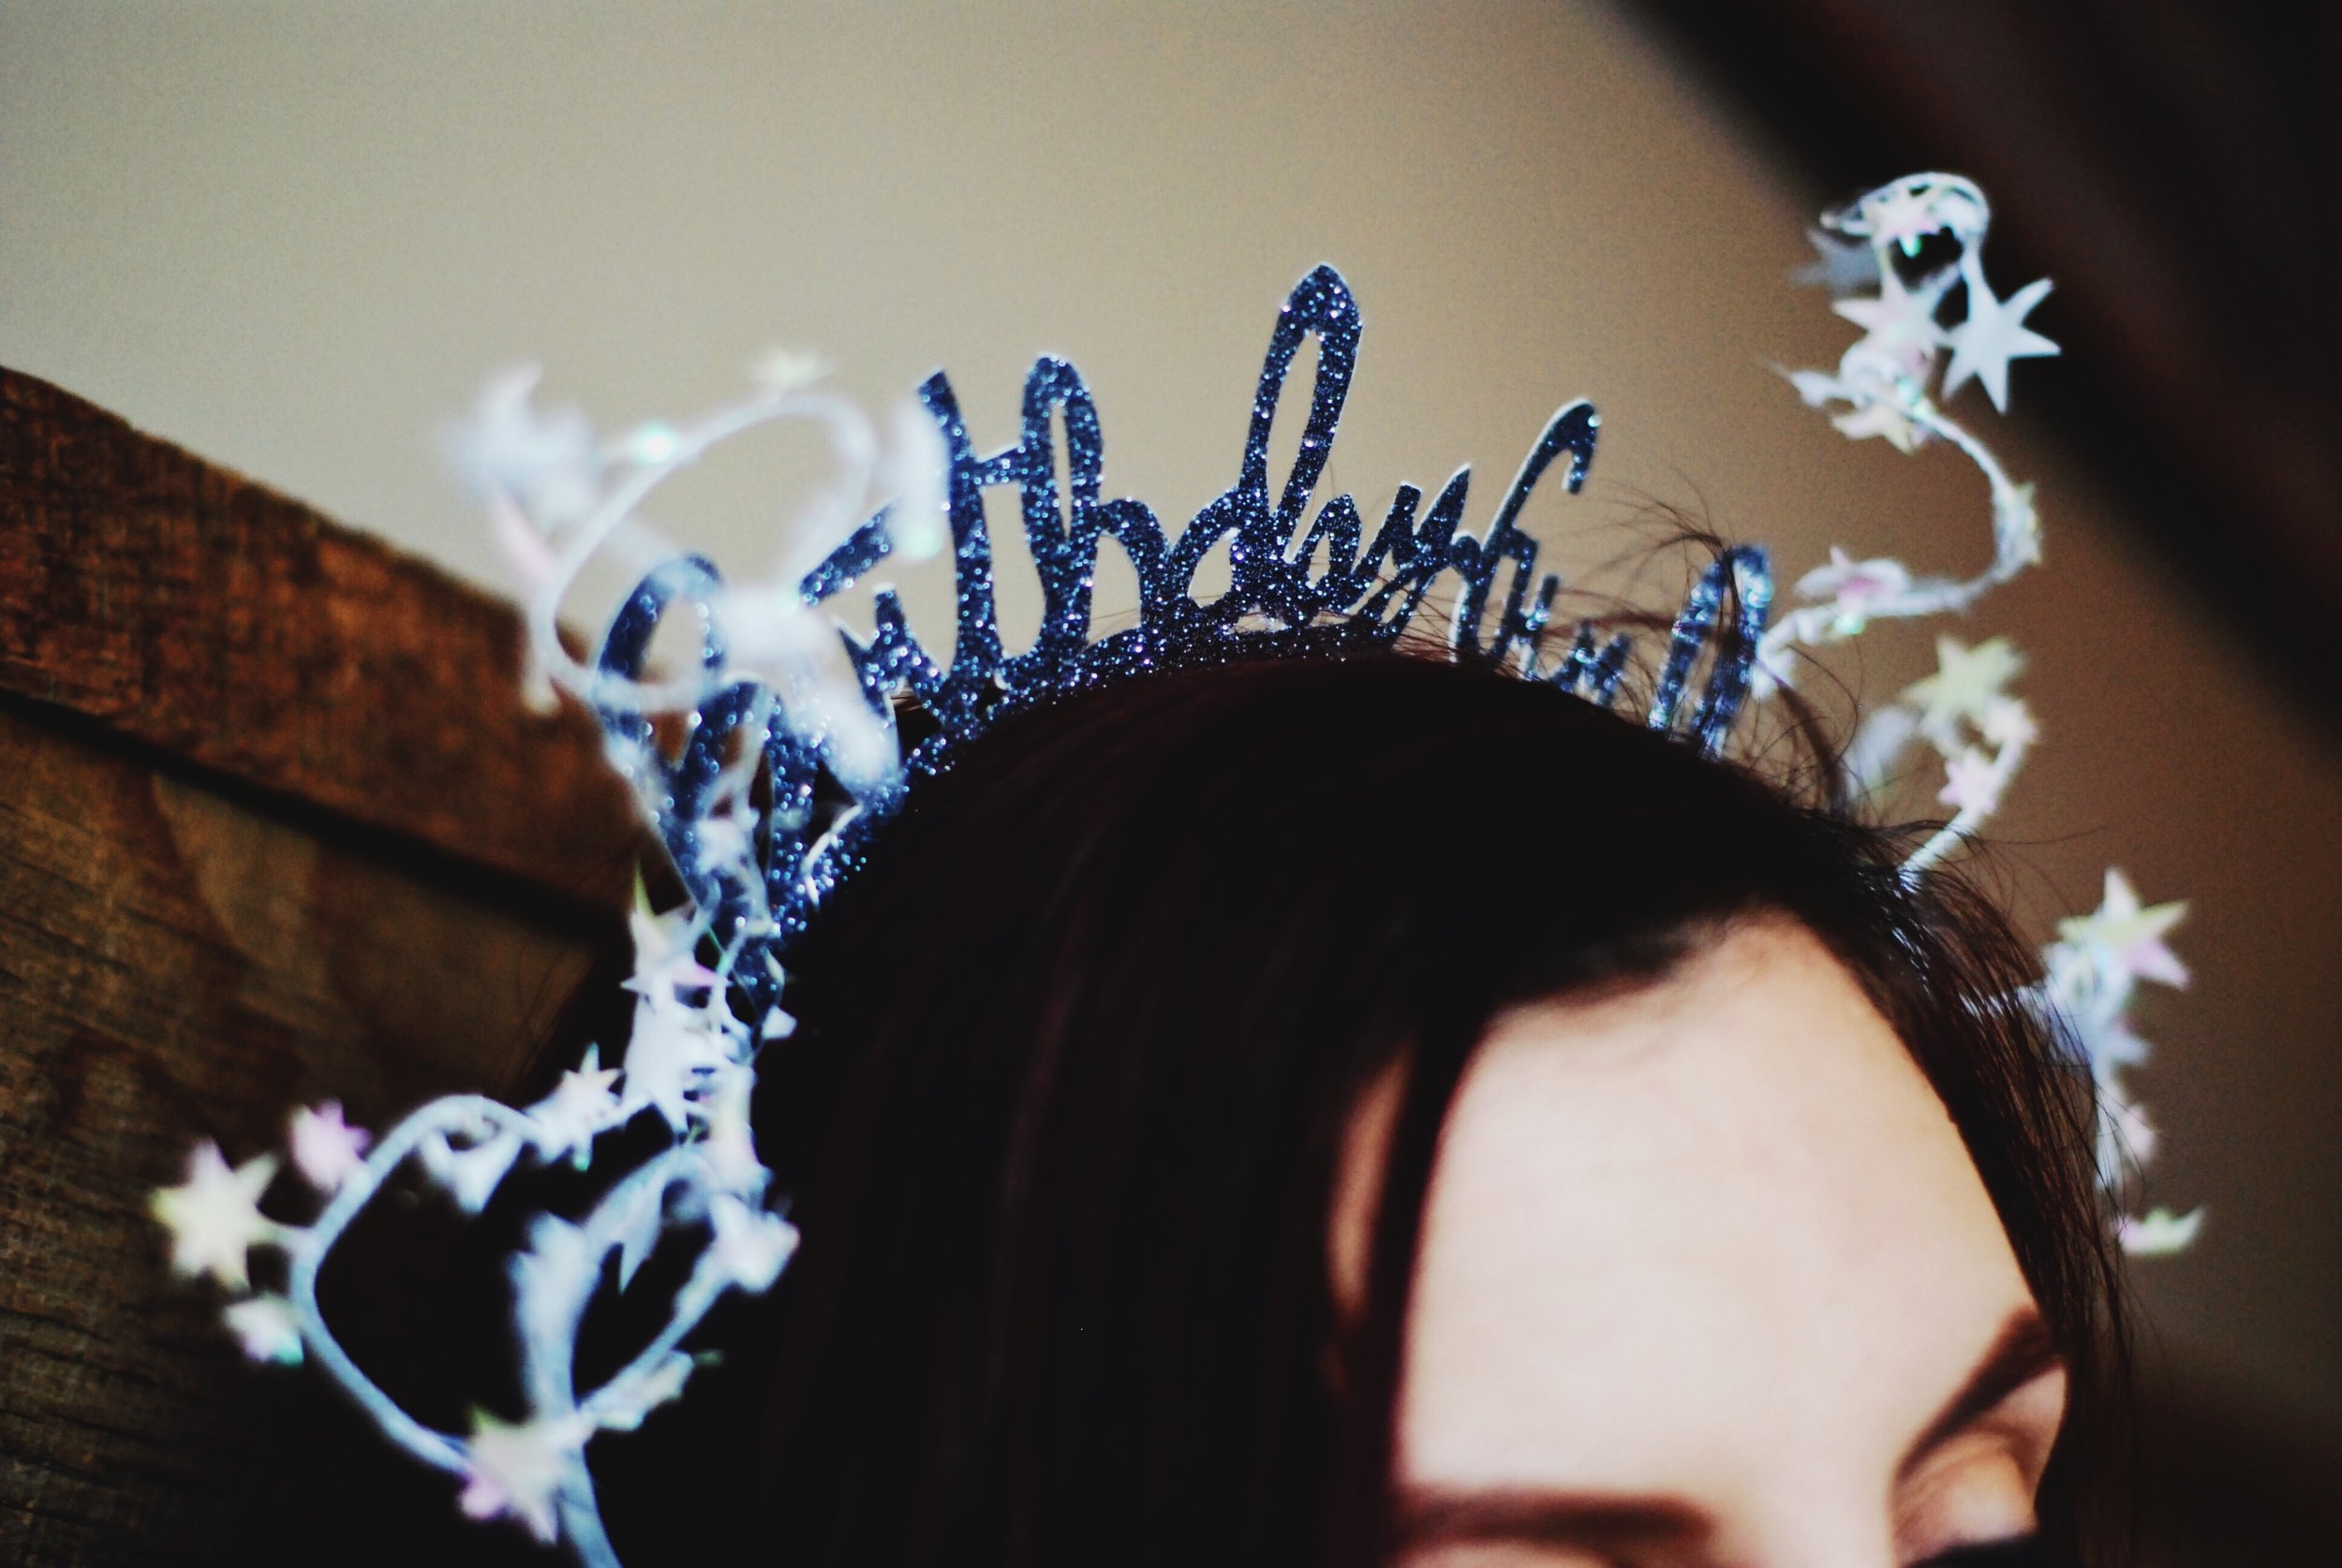
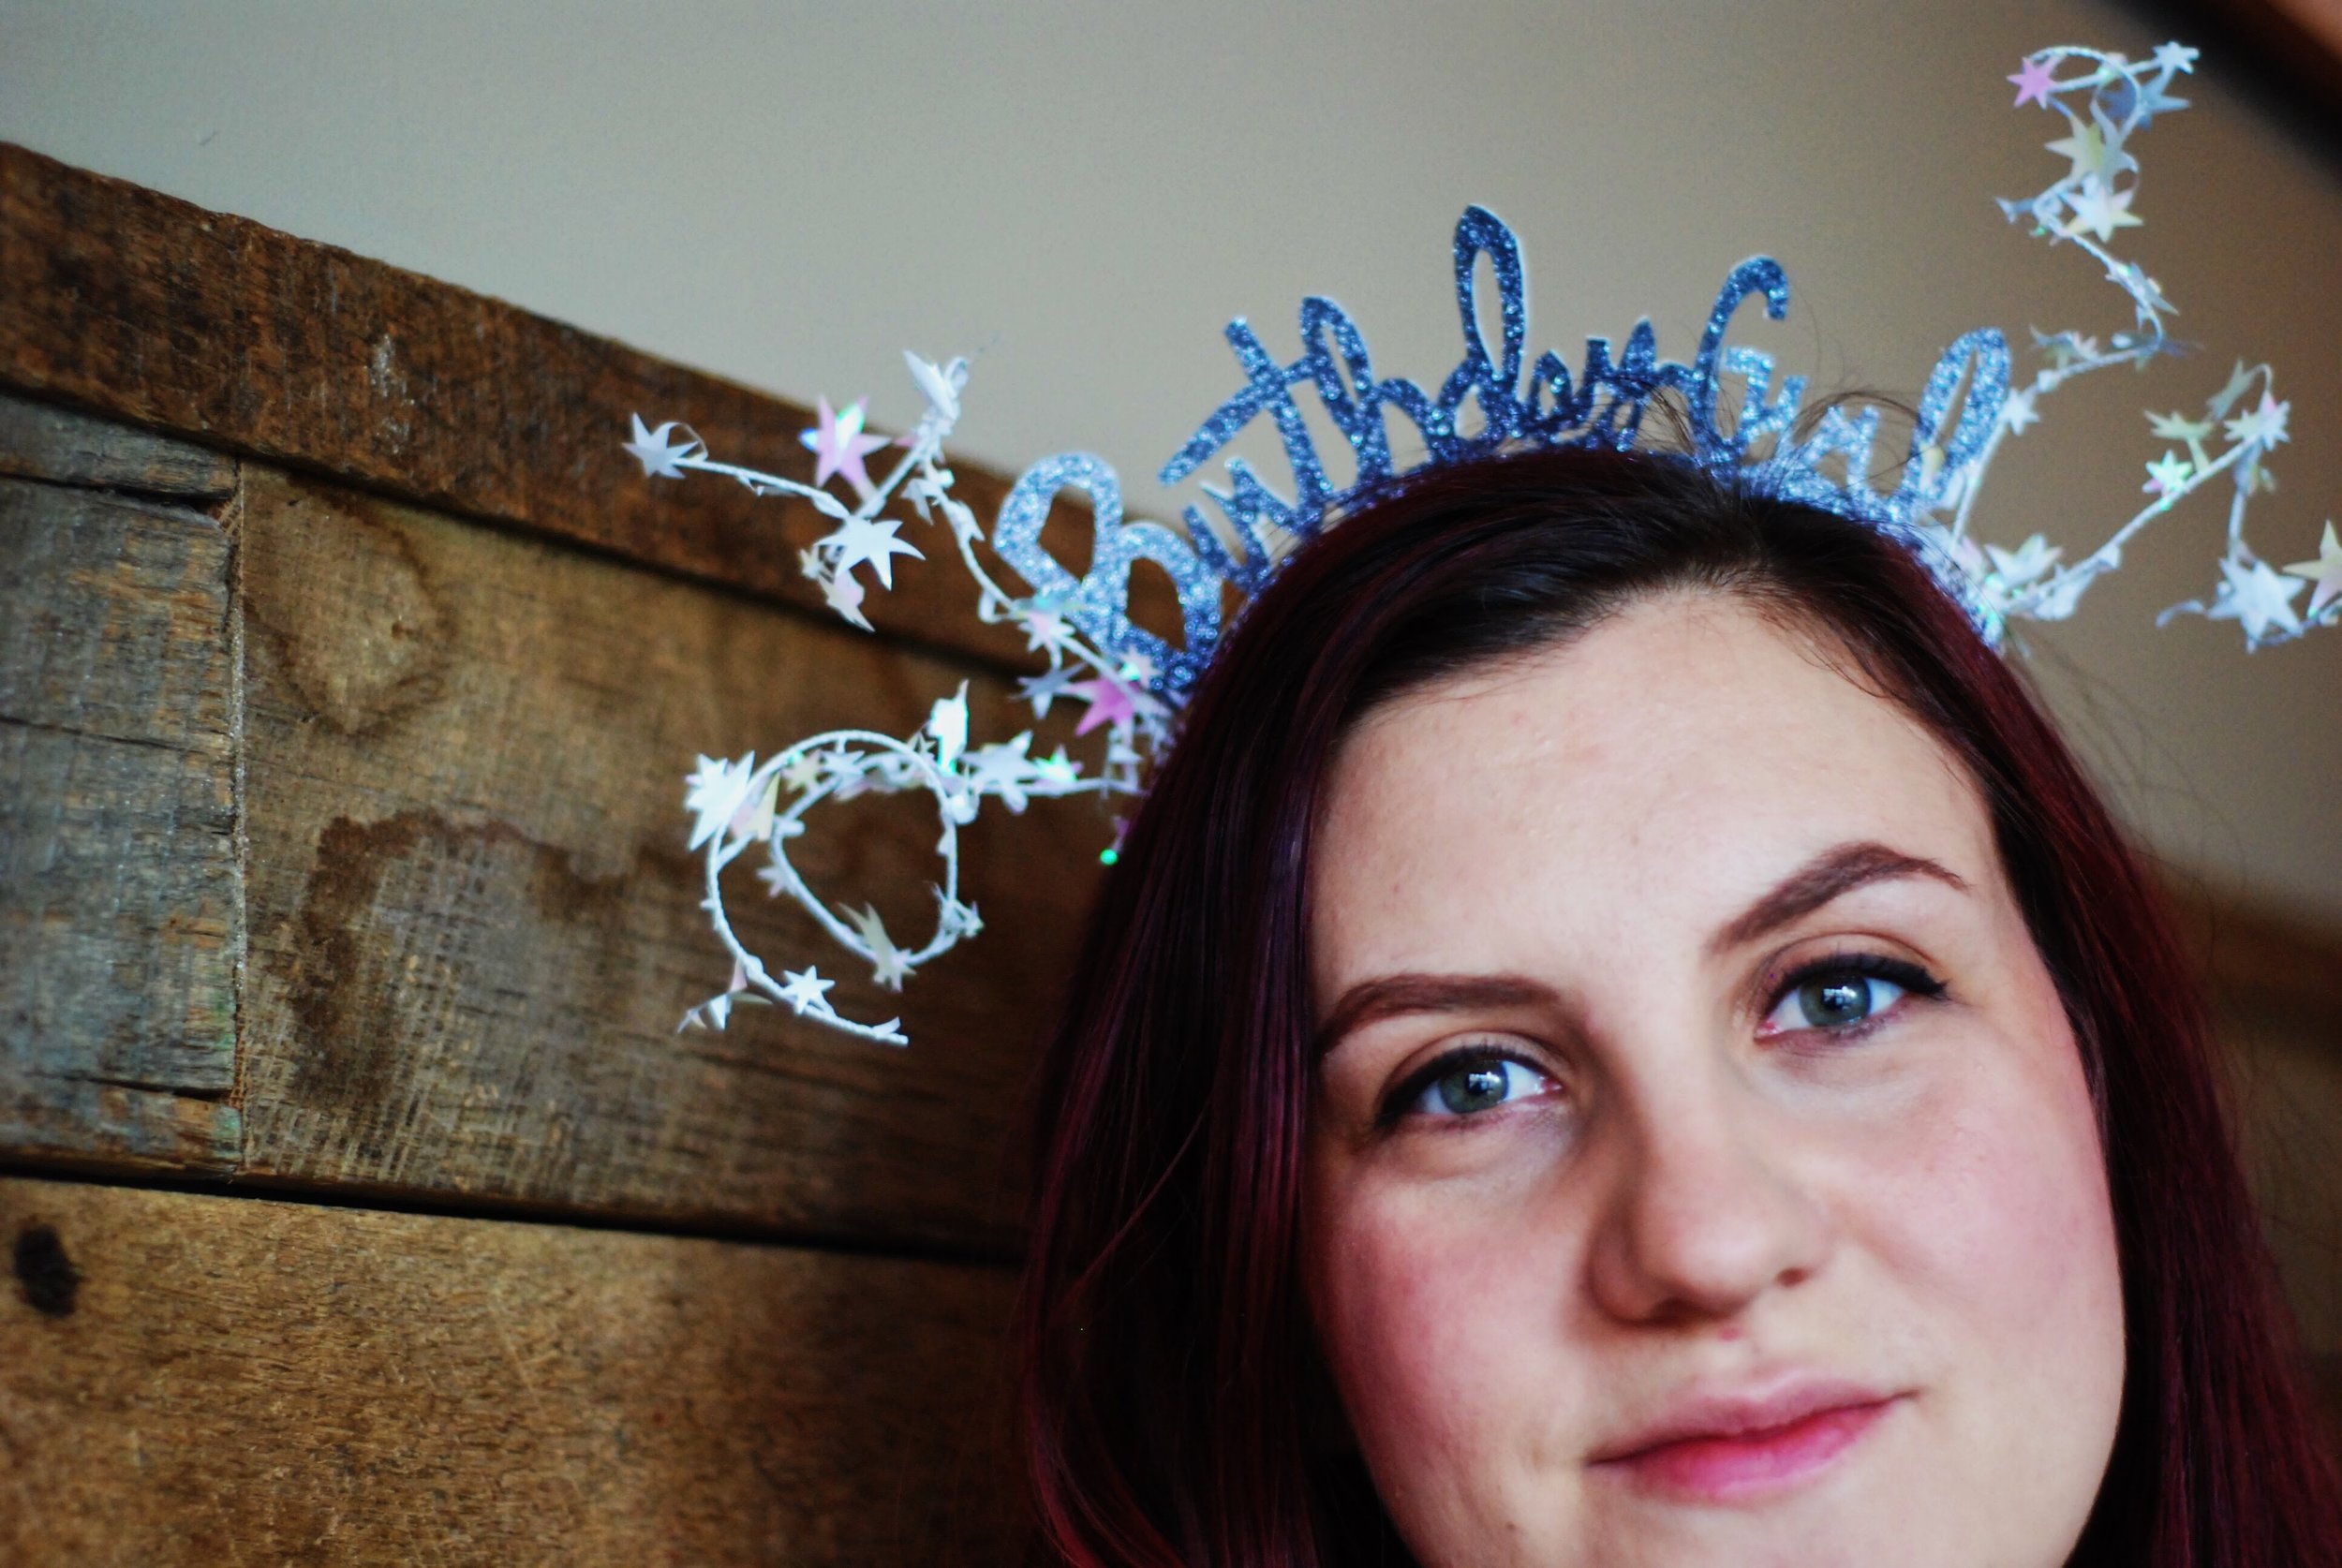
DIY Birthday Girl Crown

This is not the first time I have shown up at Marie's birthday brunch with head apparel for her to wear to make sure everyone knows it's her birthday. It's also not the first time I've made sparkle words.
It is the first time I made a crown like this though, so I made a rookie mistake that you can totally avoid. I explain below.
Supplies:
Tiny grain // heavy glue sparkle cardstock. You can get this in the scrapbooking section, and you want it to have a small grain so when you cut it, especially in the round sections it doesn't flake. I made a gif to try and show you what I mean by small grain.
Headband
- Scissors
- Exacto Knife
- Flower Wire
- Star Wire
- Scrap paper
- Dull pencil

Step 1:
Trace the headband onto scrap paper. That's going to be the bottom of the crown, so take the time to trace it accurately.
Hand write your birthday title following the shape of the headband. Make sure it touches the bottom with nice thick lines (so it can stand up) as often as possible. Write it nice and dark (you can do a sketch in pencil and then trace over it with Sharpie) because you're going to need to see the writing through the back of the paper. Draw a nice thick line across the bottom as you will use this section to attach it to the headband.
Step 2:
There are 2 reasons I got you to put in on scrap. 1) You can roughly cut it out + hold it up to your head in the mirror to see what it will kind of look like 2) you need to flip it backwards so it's a mirror image + then you need to trace it onto the back of the sparkle paper. Here's where I made my big mistake. I thought it would be easy to get it onto the back of the sparkle paper with a Sharpie but I forgot you'd see the back of the crown because it's being worn! To avoid the mistake- you want to trace it as close to invisibly as possible. Too late I figured out though that using a knitting needle to trace it left an indent that you can see for cutting but not for wearing. So don't Sharpie! Use something dull but fine - like a dull pencil. Press hard and make an indent instead of a drawn line like I did.
Step 3:
Cut the words out mostly with scissors + then use your exacto knife to help with the tricky corners + the holes in the words. Make sure you don't cut it all the way through as it has to hold up! Meaning make sure the bottom section that will attach to the headband remains in one solid line.


Step 4:
Attach the words to the headband with flower wire wrapped in through some of the letters and loop around the headband.
Step 5:
Add some star wire by looping it around the headband too + twist it into fun shapes.


Step 6:
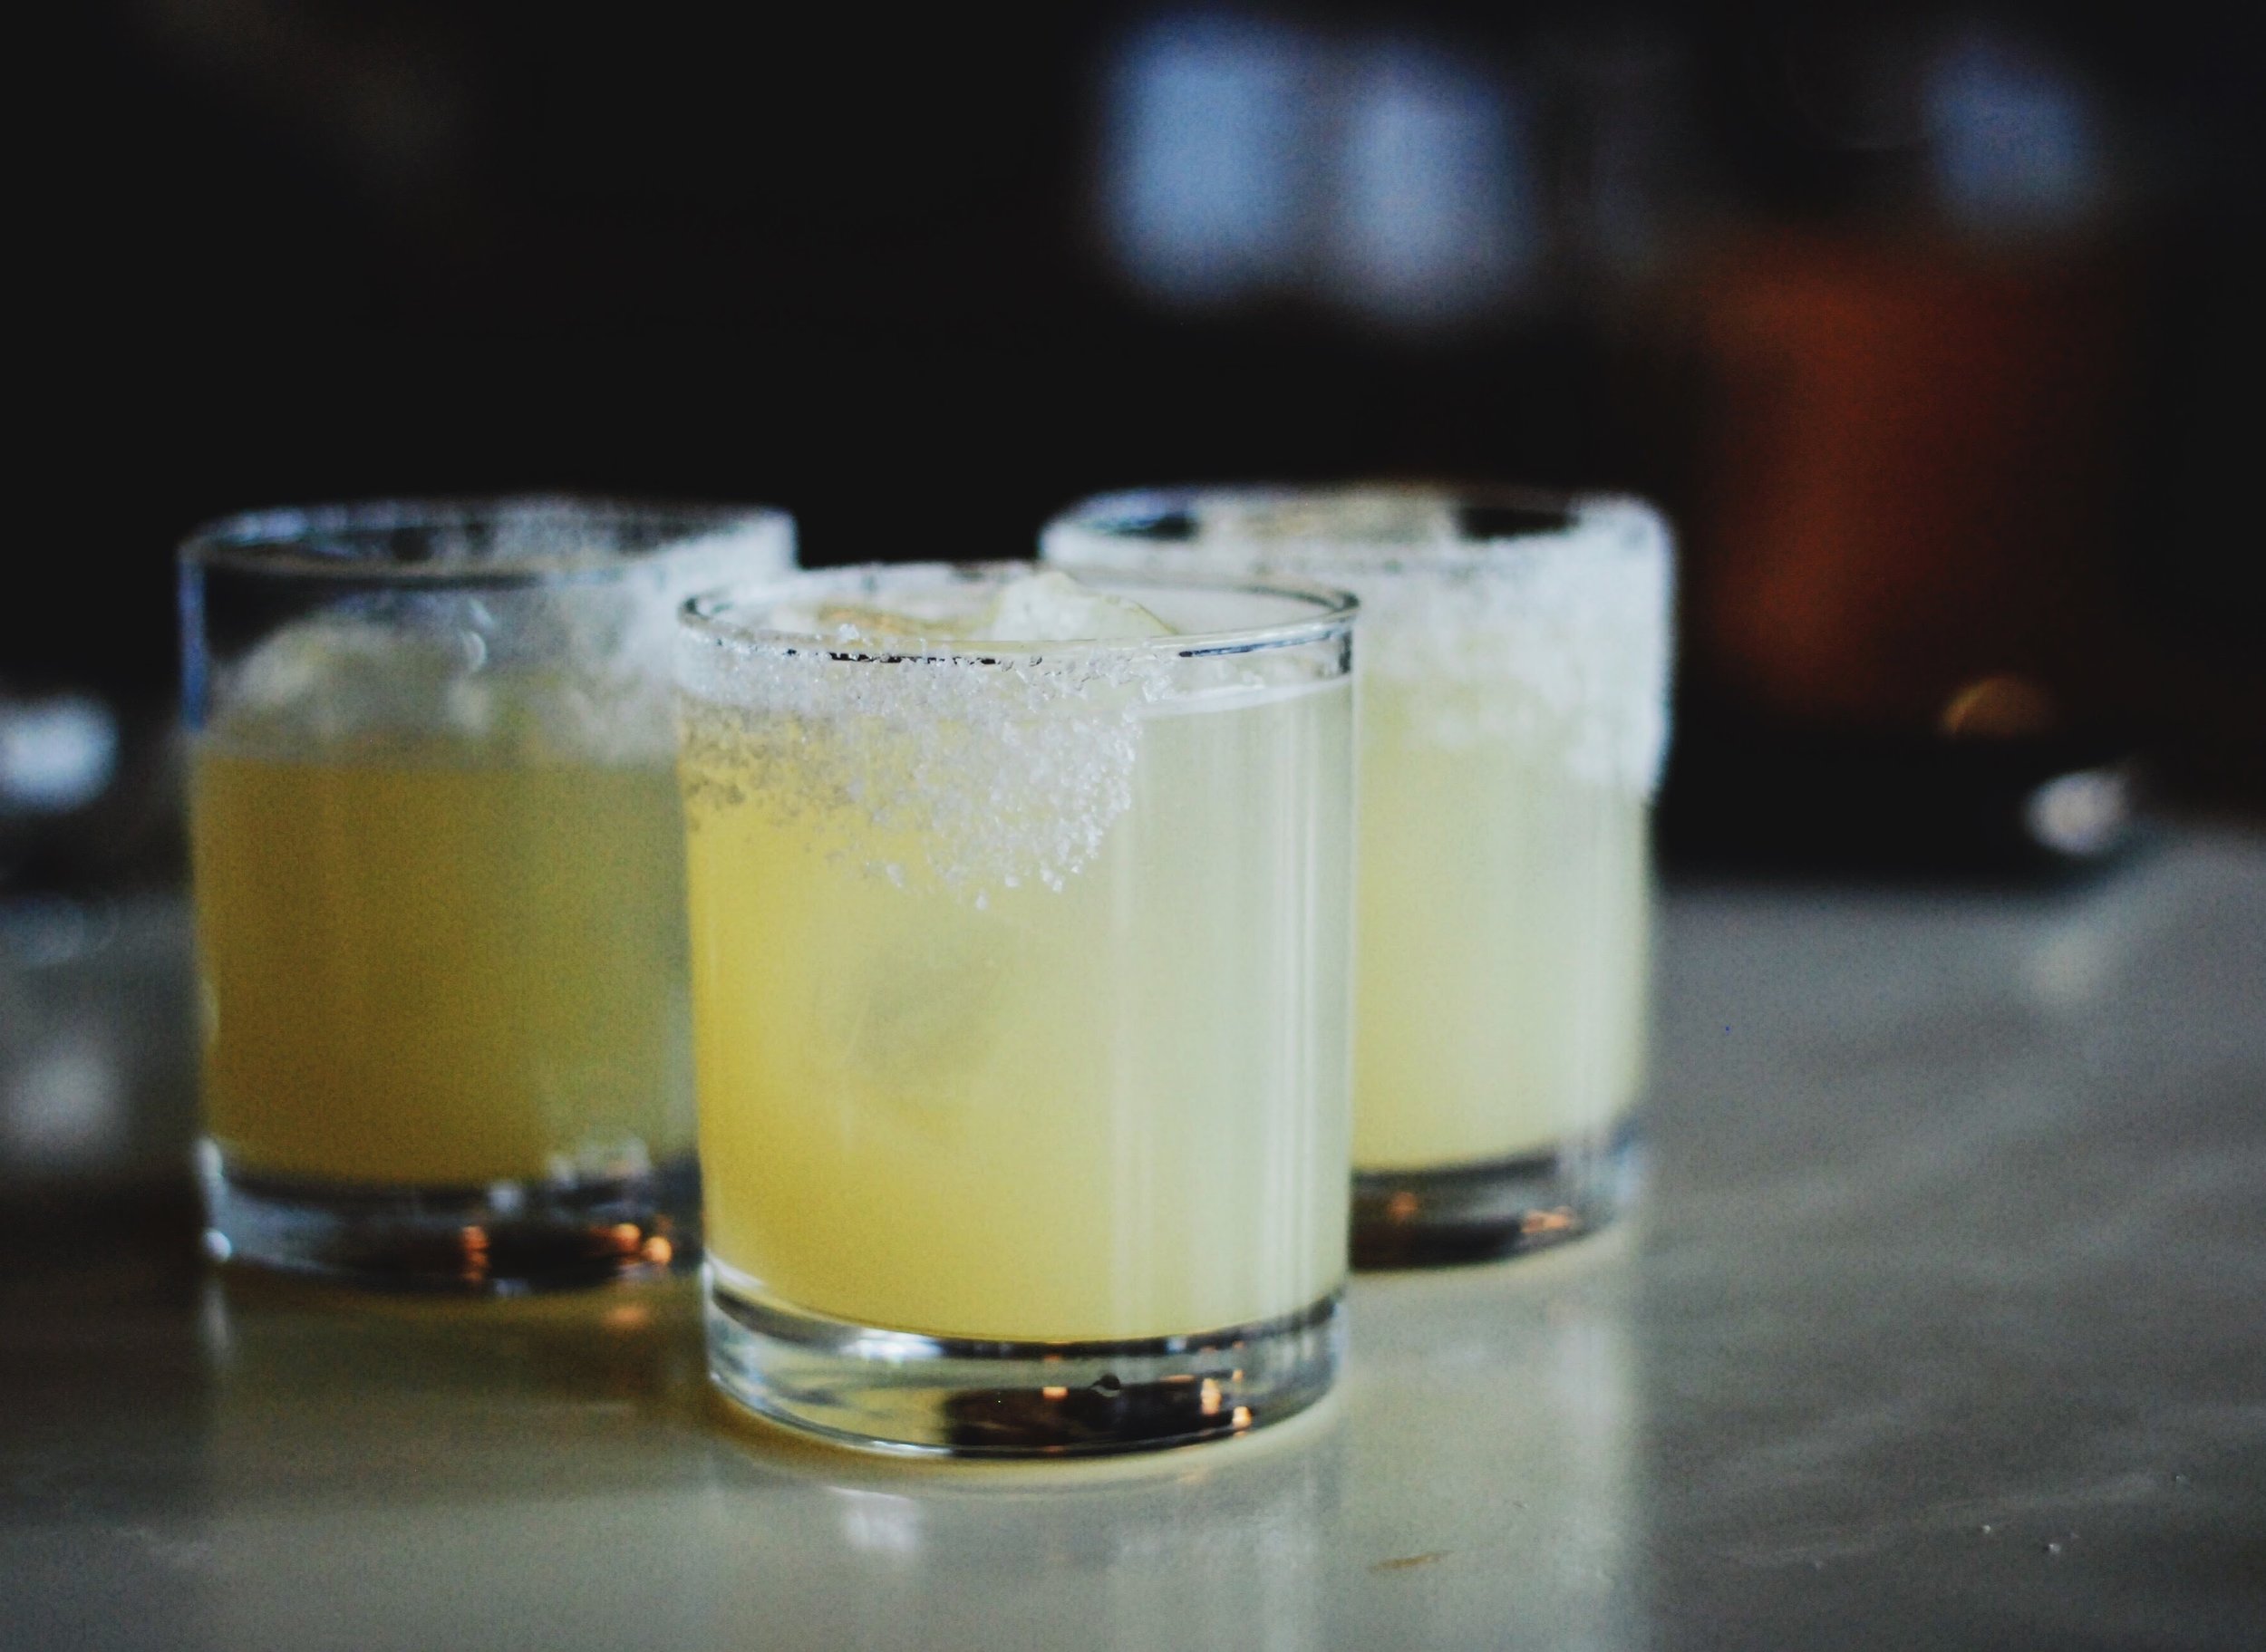
Present the birthday girl with the head apparel with so much flair she cannot say "no," then immediately order margaritas so she forgets she's wearing a sparkling-day-of-her-birth-world-notification-system on her head.


Step 7:
Force everyone else in attendance to show birthday solidarity so the birthday girl has a very visible crew to celebrate her. My sister is even more introverted than me so a big crew for her is 2 of us, but still, Amy + I rocked our backup girl crowns like the lady bosses we are.
Our crowns were supposed to play a supporting role and all they were was the star wire looped and then folded in half + bobby pins to make it stay. They are so simple you could easily make these for an actual full crew in 2 seconds but still look super classy + tied-in. I took a selfie to demonstrate how fly I looked. I also brought bobby pins for Amy but upon arrival realized I had forgotten them at home. Face. Palm.


happy birthday to your sparkling birthday girl!


It was finally time for us stop dialling in our Christmas outfits and so I made us these stunning little Christmas turtlenecks based on a DIY my mom made for my sister and me in the 90s. Here’s how you can get glorious for Christmas too.