Goddess Brunch - DIY Gaudy AF Sparkling Beaded Flower Crowns


If at any point during the making of these crowns for your goddess posse you ask yourself, have I gone too far?
Repeat this mantra:
Can't stop. Won't stop.
Although, Marie and I had the talk that at at some point we had to stop because. I mean. You have to right?
But she just kept saying
"It adds dimension."
in reference to more sparkles, more pearls, more beads, more flowers....


Supplies:
Supply collecting is one of the trickier parts of this journey you are about to embark on. Marie + I headed out of the city to hit up one of the higher quality Value Villages- the kind that isn't picked over by the urban-vintage-style-elites to see if we could get massive bags of baubles on the cheap. While we left fairly disappointed we did get our strings of beads and the high end looking peony/ranuculus type flowers for $4 which is a crazy good deal. We were hoping for vintage brooches + giant tacky earrings, but they were like $5 each and this is one of those projects that before you know it you've spent like an entire paycheque so we didn't do it.
- Headbands - you can get these at your local teen accesory store. You know what I'm talking about. The ones that always have 4/$10 sales and plastic bamboo earrings + socks with hilarious sayings + feather hair clips.
- Silk flowers
- Strings of beads (get the shitty ones that aren't real beads so you can cut the string without all the beads flying all over the house. Not that this has ever happened to either of the McMillan Sisters, but we've heard about it.)
- Sparkling + pearly stickers (we got ours at Michael's in the sale bin on our way out the door.)
- Wire cutters (I finally got a $7 pair of needle nosed pliers / wire cutters at Home Depot and holy why the hell have I not done this sooner?)
- Flower wire (it should have been gold, but I already had silver, soooo...)
I think if you were lucky // high rolling enough to find // spend on some gaudy baubles you might want to get jewelry or hot glue to stick them on, instead of just the wire like we used.


Step 1:
Go everywhere you can think of to collect supplies
Step 2:
Pour a G&T as you need it because you're exhausted from the bauble hunt. Collect all your baubles into a giant heap and revel in the delicious decadence of it all.
Step 3:
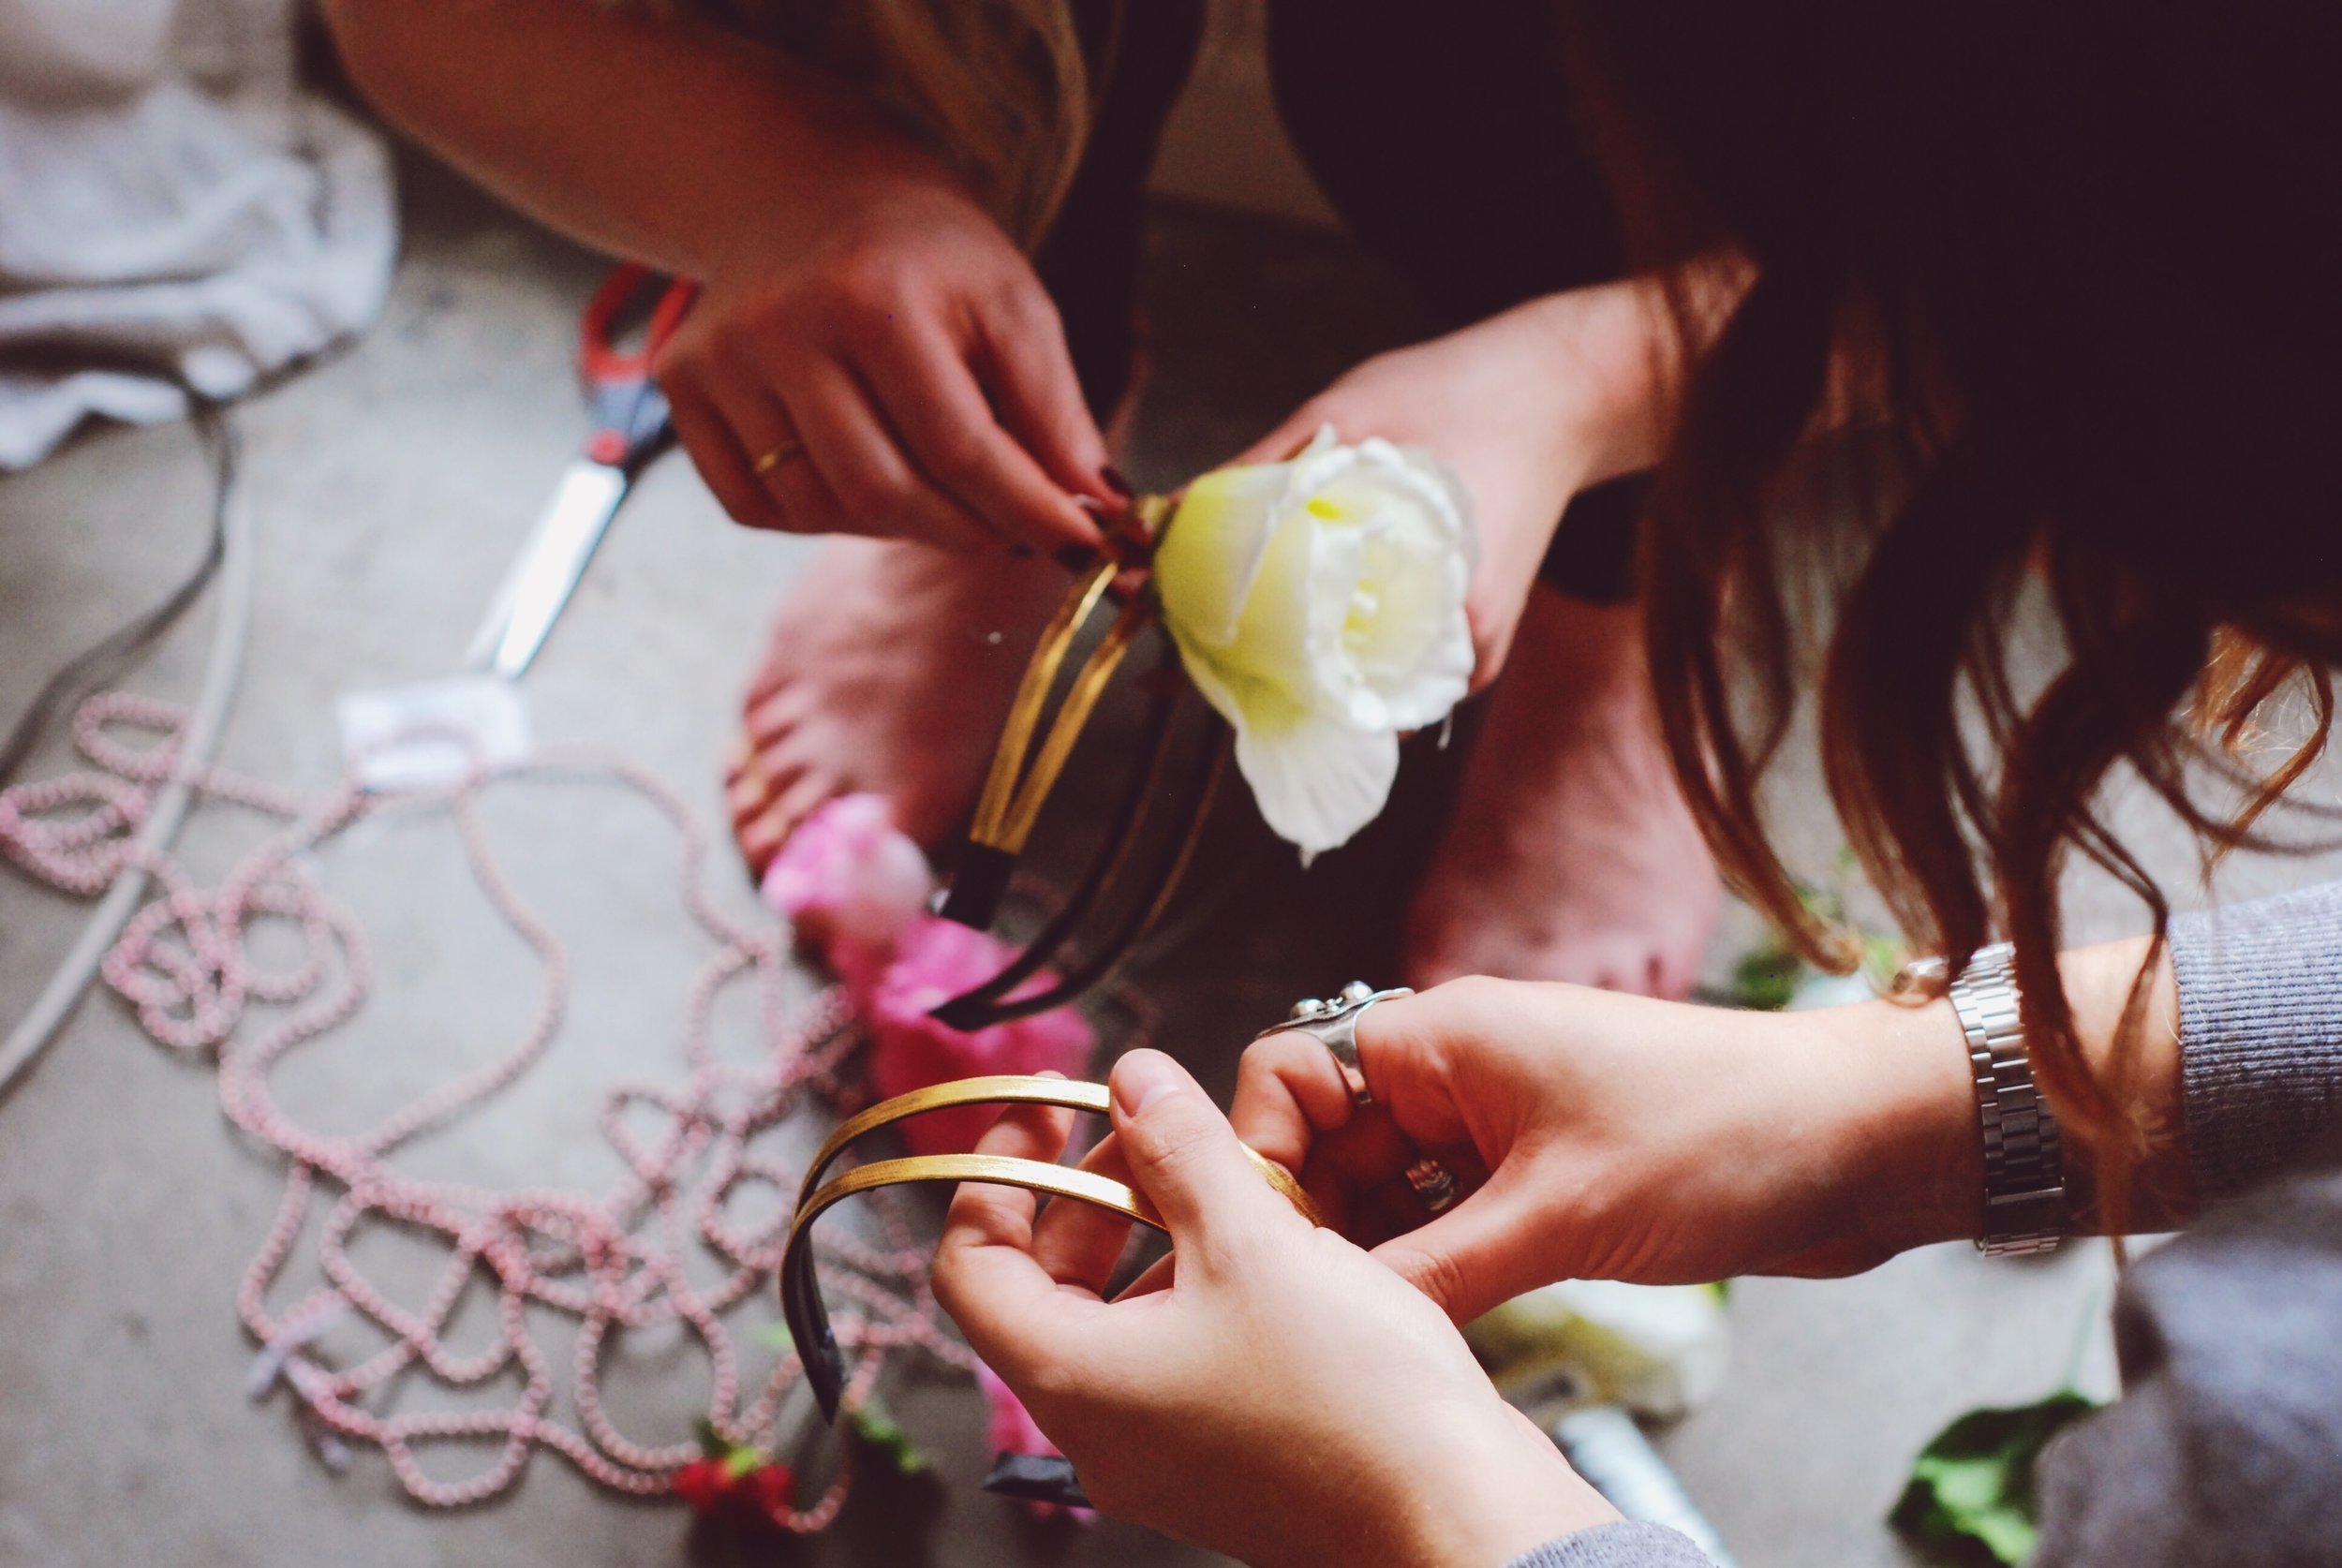
Use the wire cutters to cut the bunches of flowers into manageable pieces.
We didn't like the giant green parts on the bottom of the roses so we tried cutting one off. Turns out those are there to hold the shape of the flower. So. Don't cut those off.
Step 4:
Sort of assess what you have to play with and make sure you distribute it in a way that everyone will have enough flowers / sparkles for their head to feel like crazy fly goddesses but don't necessarily share them equally as variety is the spice of goddess life.


Step 5:
Create your design. Use your mirror and/or your sister or fellow goddess/god crafter to help you work through the design.
I know I keep saying my method is ehhhhhhhhhhh let's try that, but a few days ago I blew my friend's mind by showing her how I actually do things. Which is to actually say ehhhhhhh let's try that. So I thought I would show you kind of how we worked out what the crowns were going to look like.
You can see we tried piling the flowers up, then switching them to the other side, adding more flowers in, taking flowers away, putting the beads in a loop, hanging them straight, putting them on both sides, adding multiple loops and single ones...
We each did them together + then would check them out in the mirror, or hold them up and look at them, change the colours + the order and just played around until we were happy. We intentionally tried to make each different and we were OK with saying, no, try that instead. Don't get too stuck on one idea, have fun! Play around. Try it out. It doesn't have to be perfect.
Step 6:
Measure twice, cut once.
As in, do as I say not as I do.


Step 7:
Start to attach your stuff to the headband. We cut flower wire about 6" long and then held the flowers up the back part of the headband and twisted the wire around in an X. When you're done cut the wire in nice and tight. It'll be spikey so sort of bash it down on the top (not on the part against your goddesses' head) and try to make it as non spikey as possible.
Marie took a super shakey low quality video of me showing her how to attach the flowers onto the headband. But, if a picture is worth a thousand words, then a video must surely be worth a graduate project.
Step 8:
Whenever possible combine things with the wire first, leaving long ends on the wire and then attach them to the headband. What I mean by that is say you want to do a triple loop of pink beads, make the 3 loops, use the wire to hold them together then attach it to the headband.
Step 9:
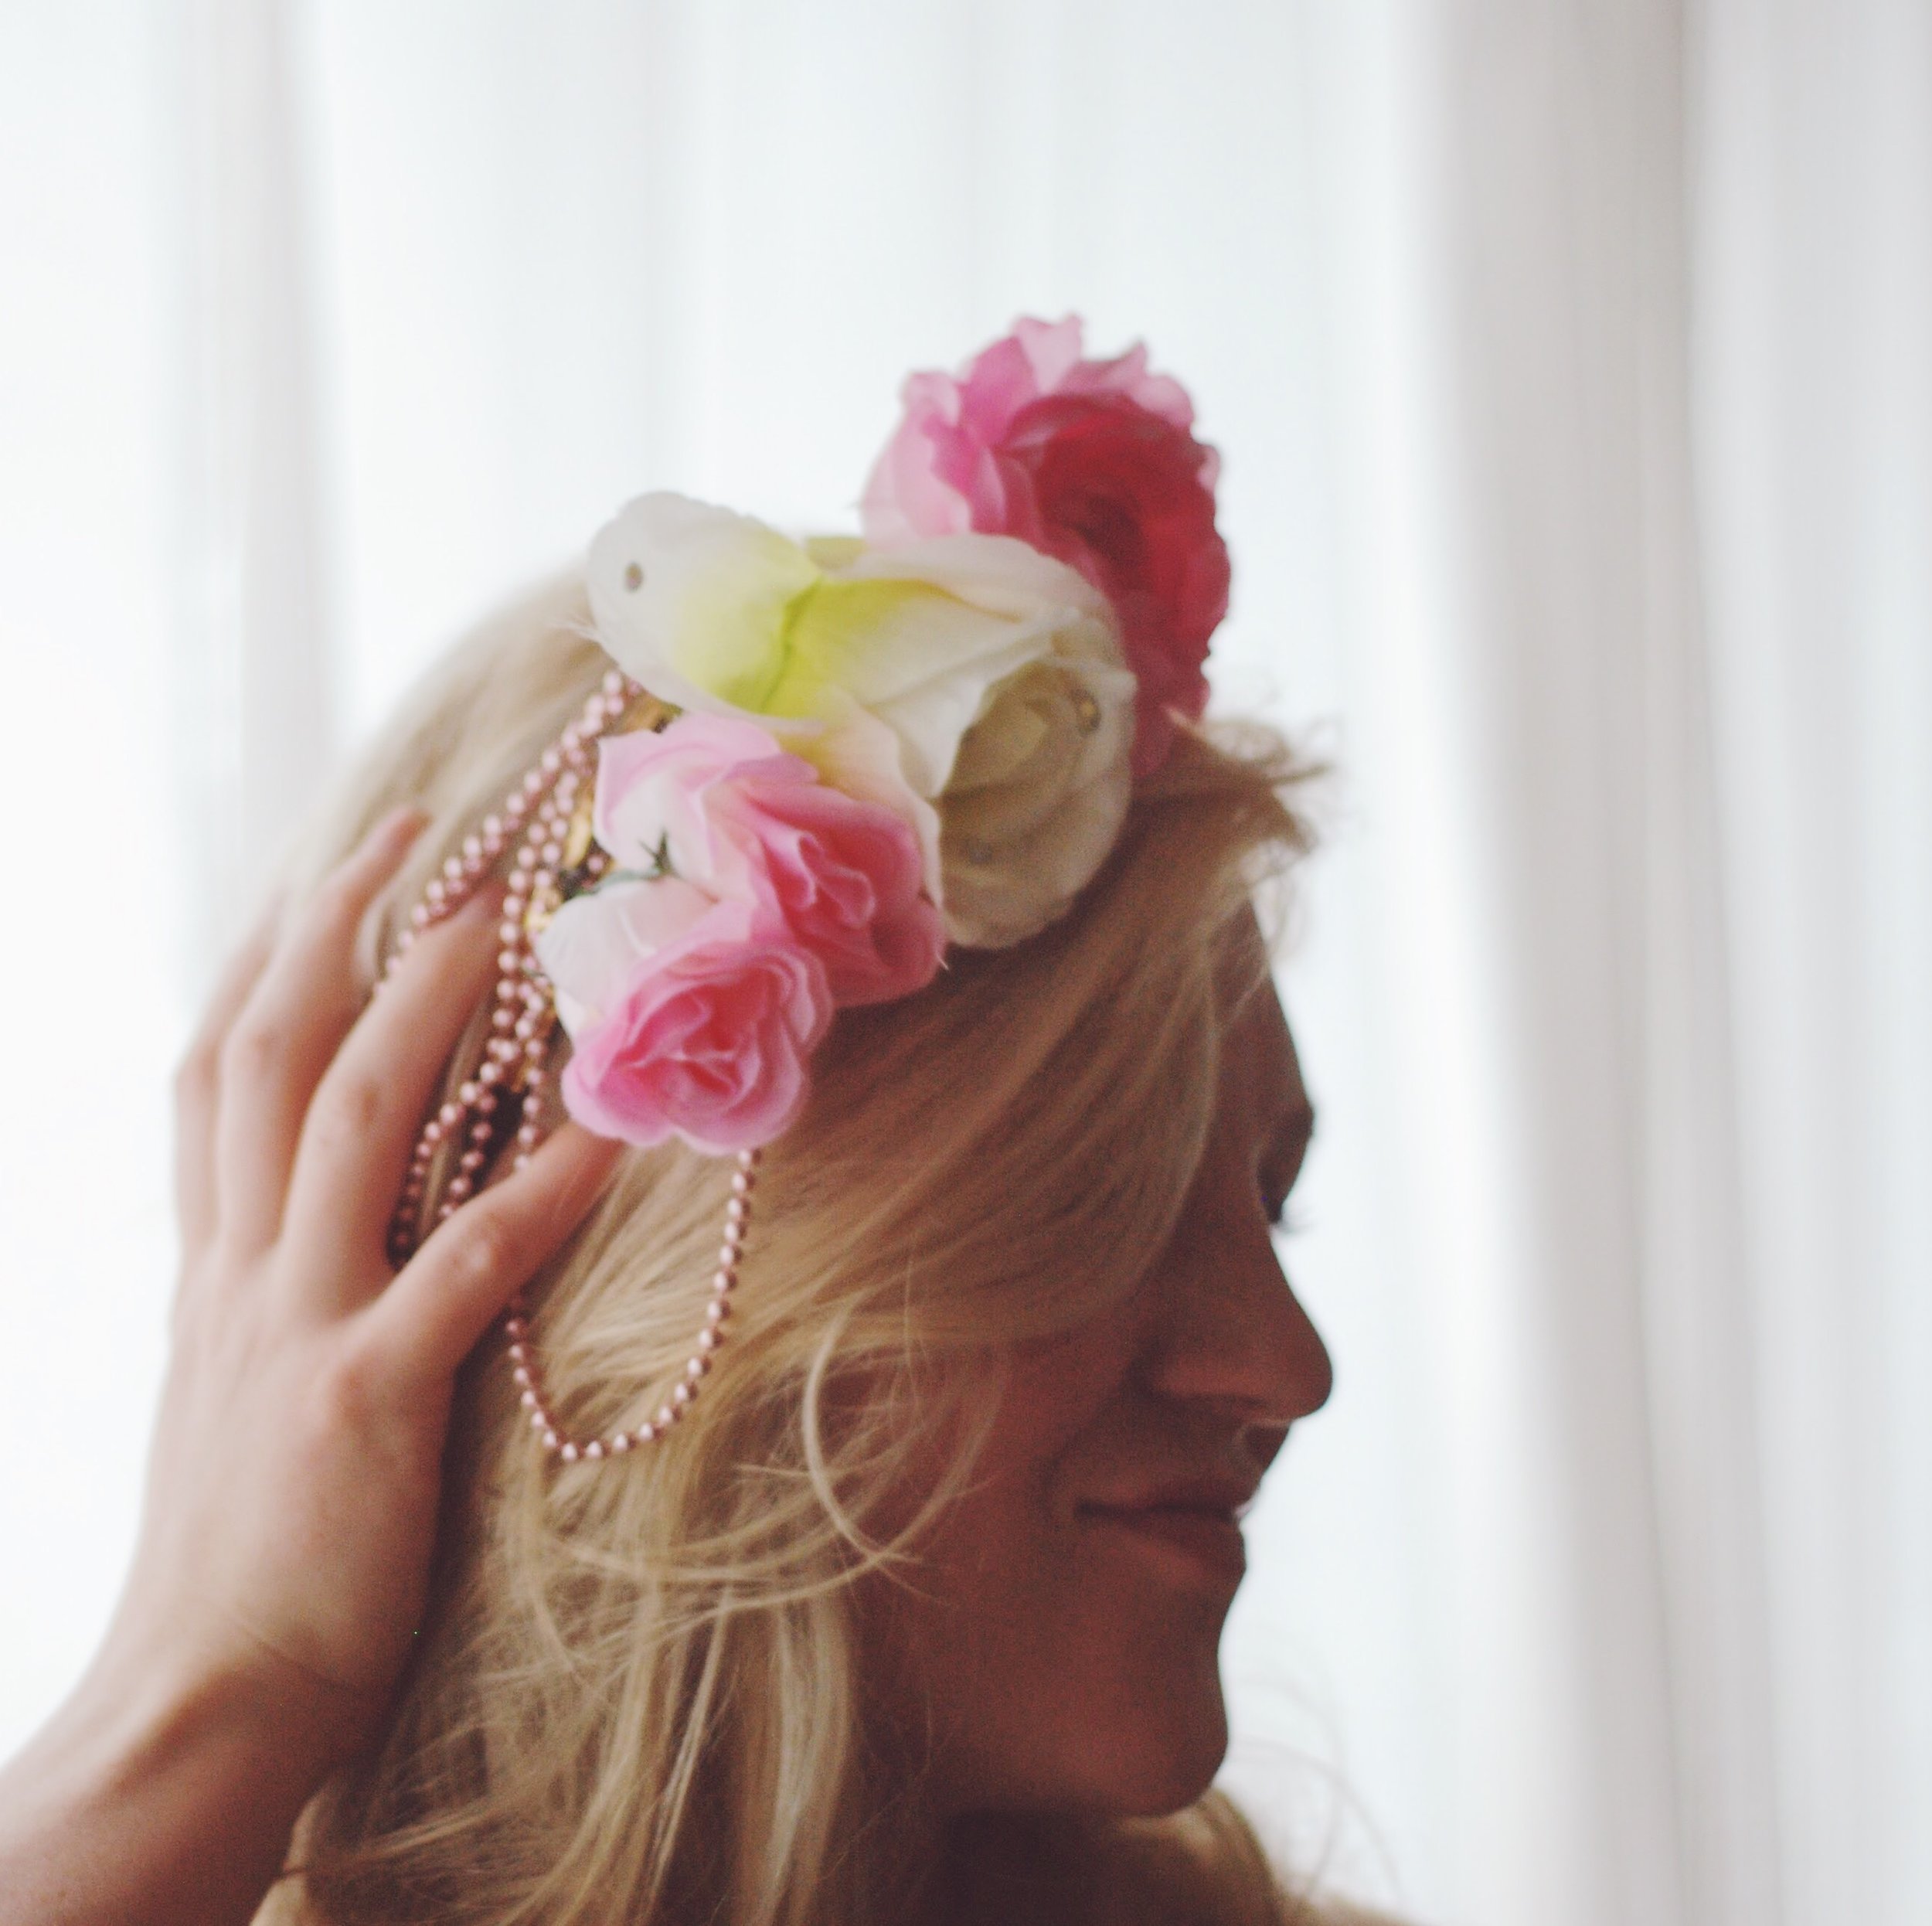
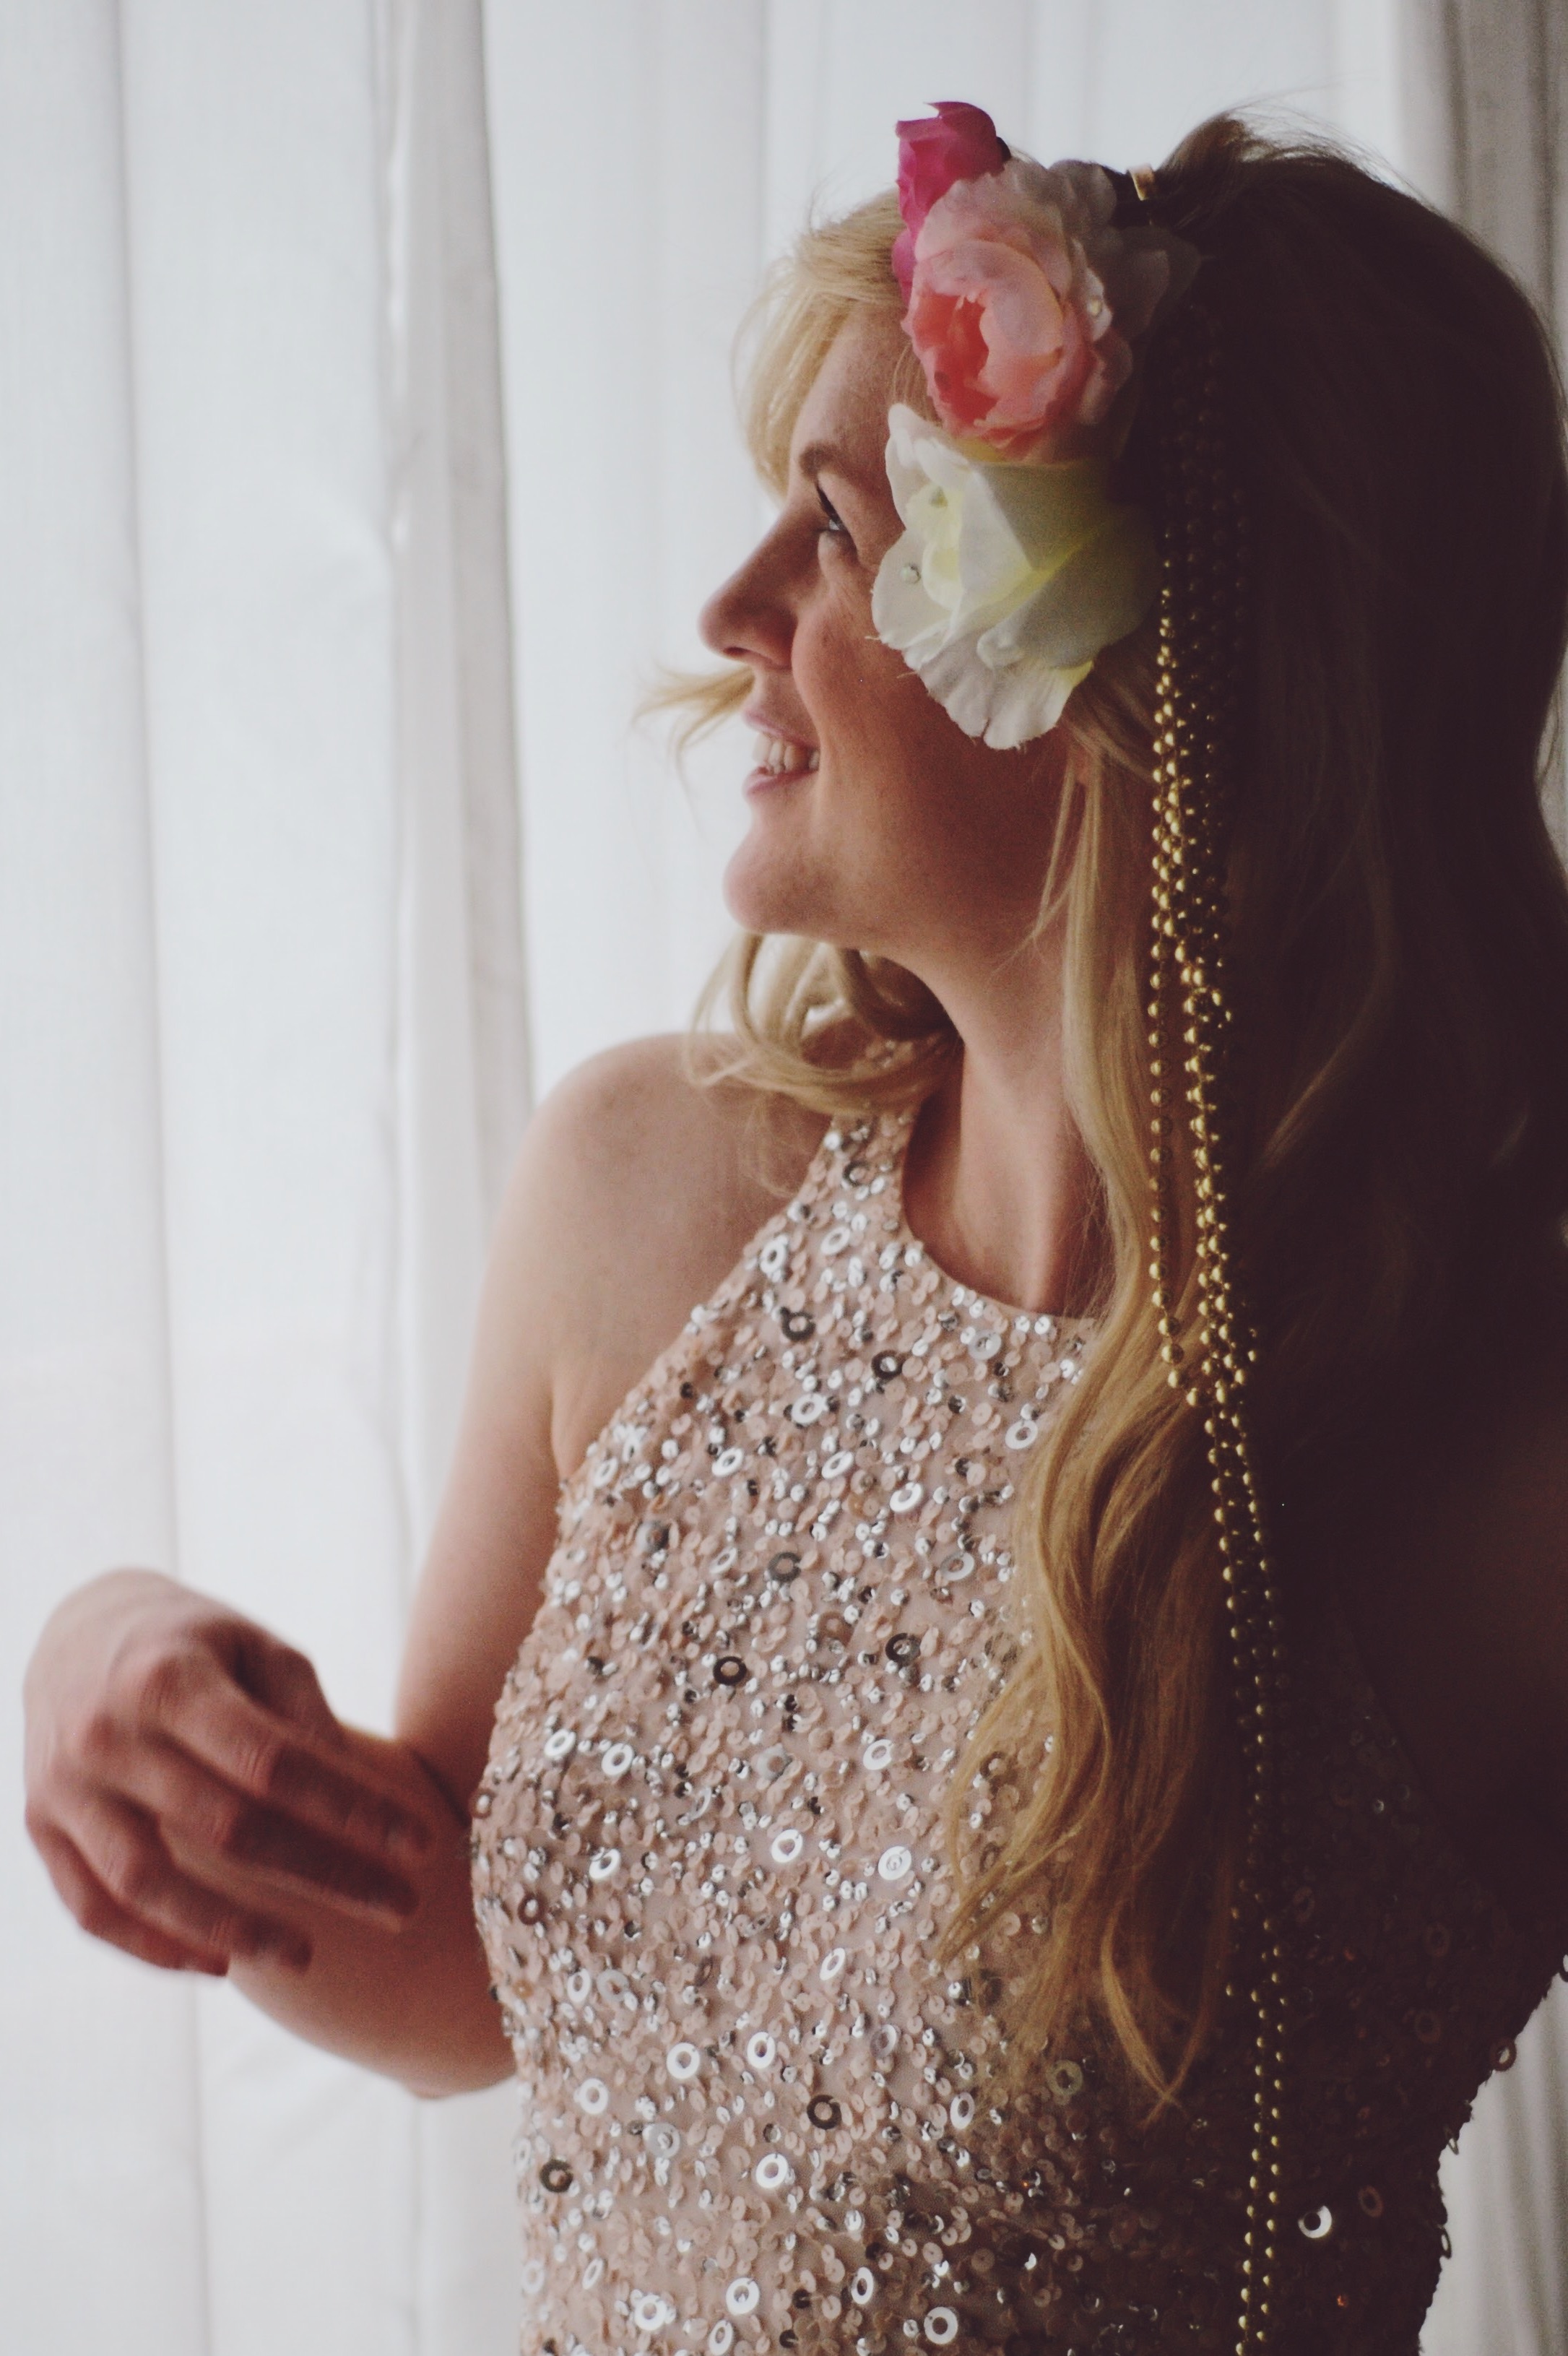
Stop every once and a while to check that your design is still looking good in the mirror.
Step 10:
Cut the stems along the edge of the headband. We used the pliers to bend the end of the stem a little bit to help make sure they wouldn't fall off, but if you pulled the wire on really tight it should be OK. Everyone knows they're handmade so they aren't going to be just throwing them around, or if they are, a lost flower is on them.
Step 11:
Add your stickers to the petals and make it blang blang.


Step 12:
wear the heck out of that ridiculous crown
you hot babe goddess you


We went to Japan and I bought stickers and I used them. I never use stickers. But because I’m always trying to save them for something special.
It was time to get back into creating and keeping track of our trip in this little notebook woke up a piece of me that wanted to create. And the desire to create is so much stronger than the desire to be perfect. Here’s my perfectly imperfect bullet journal.