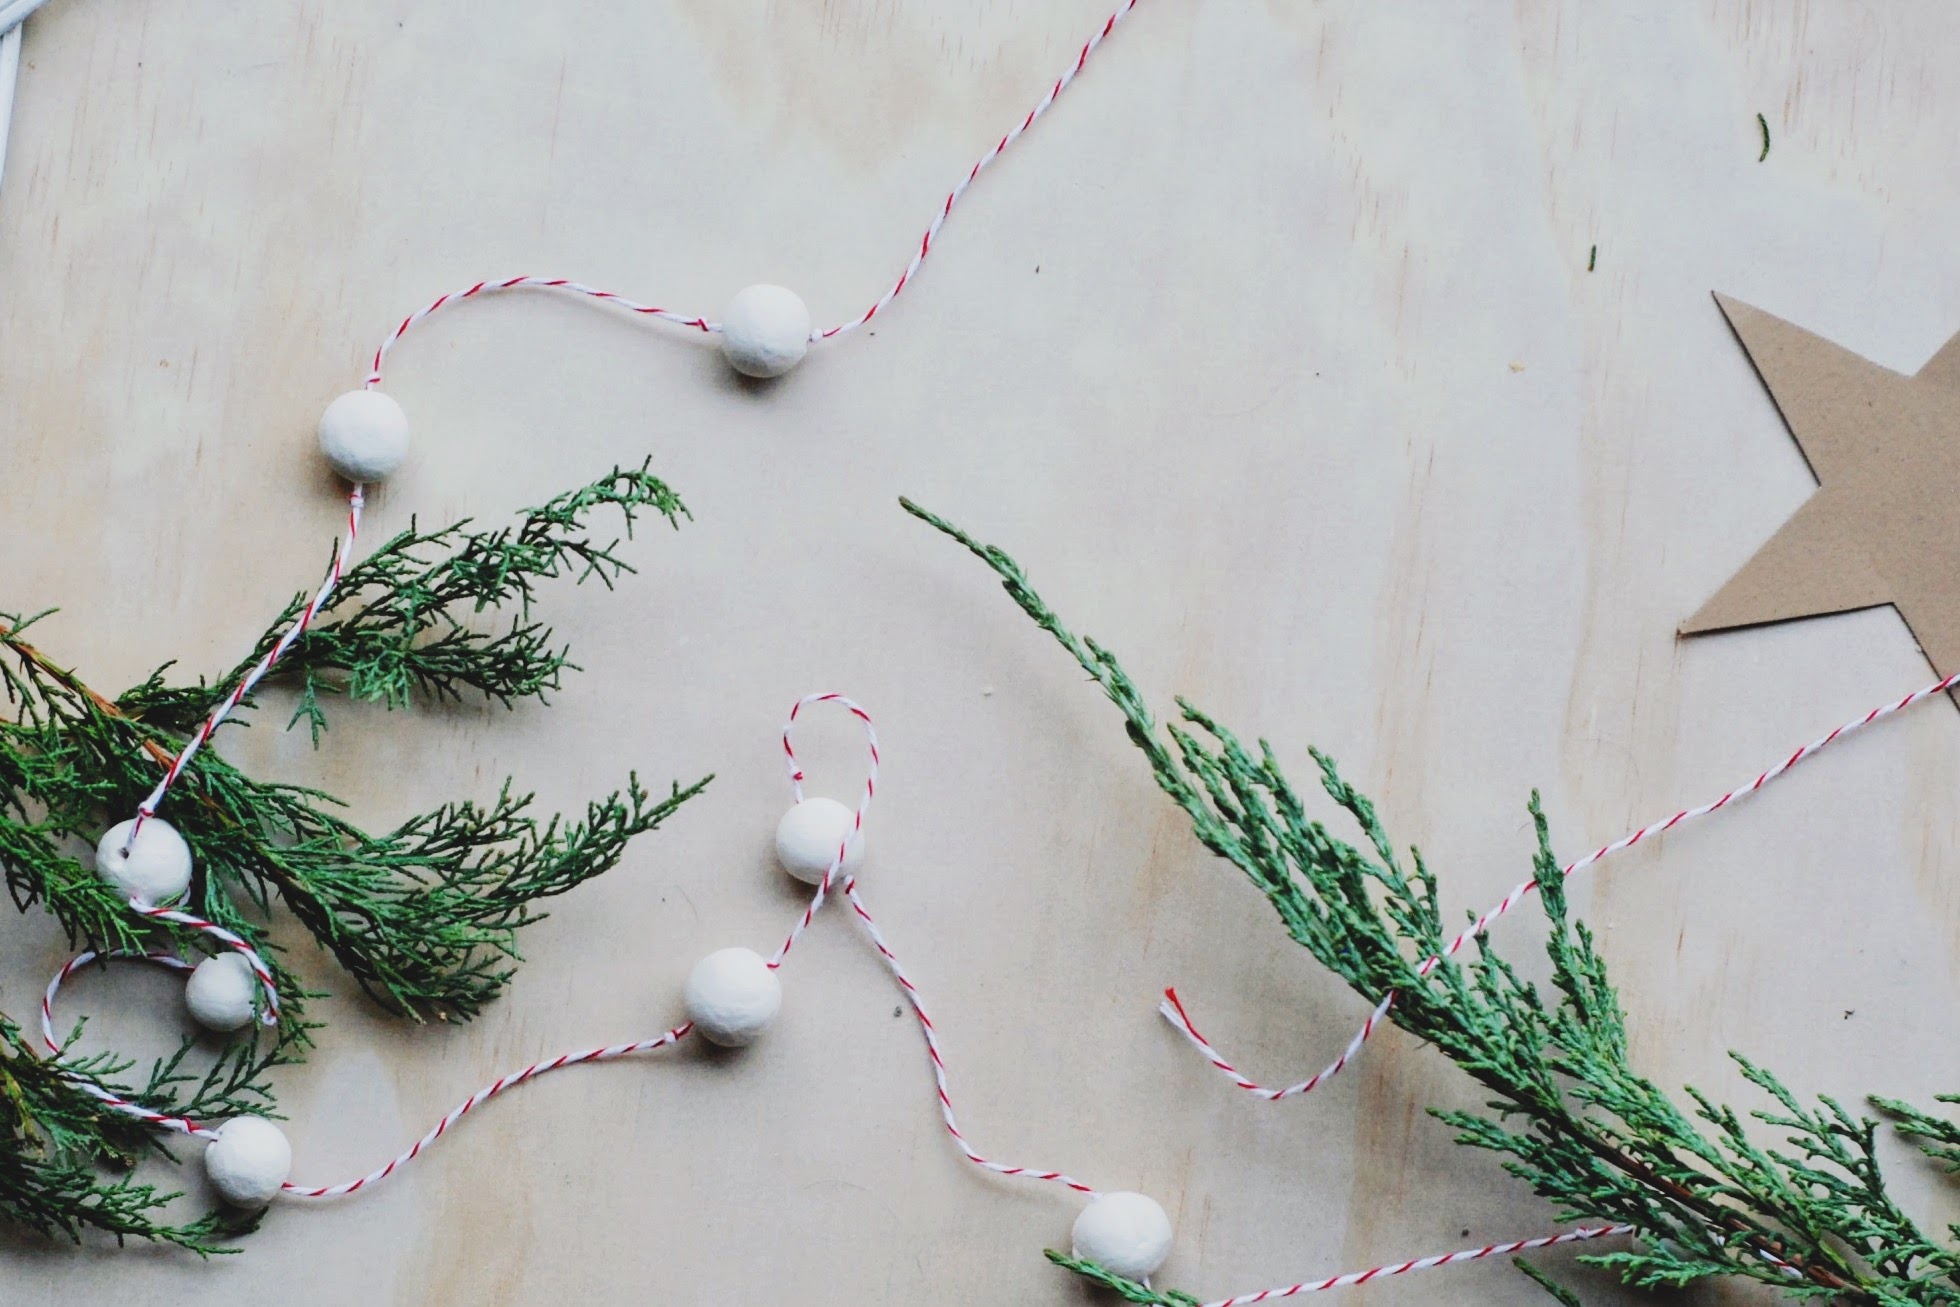
The Slow Art of Making Christmas Beads
I usually have very a strict December 1st Christmas Carol Start Date, but to be honest, I'm feeling pretty emotionally exhausted these days and I could use some extra love. Christmas Time + Love = Duh. So, Christmas carols moved up to a November 19th start date this year.
I woke up a few mornings ago hoping to make something for Christmas, and as it was November in Vancouver, naturally it was pouring rain out which meant it was a perfect day for crafting, but not a great day for getting supplies, so I decided to snoop around our place and see what I had. Turns out I had a bag of air-dry clay and thought I might try to do something with it, so I decided to figure out if I could make beads. (I could!)

Making the beads

Step 1:
Make salted-caramel tea in a handmade mug and put on Sufjan Steven's Songs for Christmas
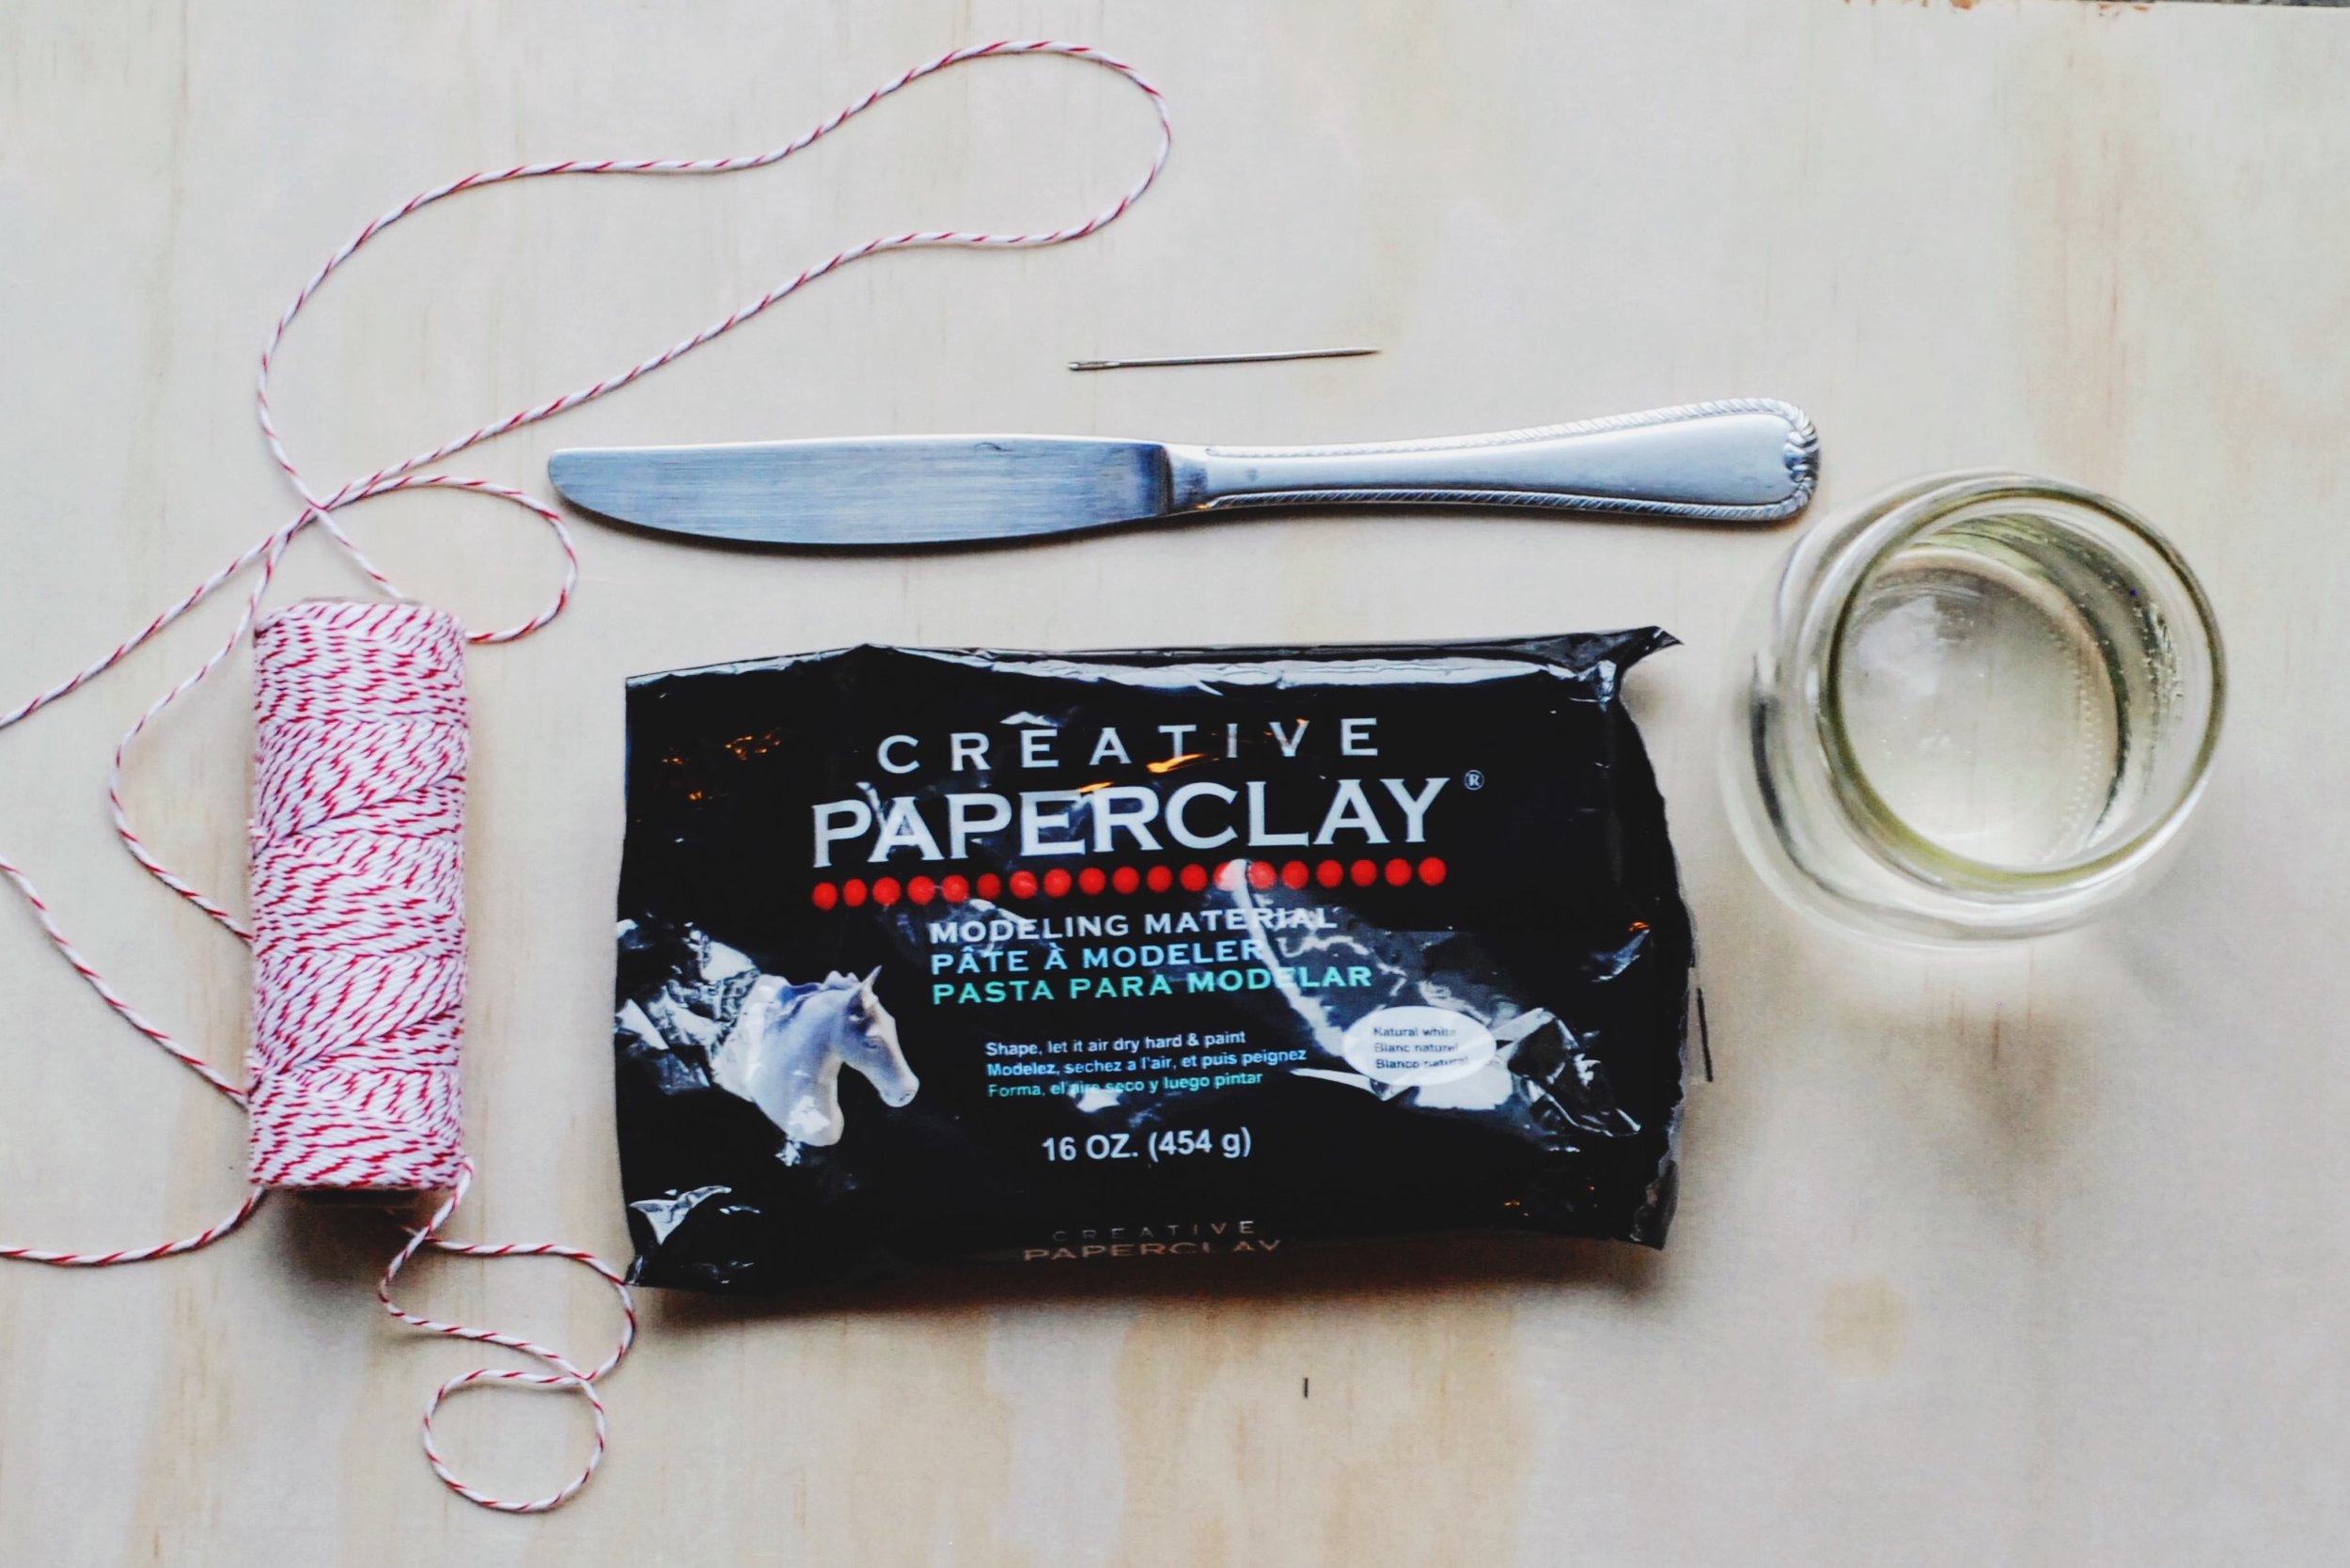
Supplies:
- Christmas carols
- Tea
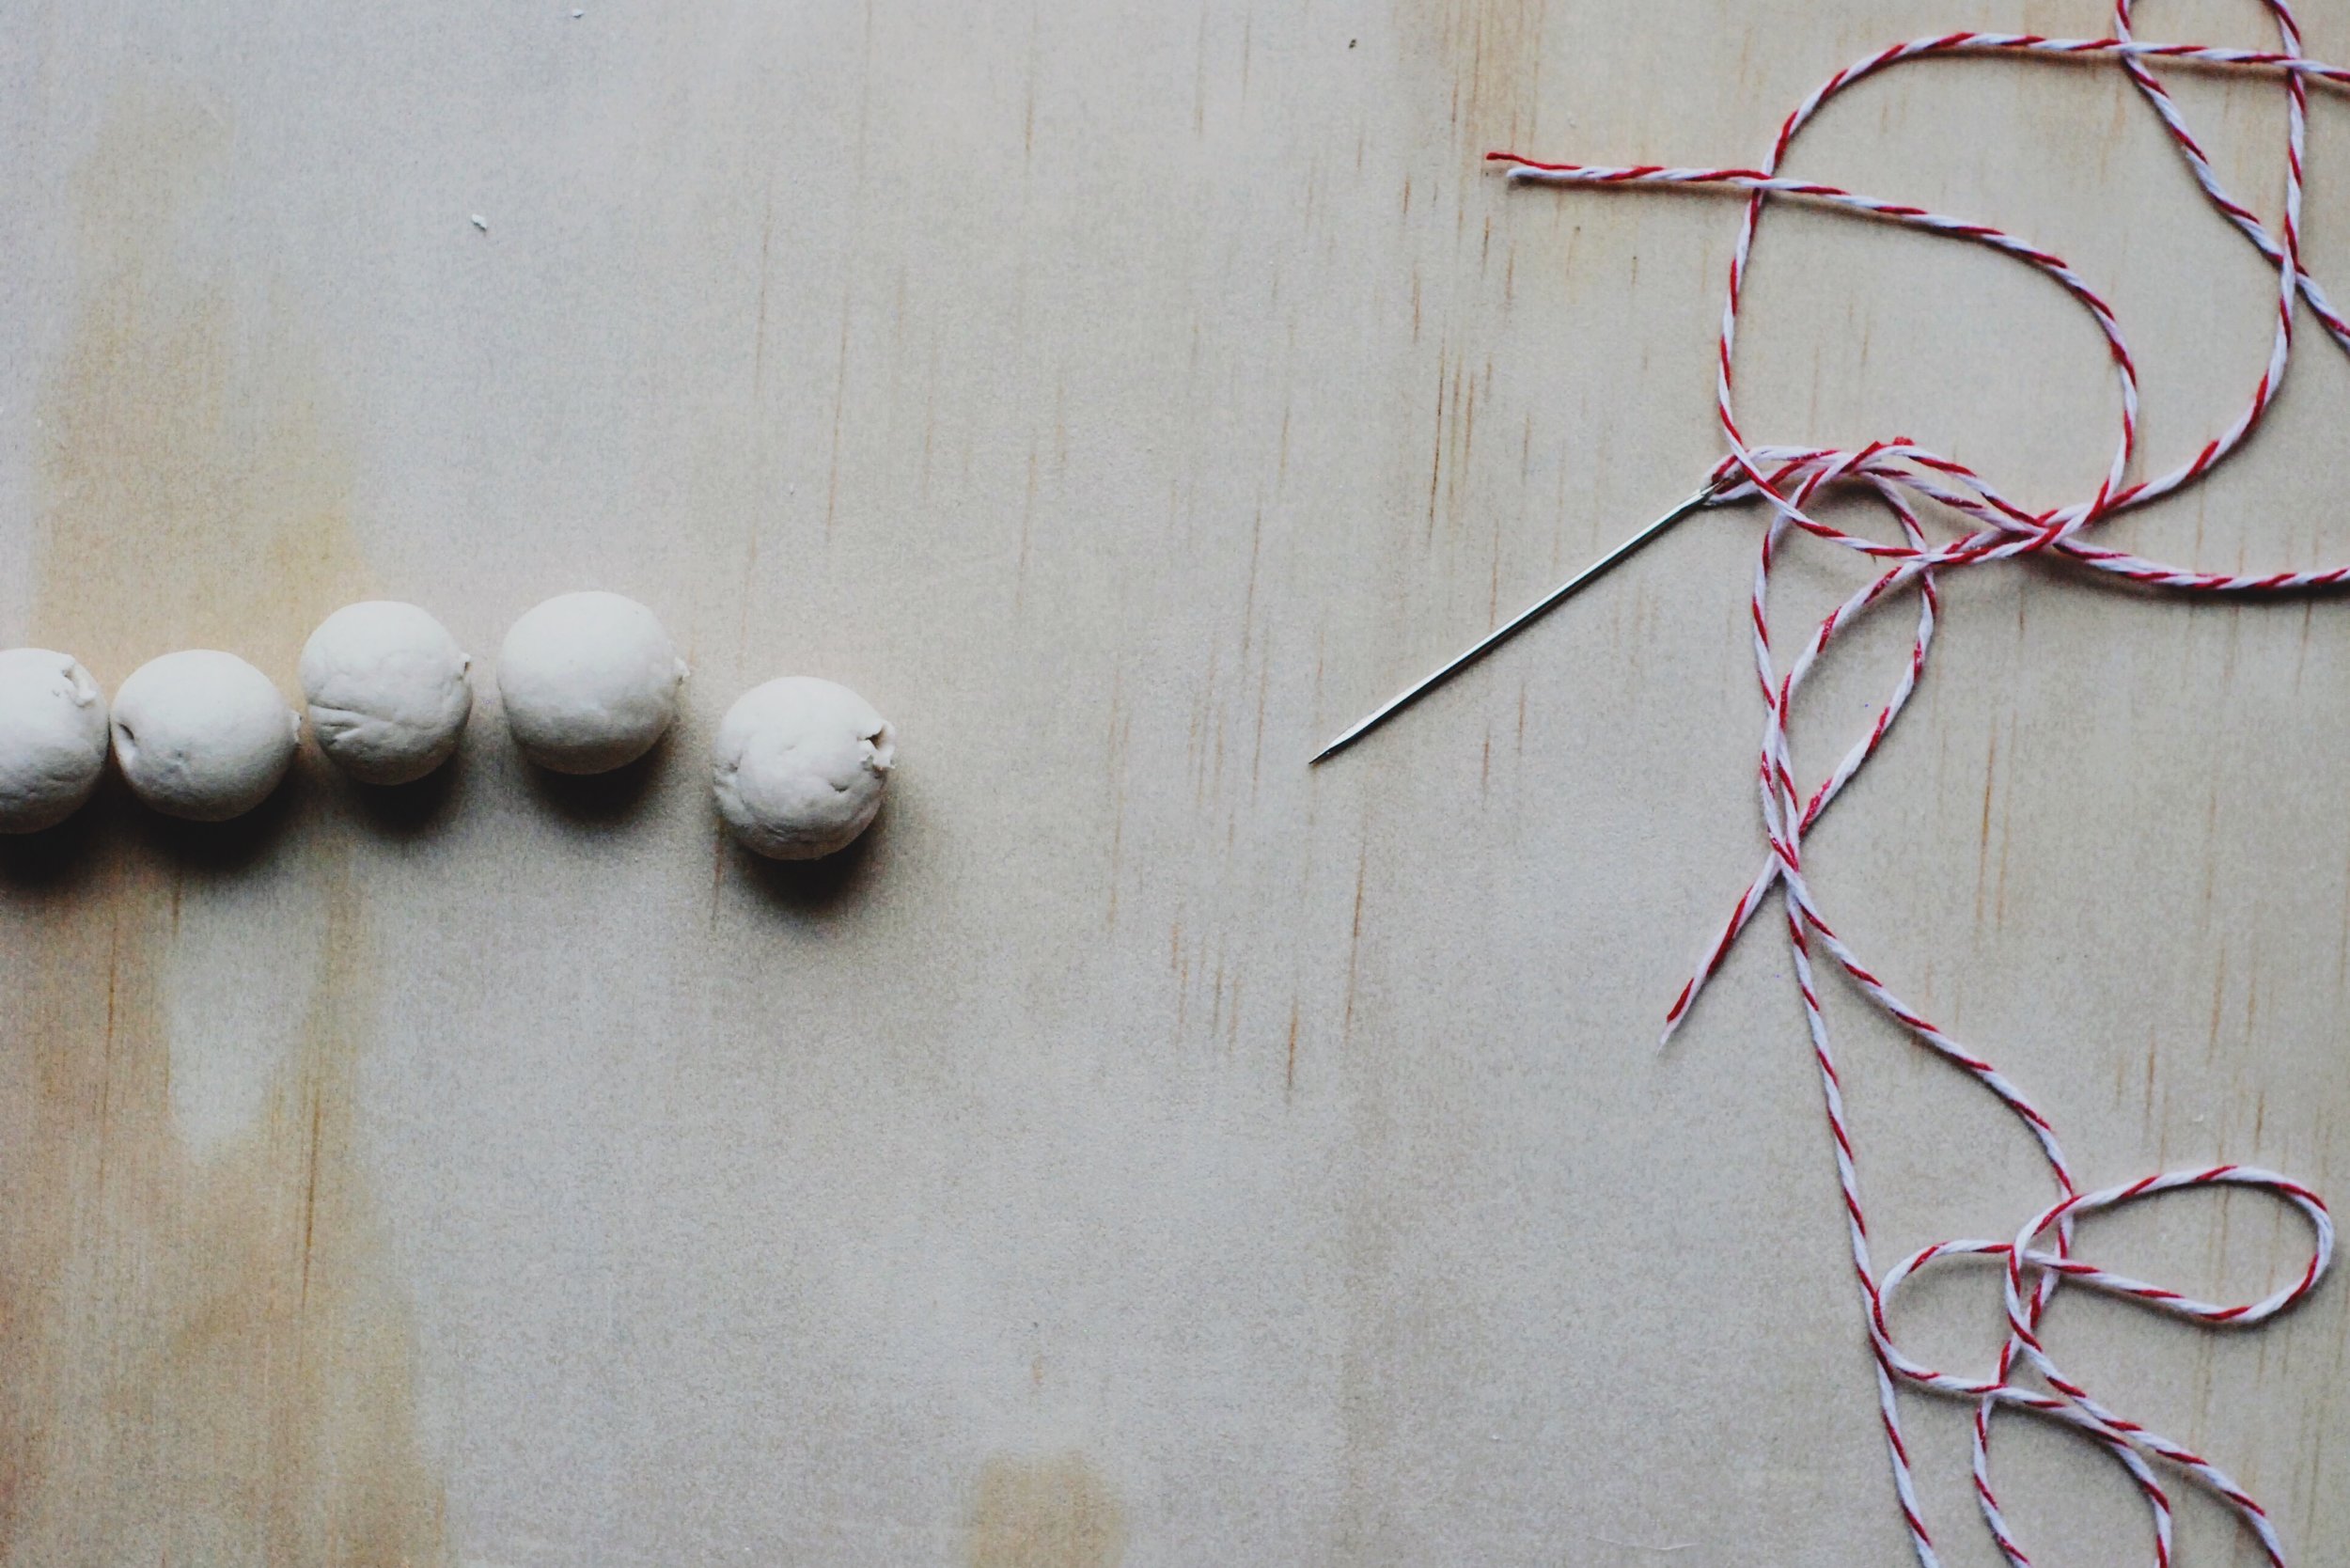
- Large needle
- String (I use this red and white string for almost every Christmas craft)
- Butter Knife
- Air-dry modeling clay
- Water
- Wax paper
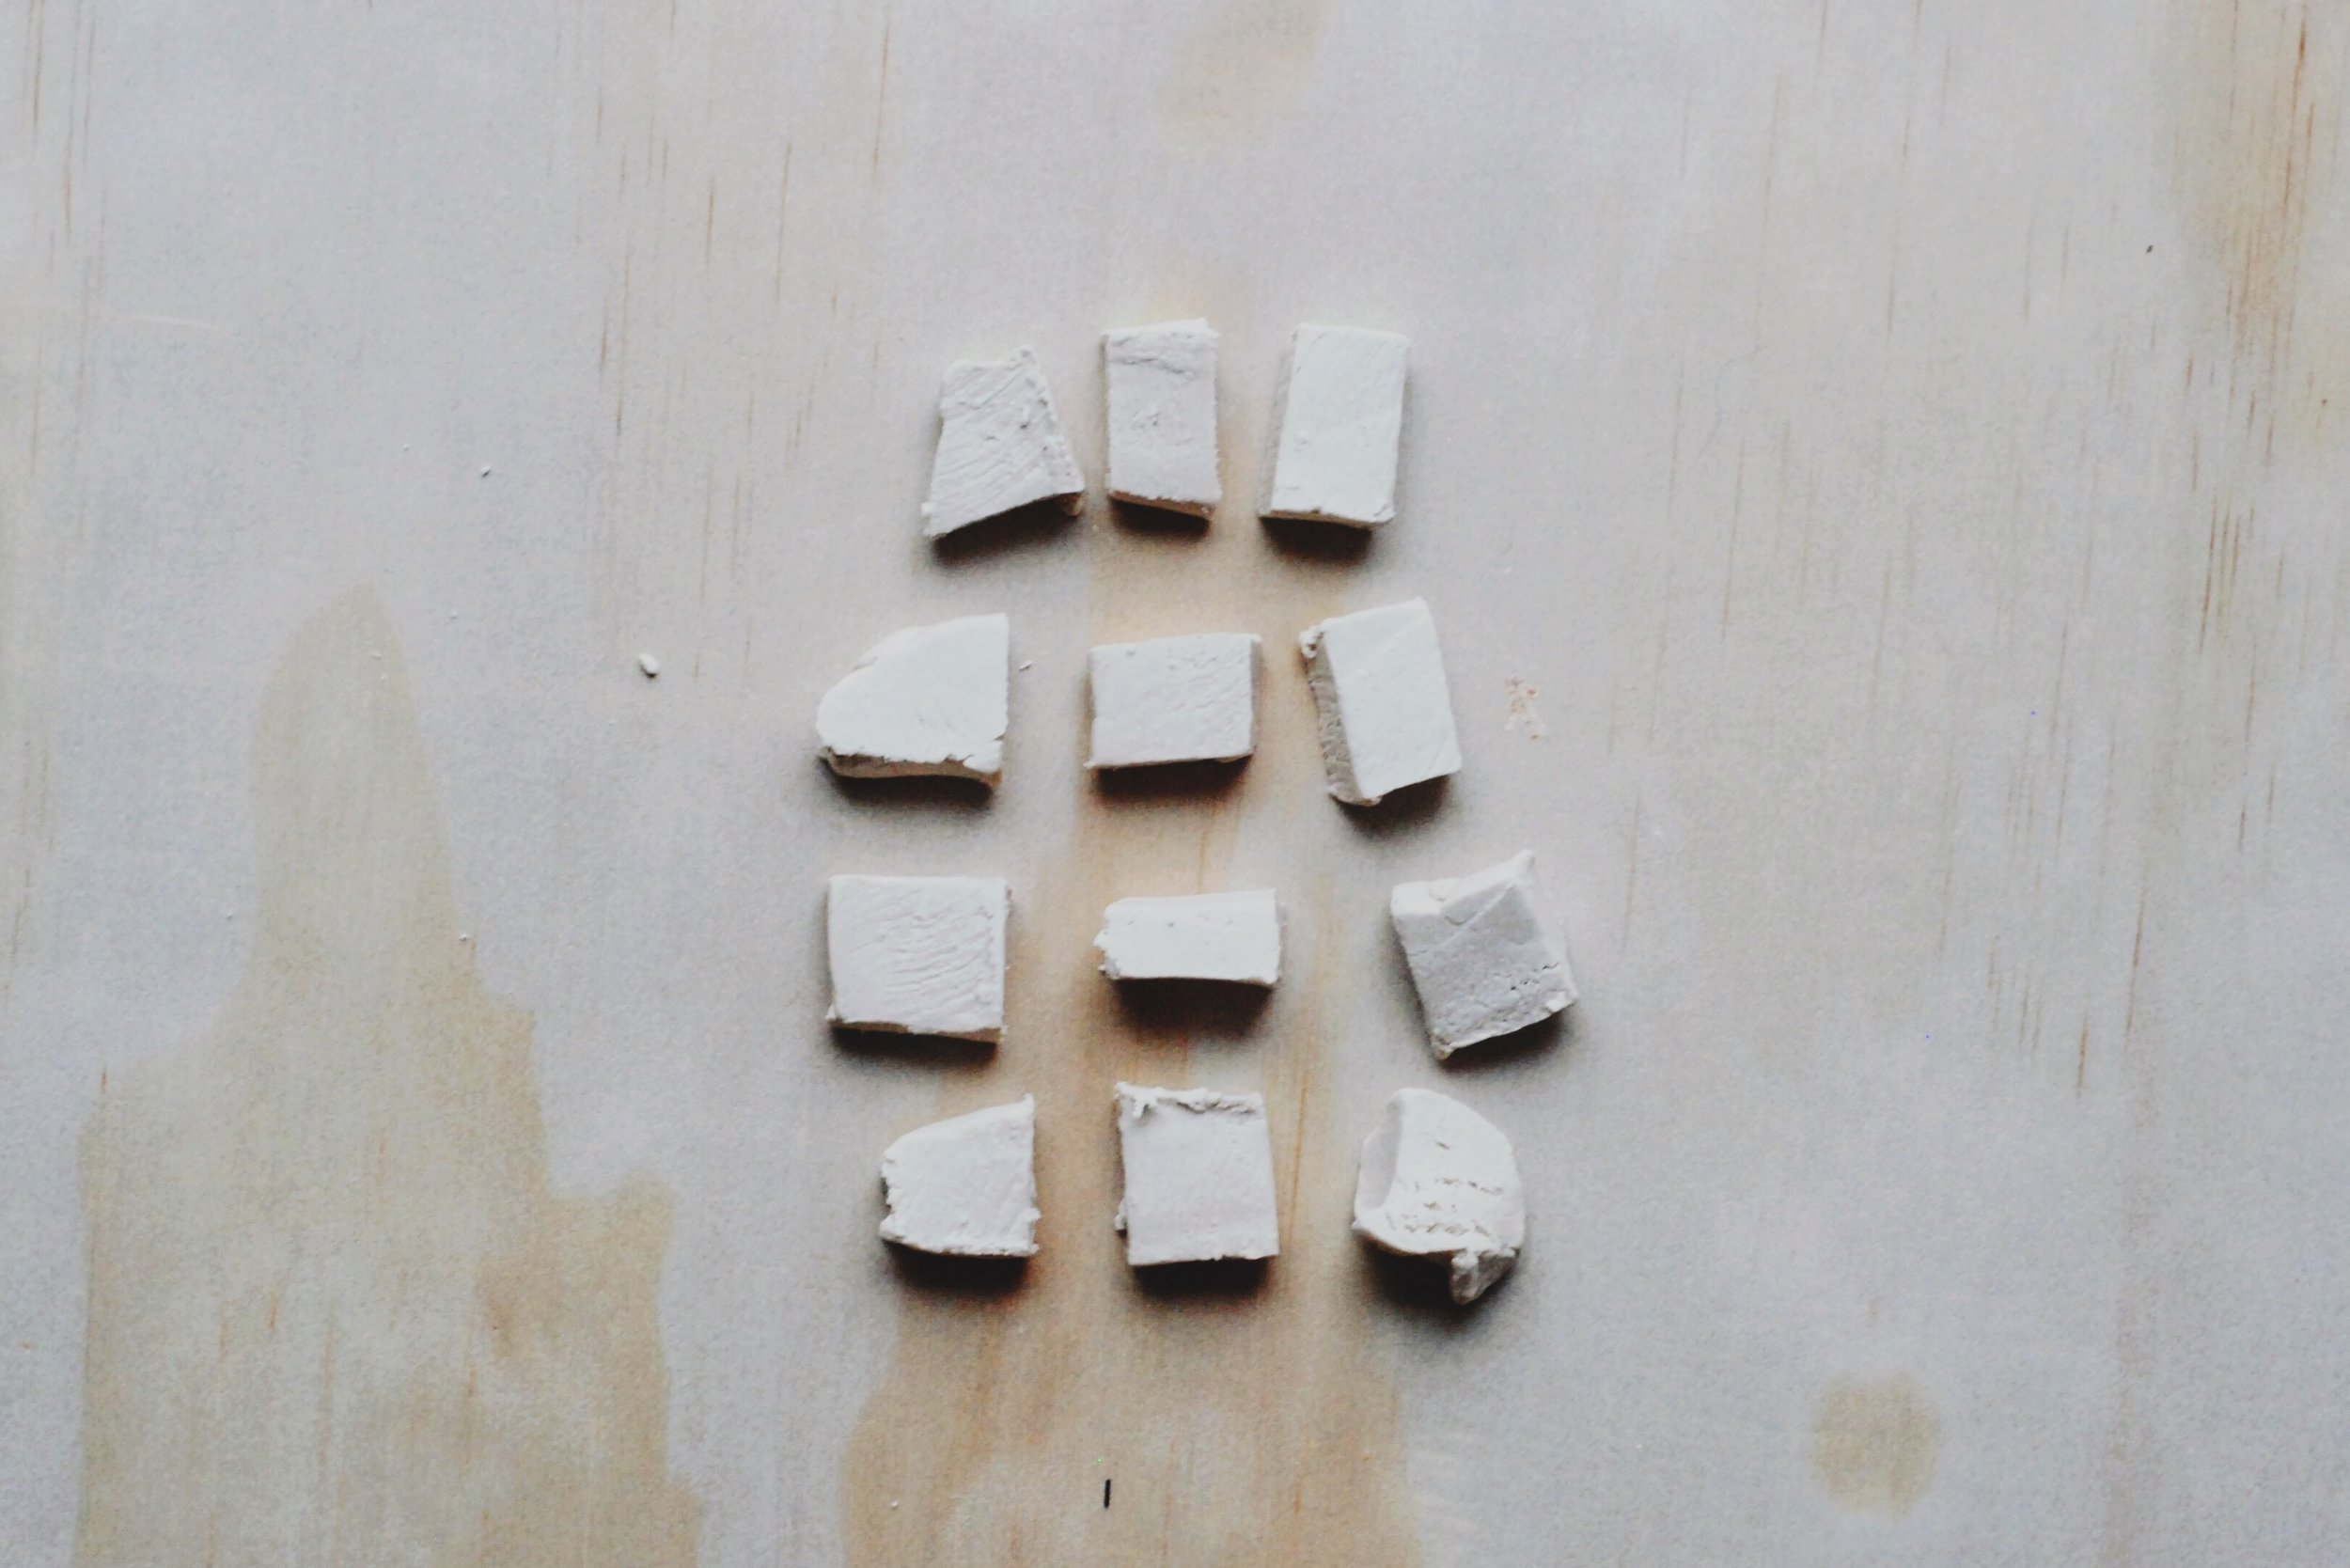
Step 2:
Put the wax paper down on your table so the clay doesn't stick.
Cut the clay into roughly equal sized cubes. If you're like me, close enough is good enough, and I really didn't mind this project coming out looking handmade so I didn't get very fussy with the exact measurements as you can tell. The more on-par the square sizes are the more pro your beads will turn out, so that's up to you. If you cut them all to start with make sure to put the majority of them in an air-tight ziplock while they wait for you to roll them or they'll dry out.
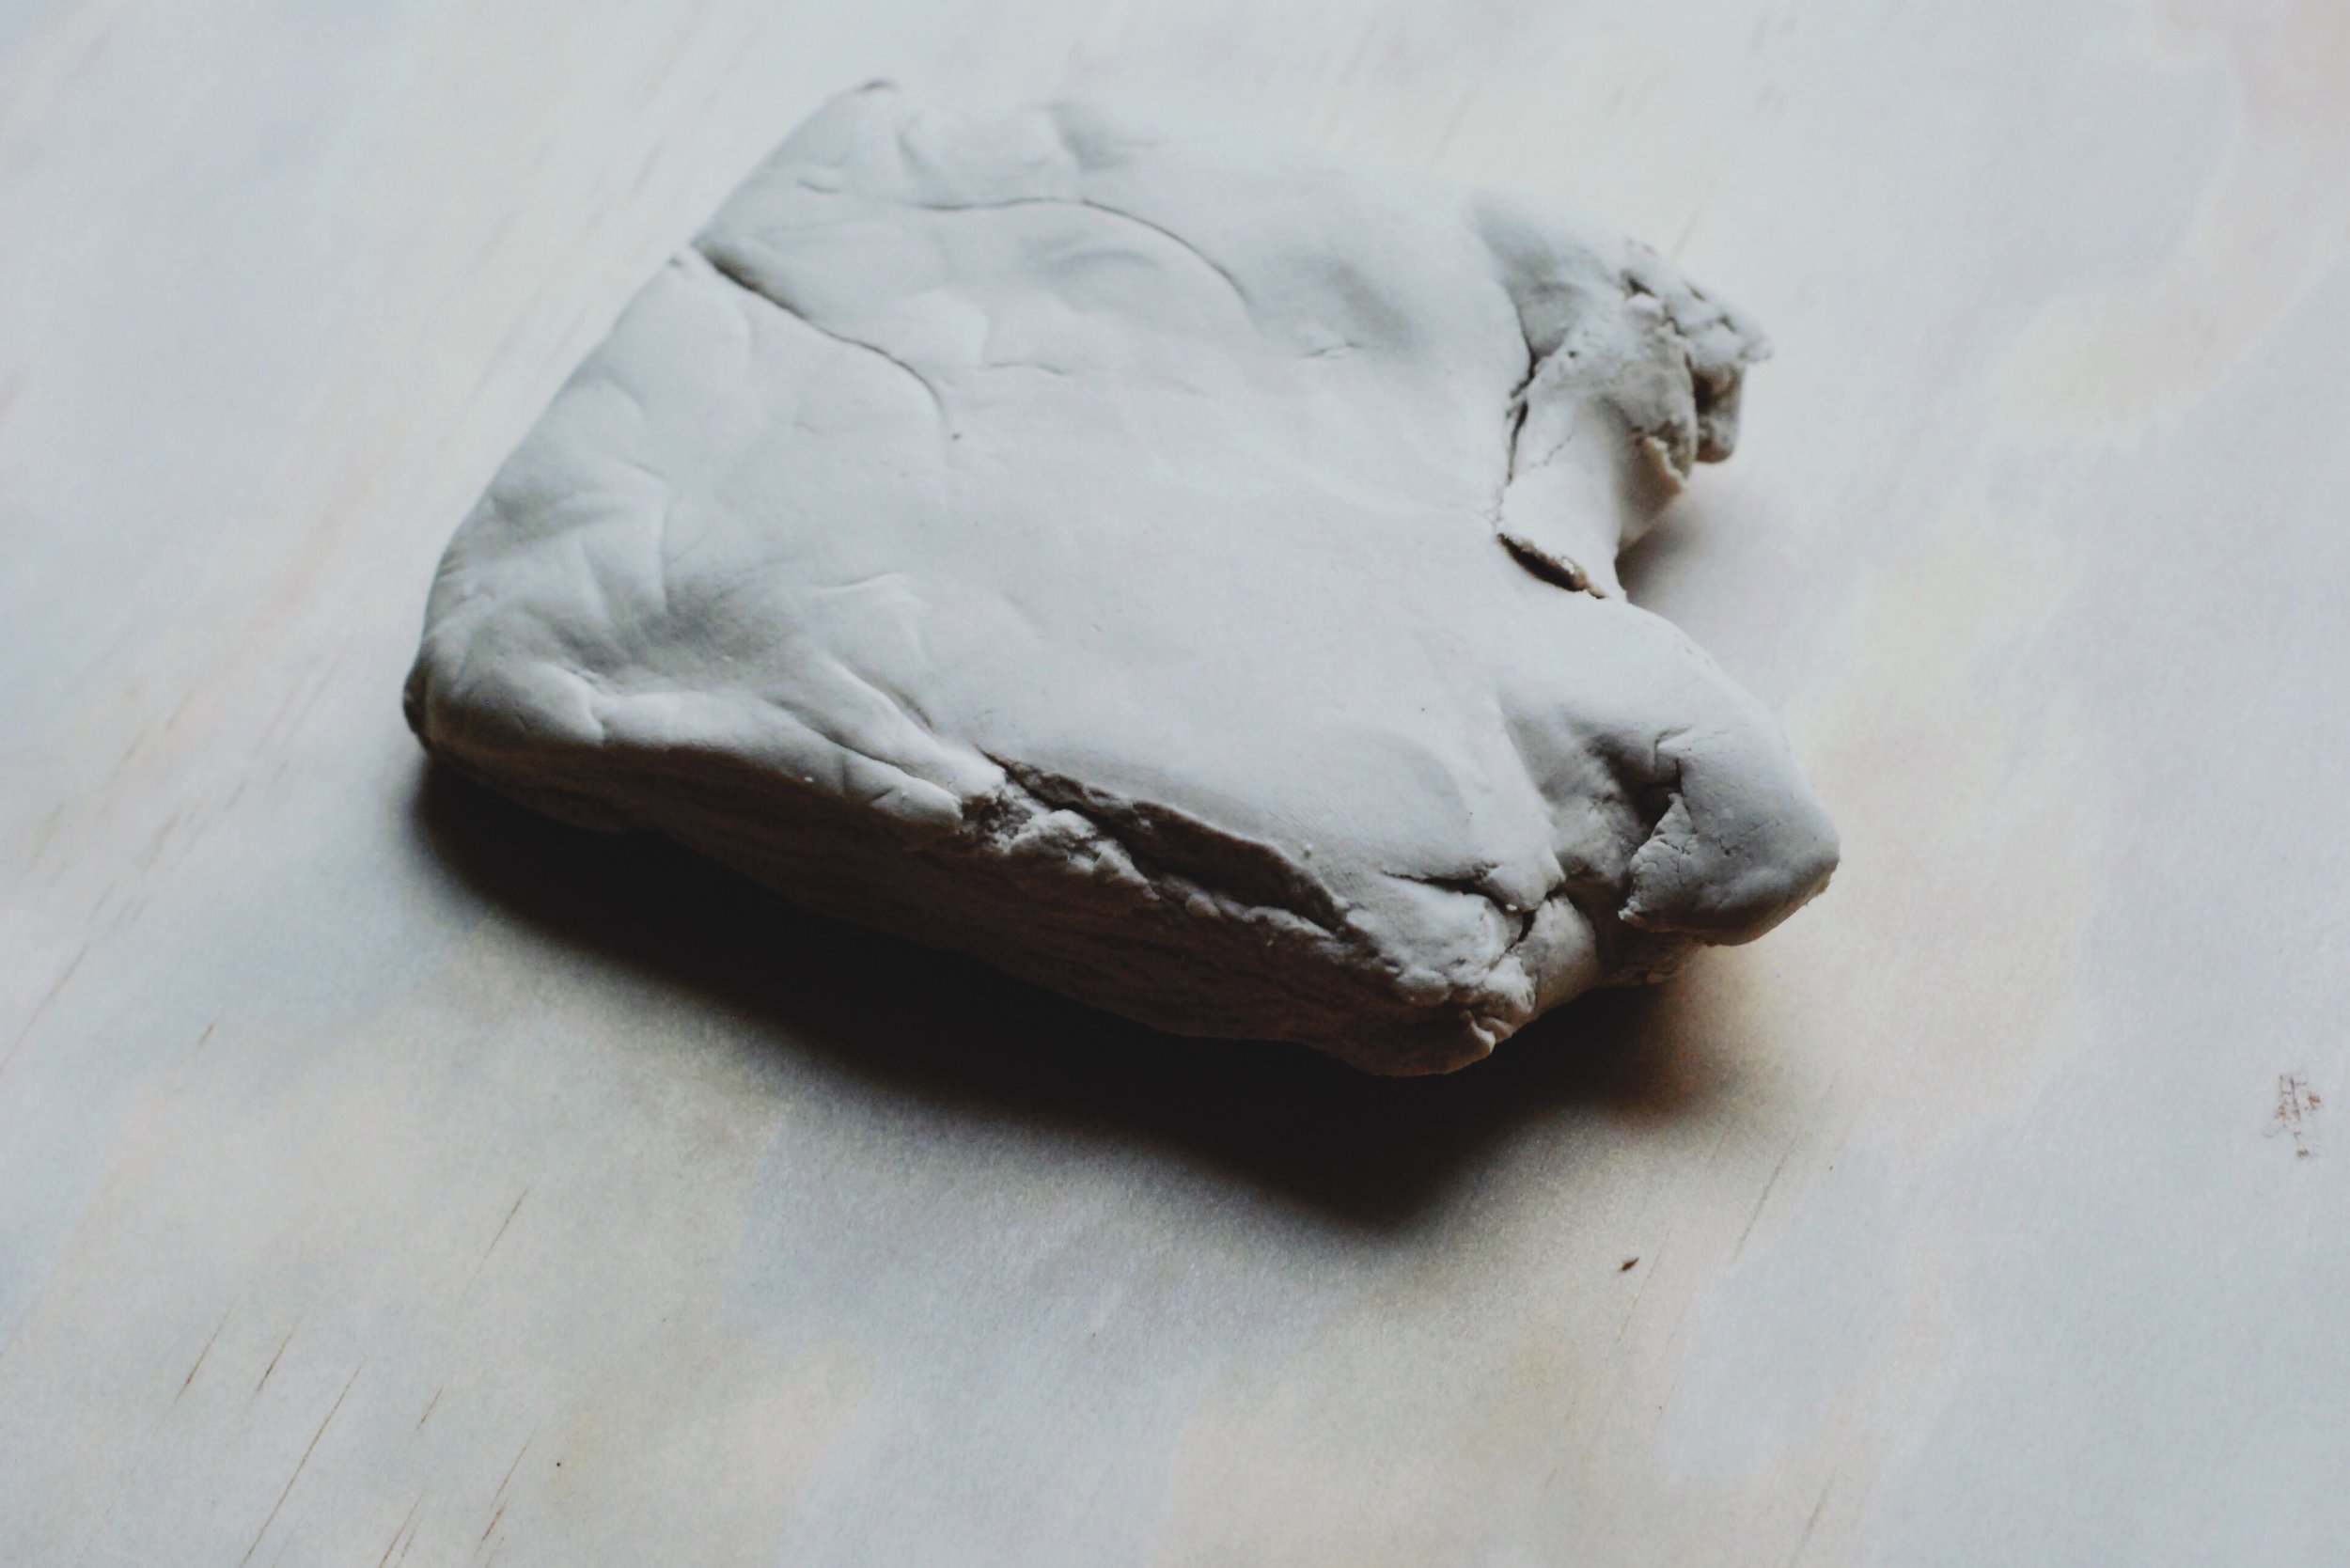
Step 3:
Please remember this is air-dry clay that I found in my house that hadn't been used in a year. I was very impressed with myself for having sealed it well enough that it was still "functional" but I definitely needed to add some water to the clay as I went along. You probably will too, but maybe not to the same extent.
I added some water to my hands (just enough to make them damp) and kneaded that into the clay.
STEP 4:
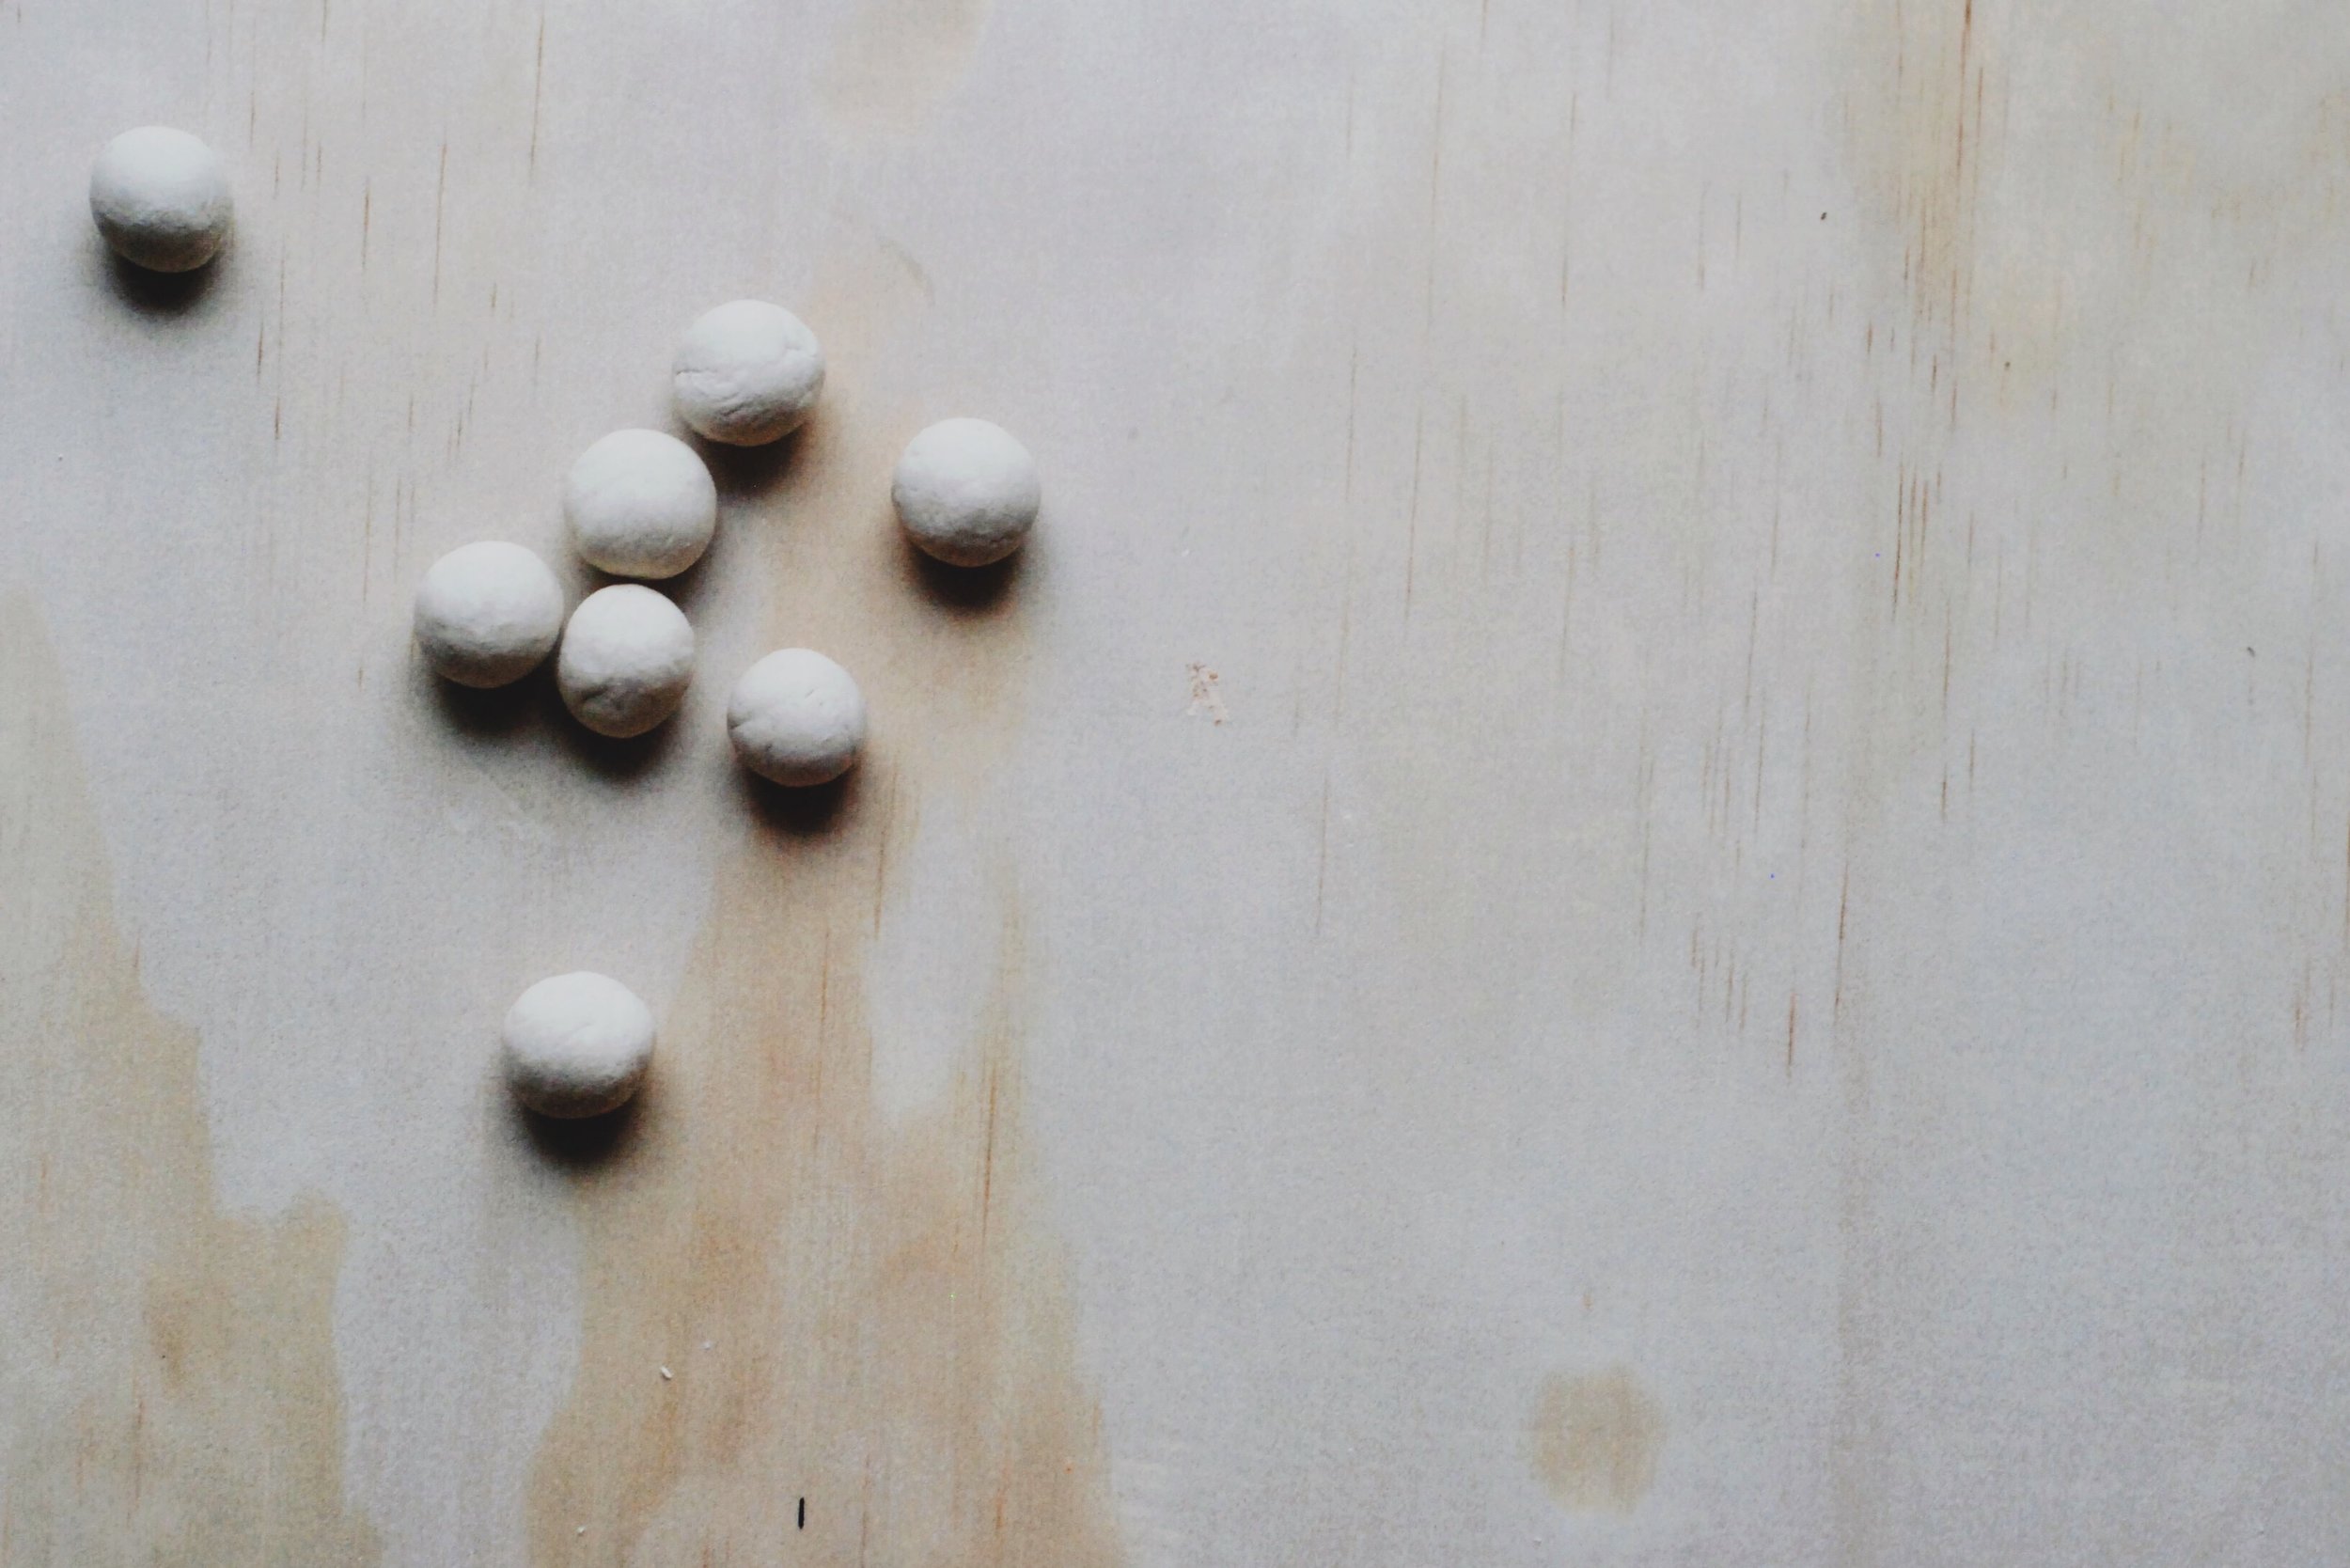
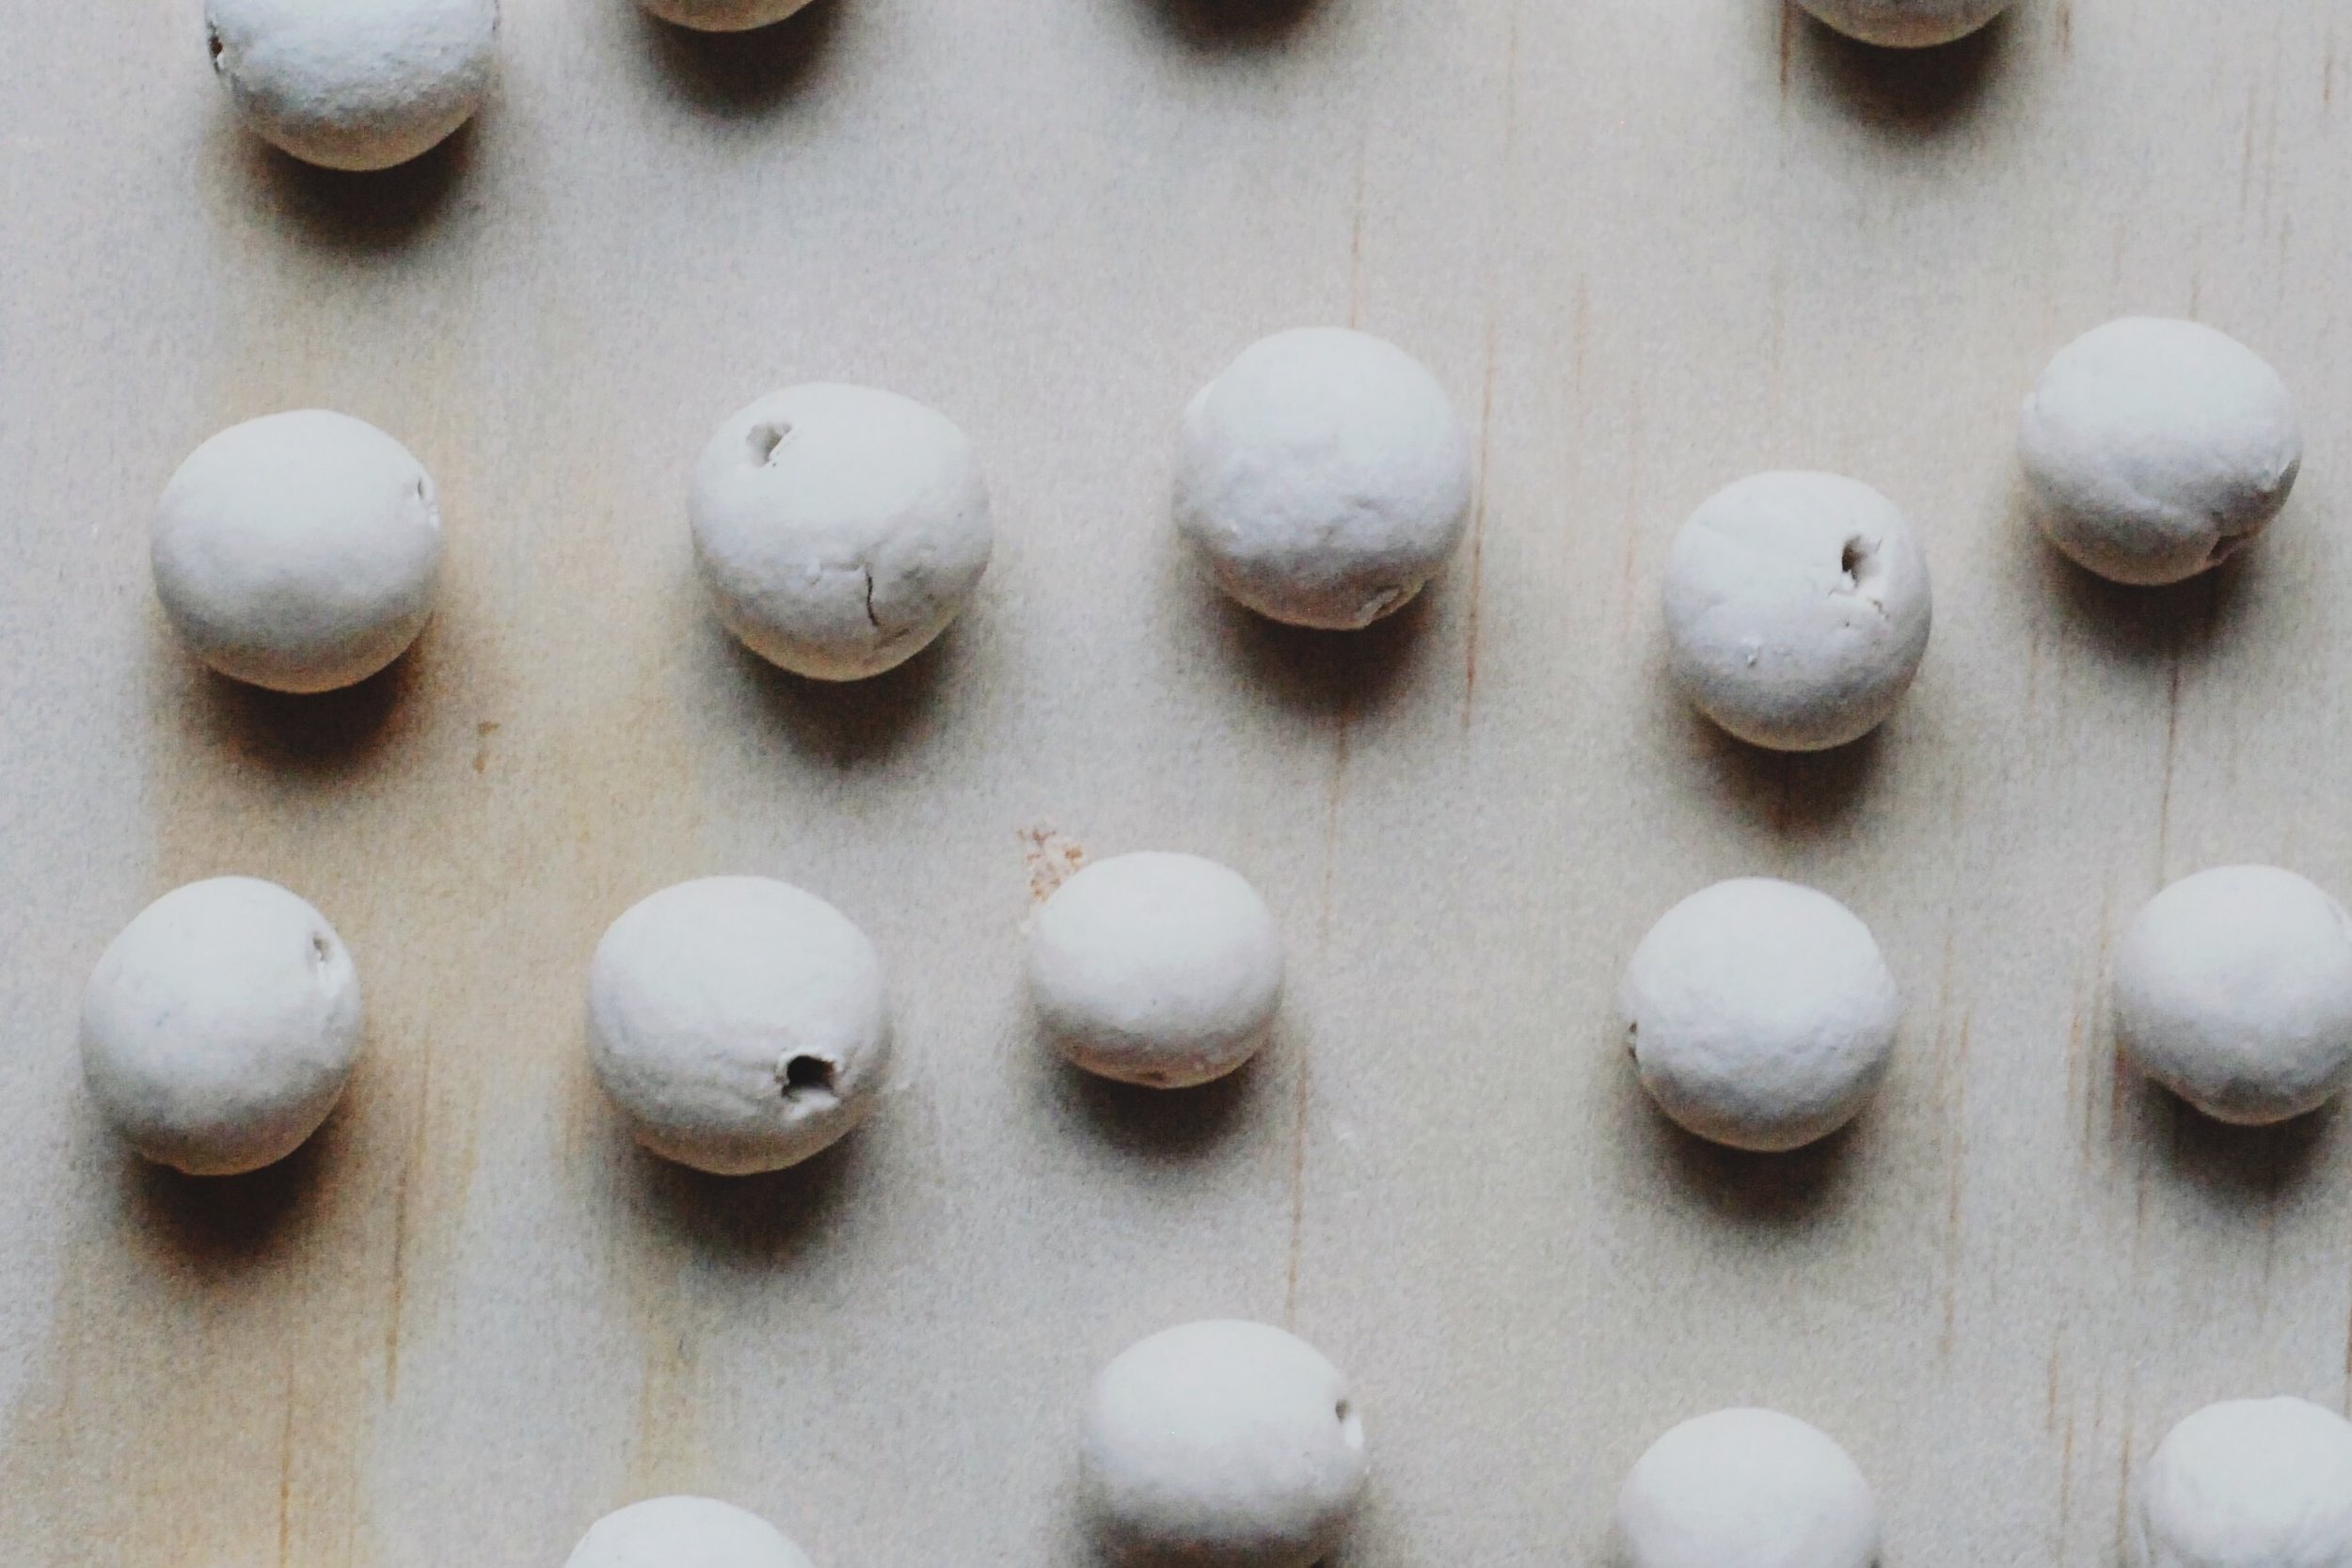
Roll and roll and roll and roll and roll and roll your clay until it's a smooth as you have patience to make it. (You can see what level of patience I have- i.e. heyyyy this is handmade
Step 5:
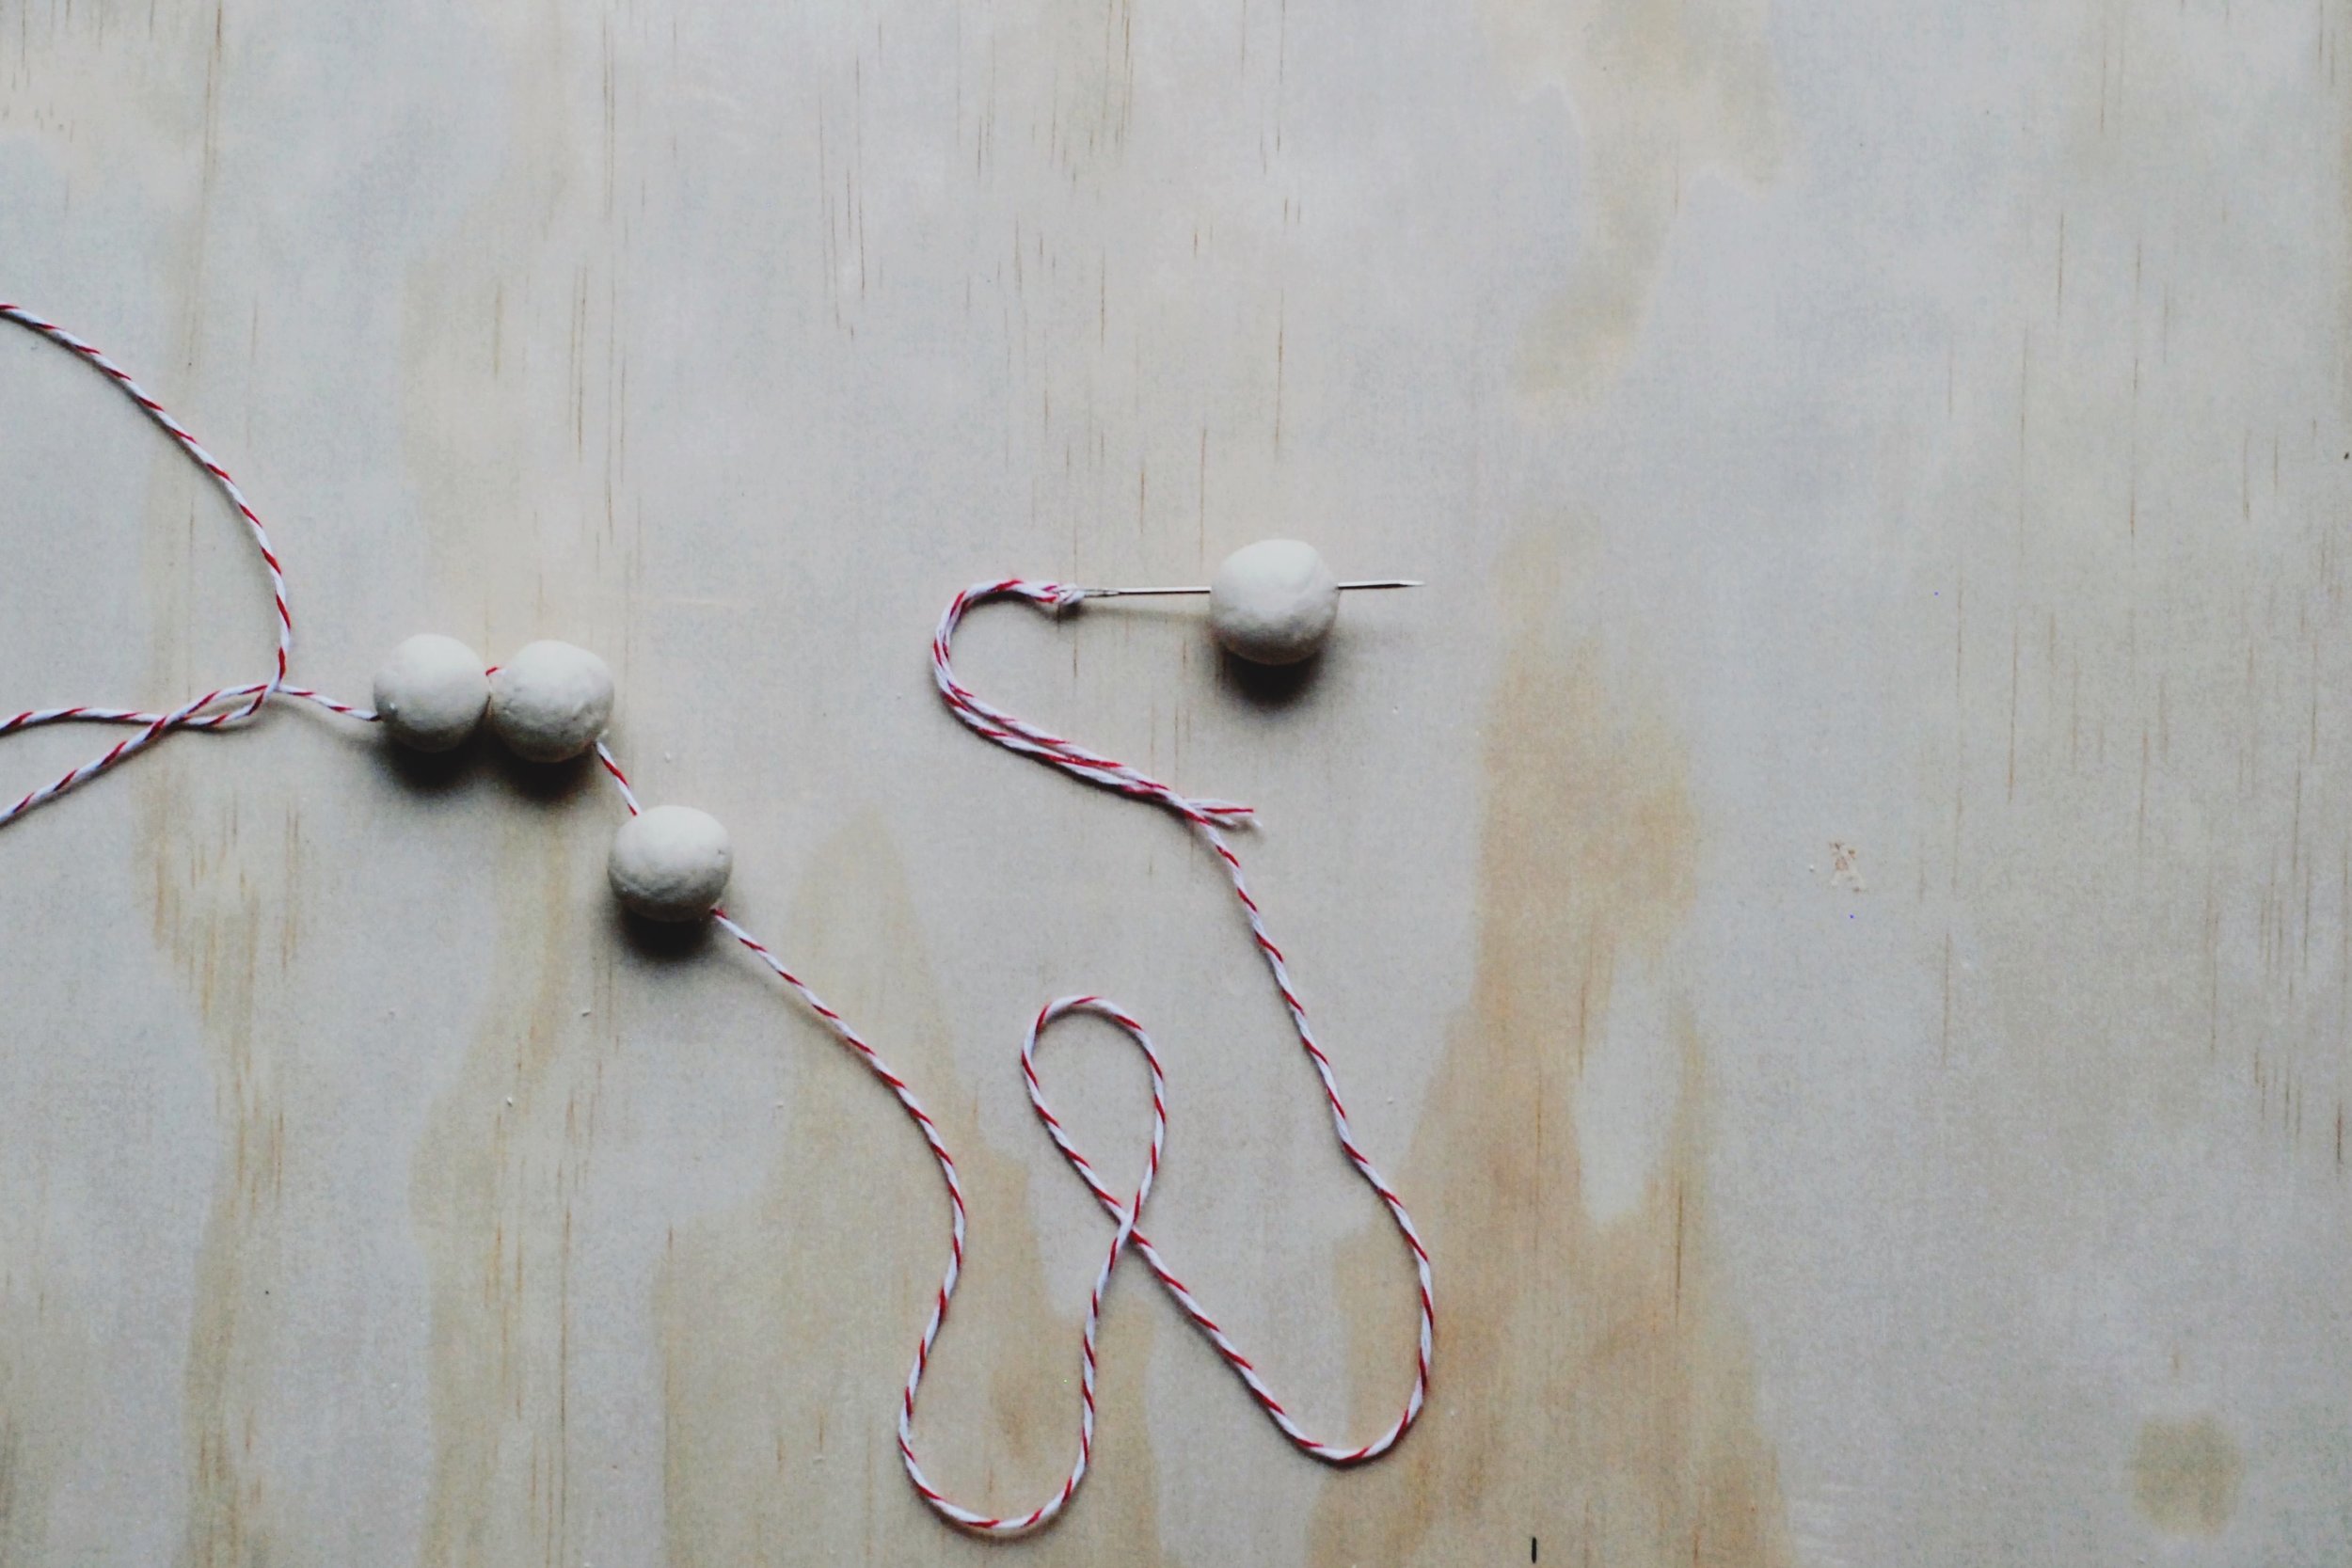
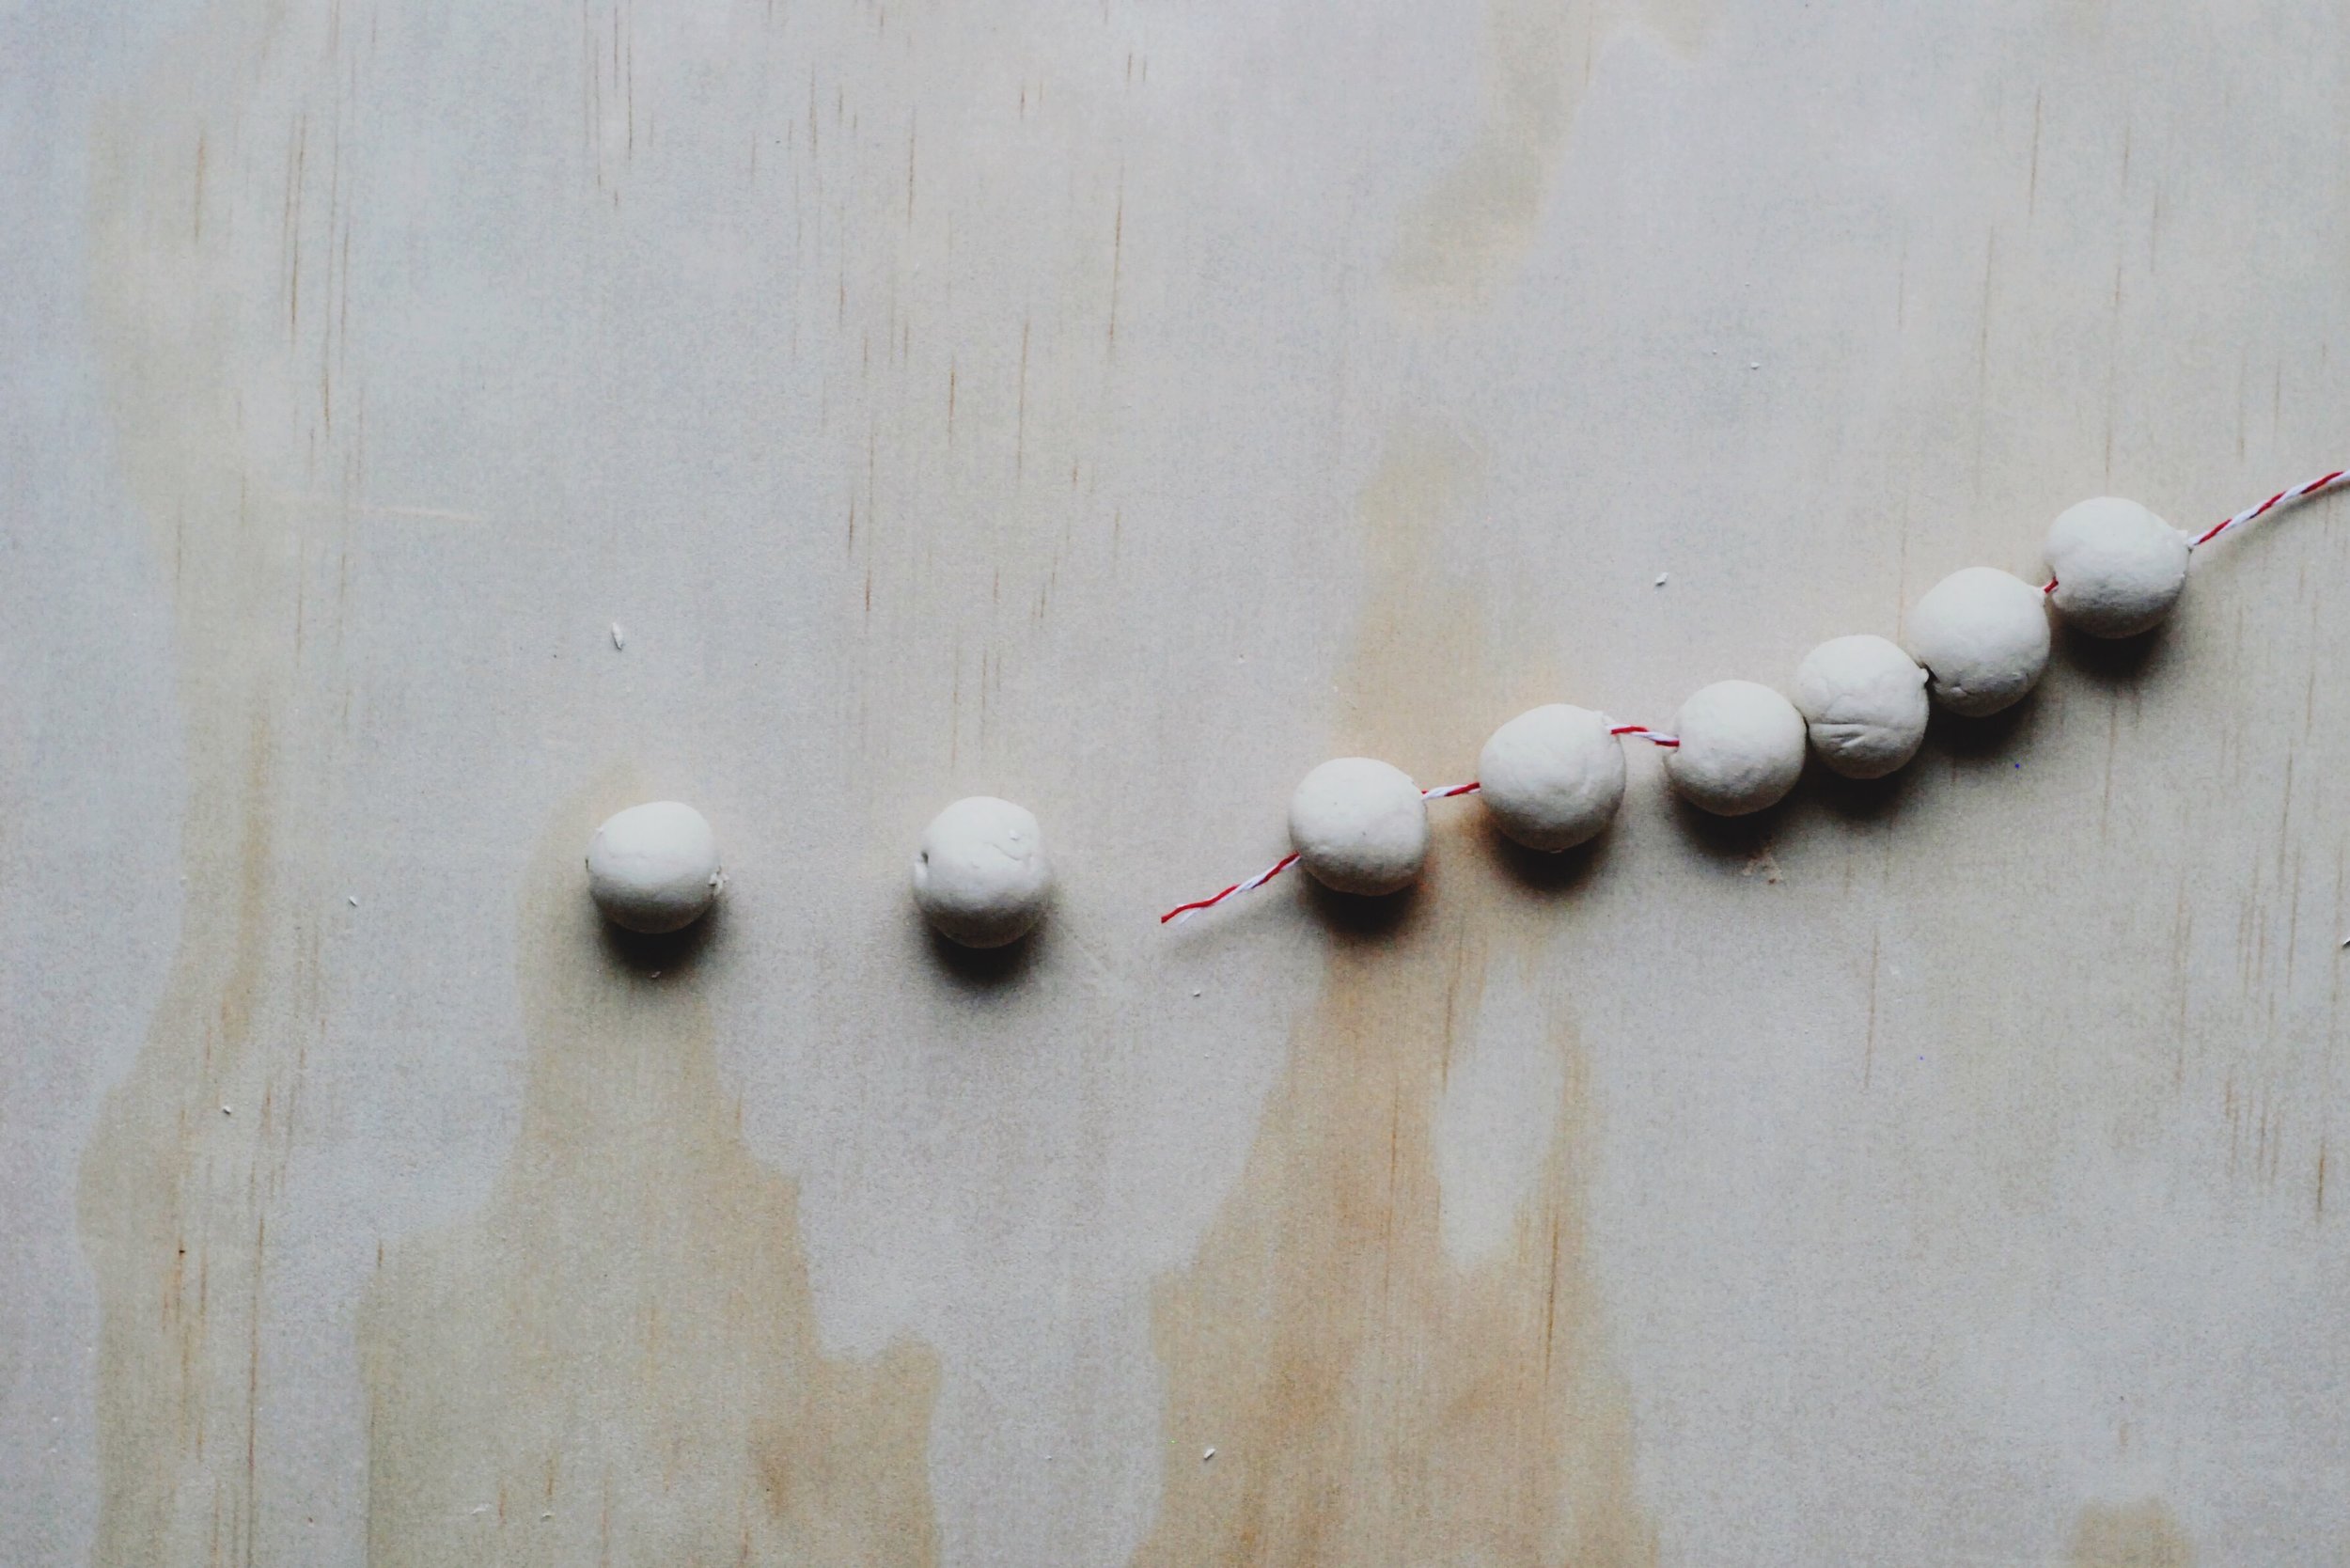
Thread your needle with your string and poke it through your set of beads. I found making about 3 beads and then stringing them meant the clay was dry enough to provide some resistance but not so dry as to semi-crack when stringing.
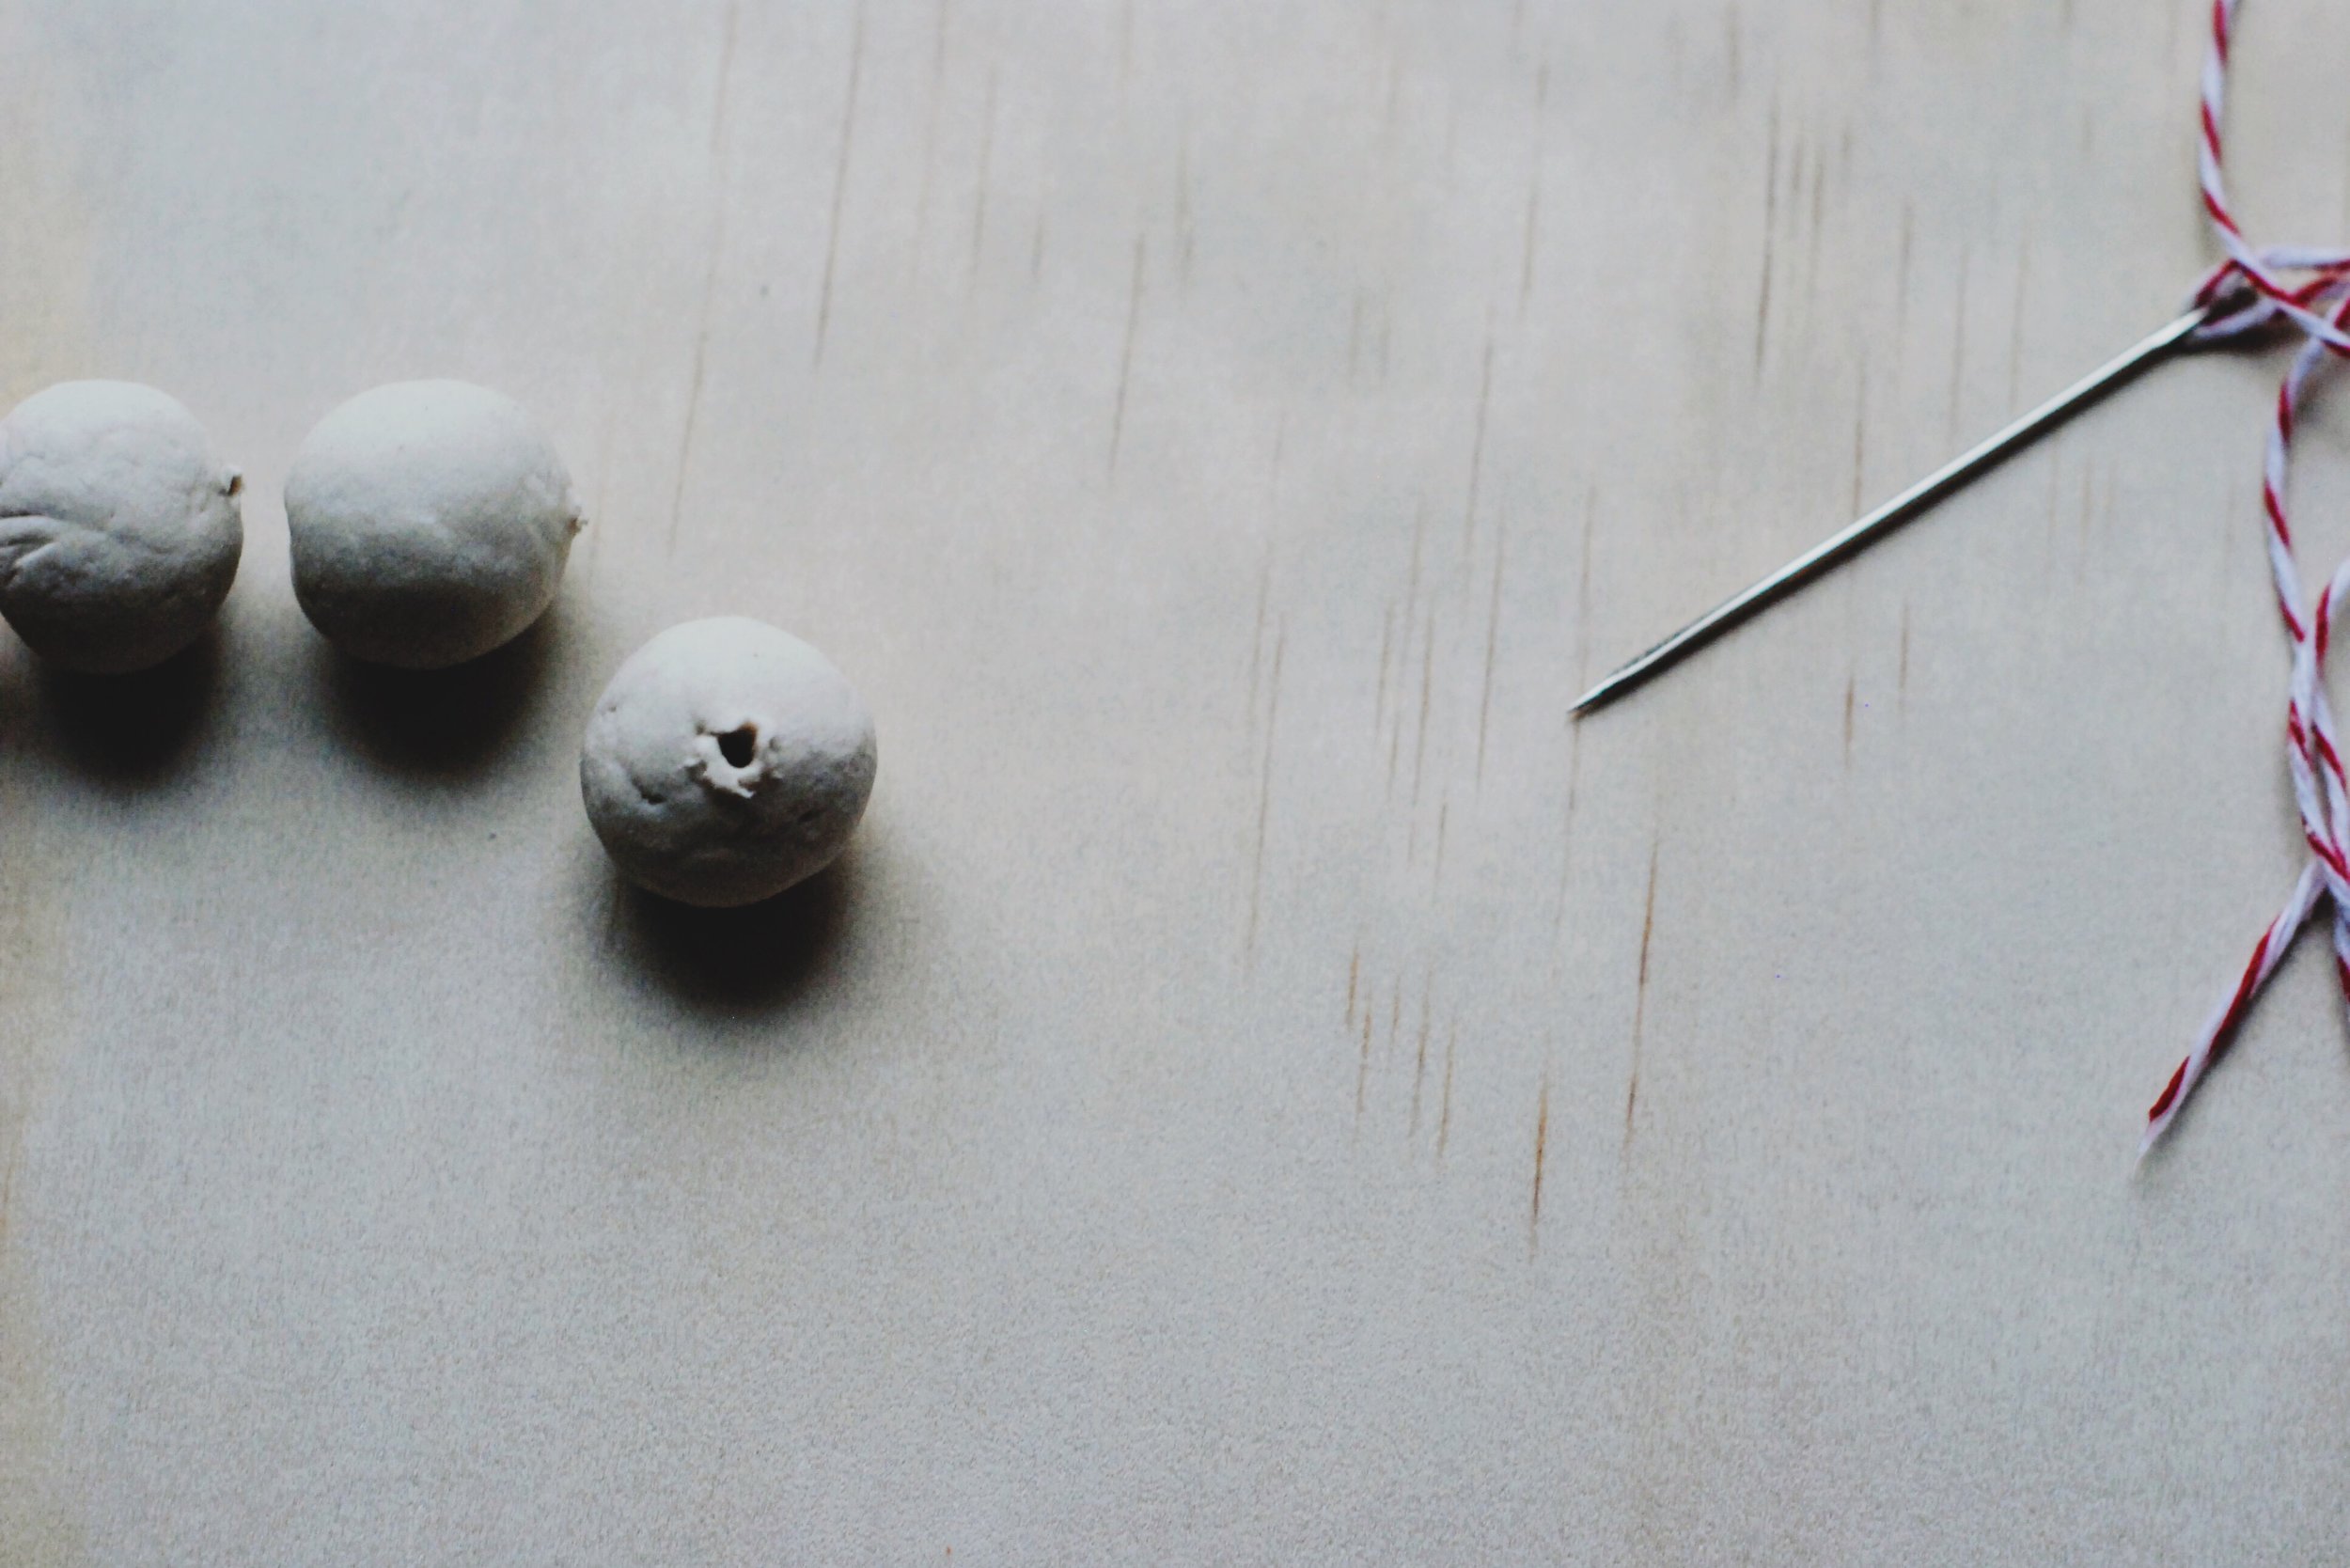
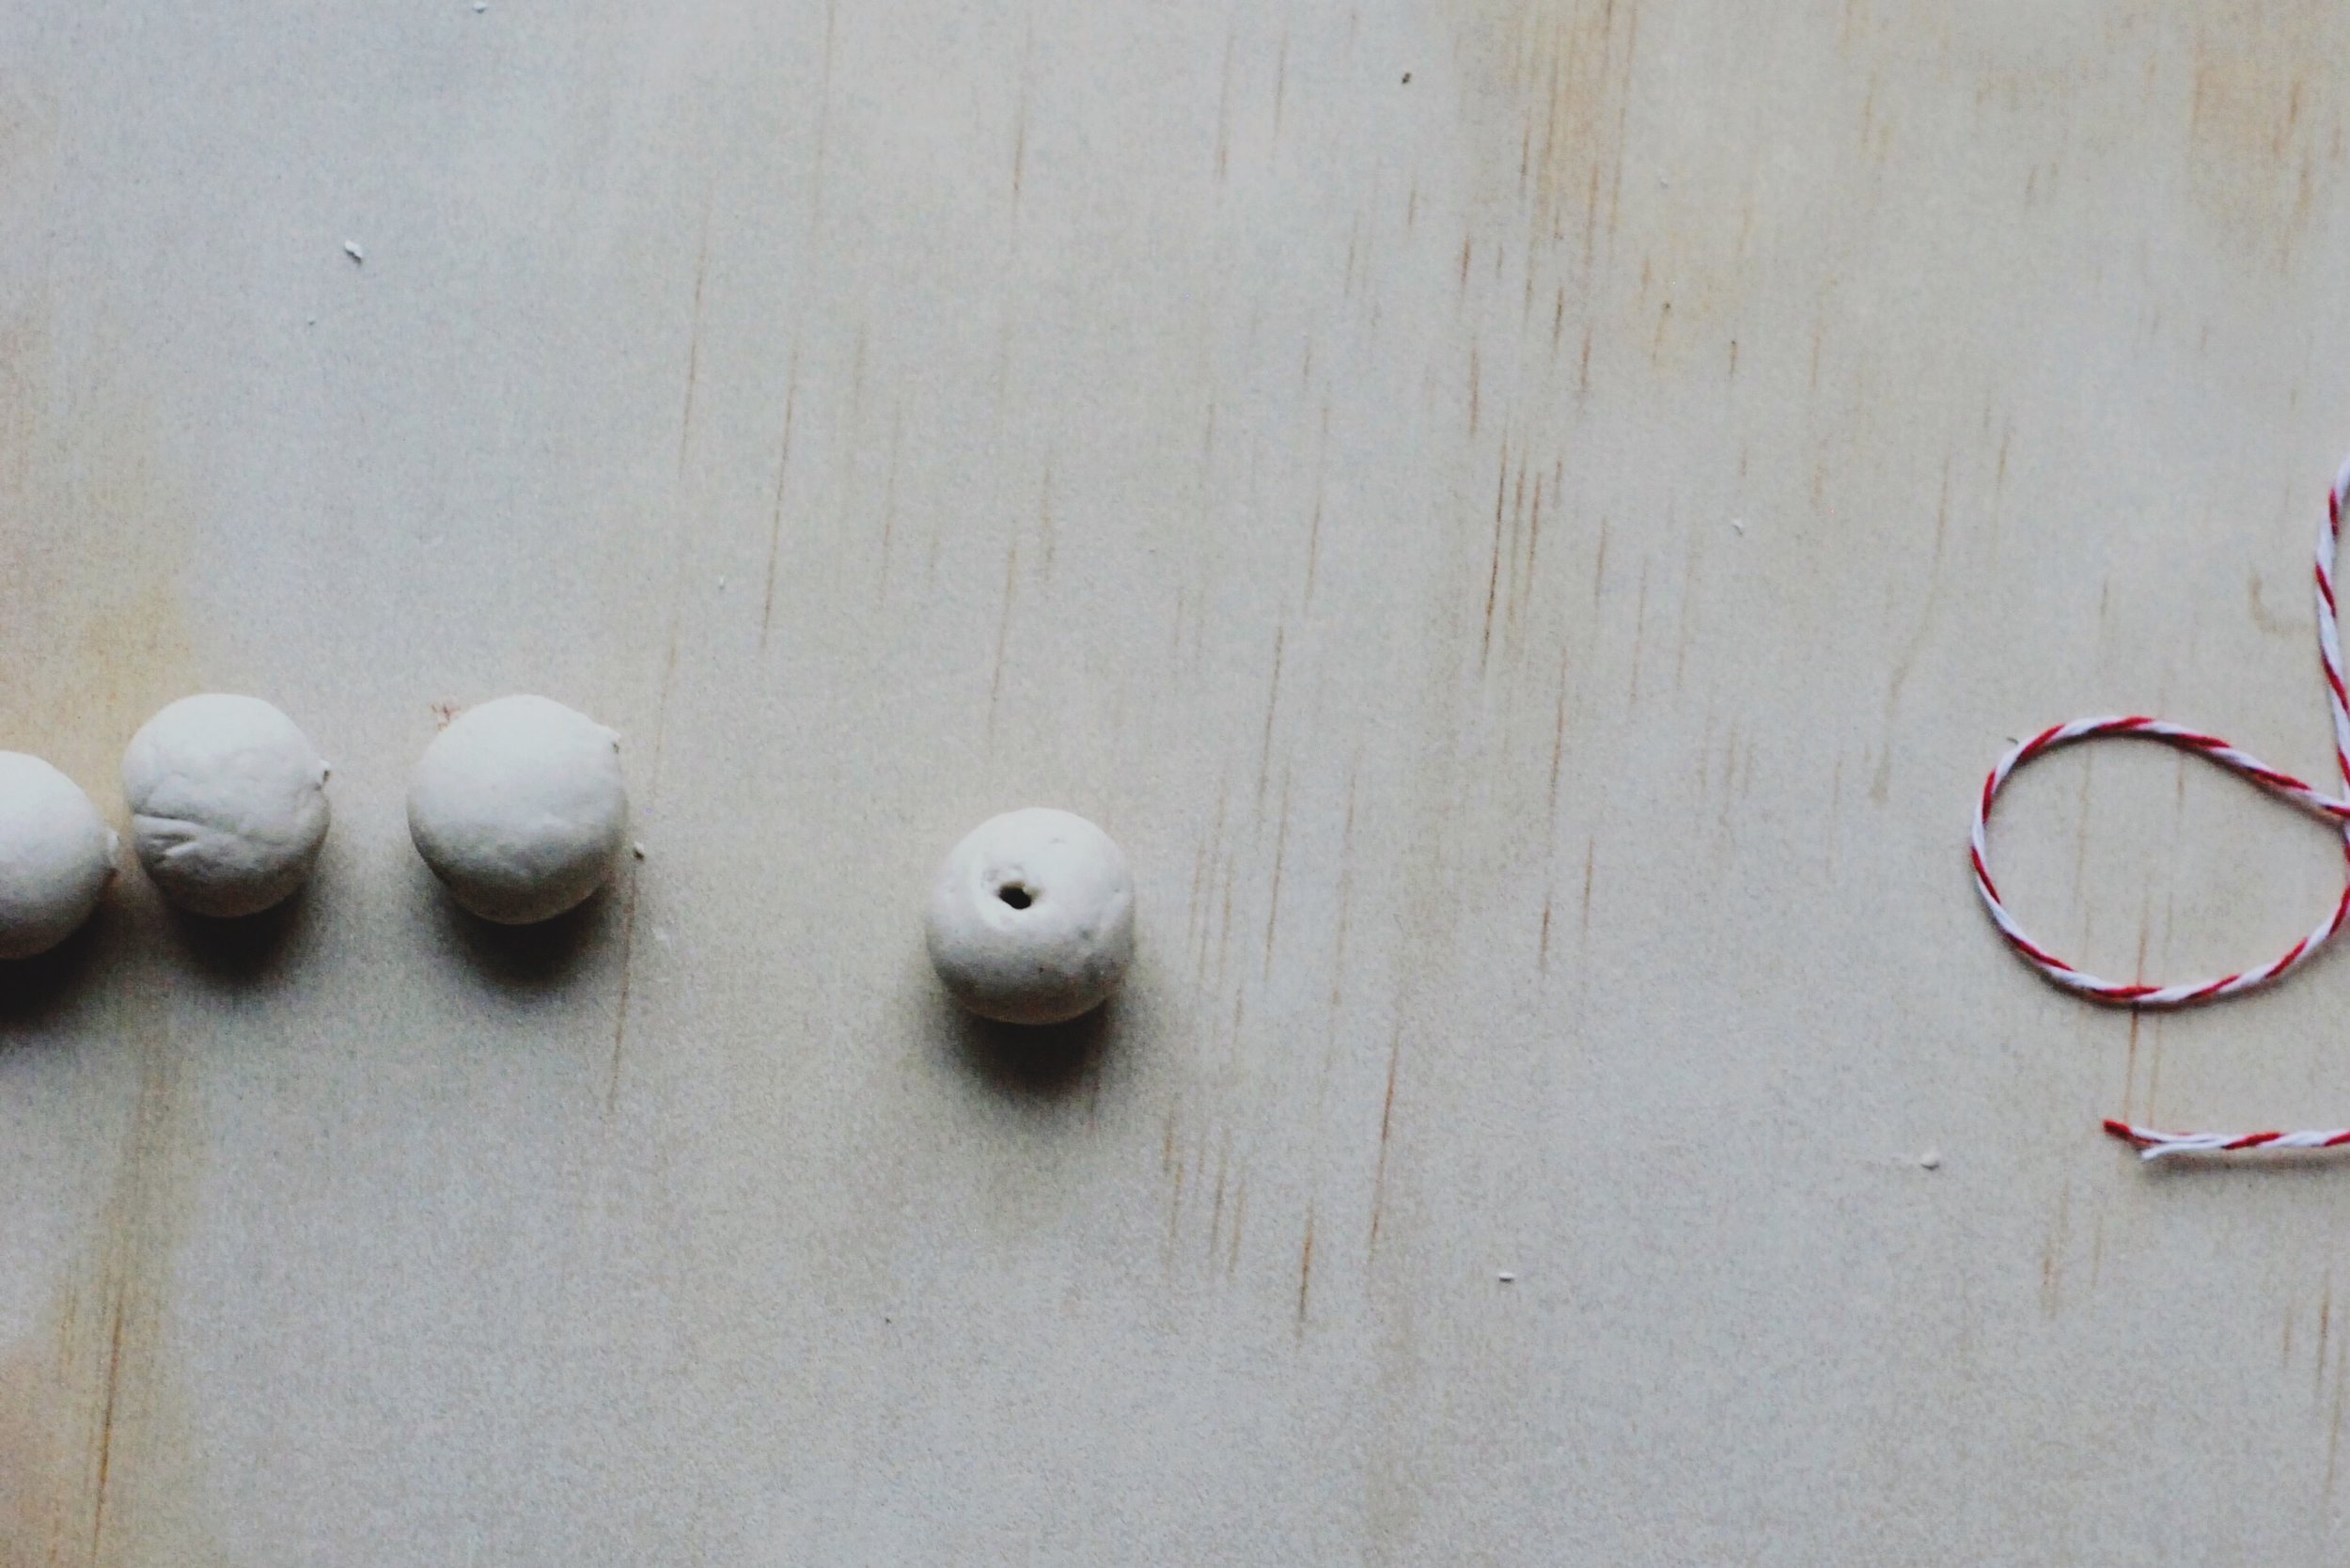
Warning: do not get carried away with making the holes big. You want to be able to get that needle through when they are dry (so don't get all worried the holes look tacky and fill them back in a bit so they look smaller) but if the holes are too big it will be really difficult to knot the string to space your beads out. Just make them needle + thread size. No problem, right? (It actually isn't I was surprised.)
Step 6:
You can see that pulling the thread through makes a giant disaster on the end of the bead. So to fix that I went back through the bead again in the other direction, trimmed the edge off with the needle, and then sort of tried to be fussy by patting it with some water.

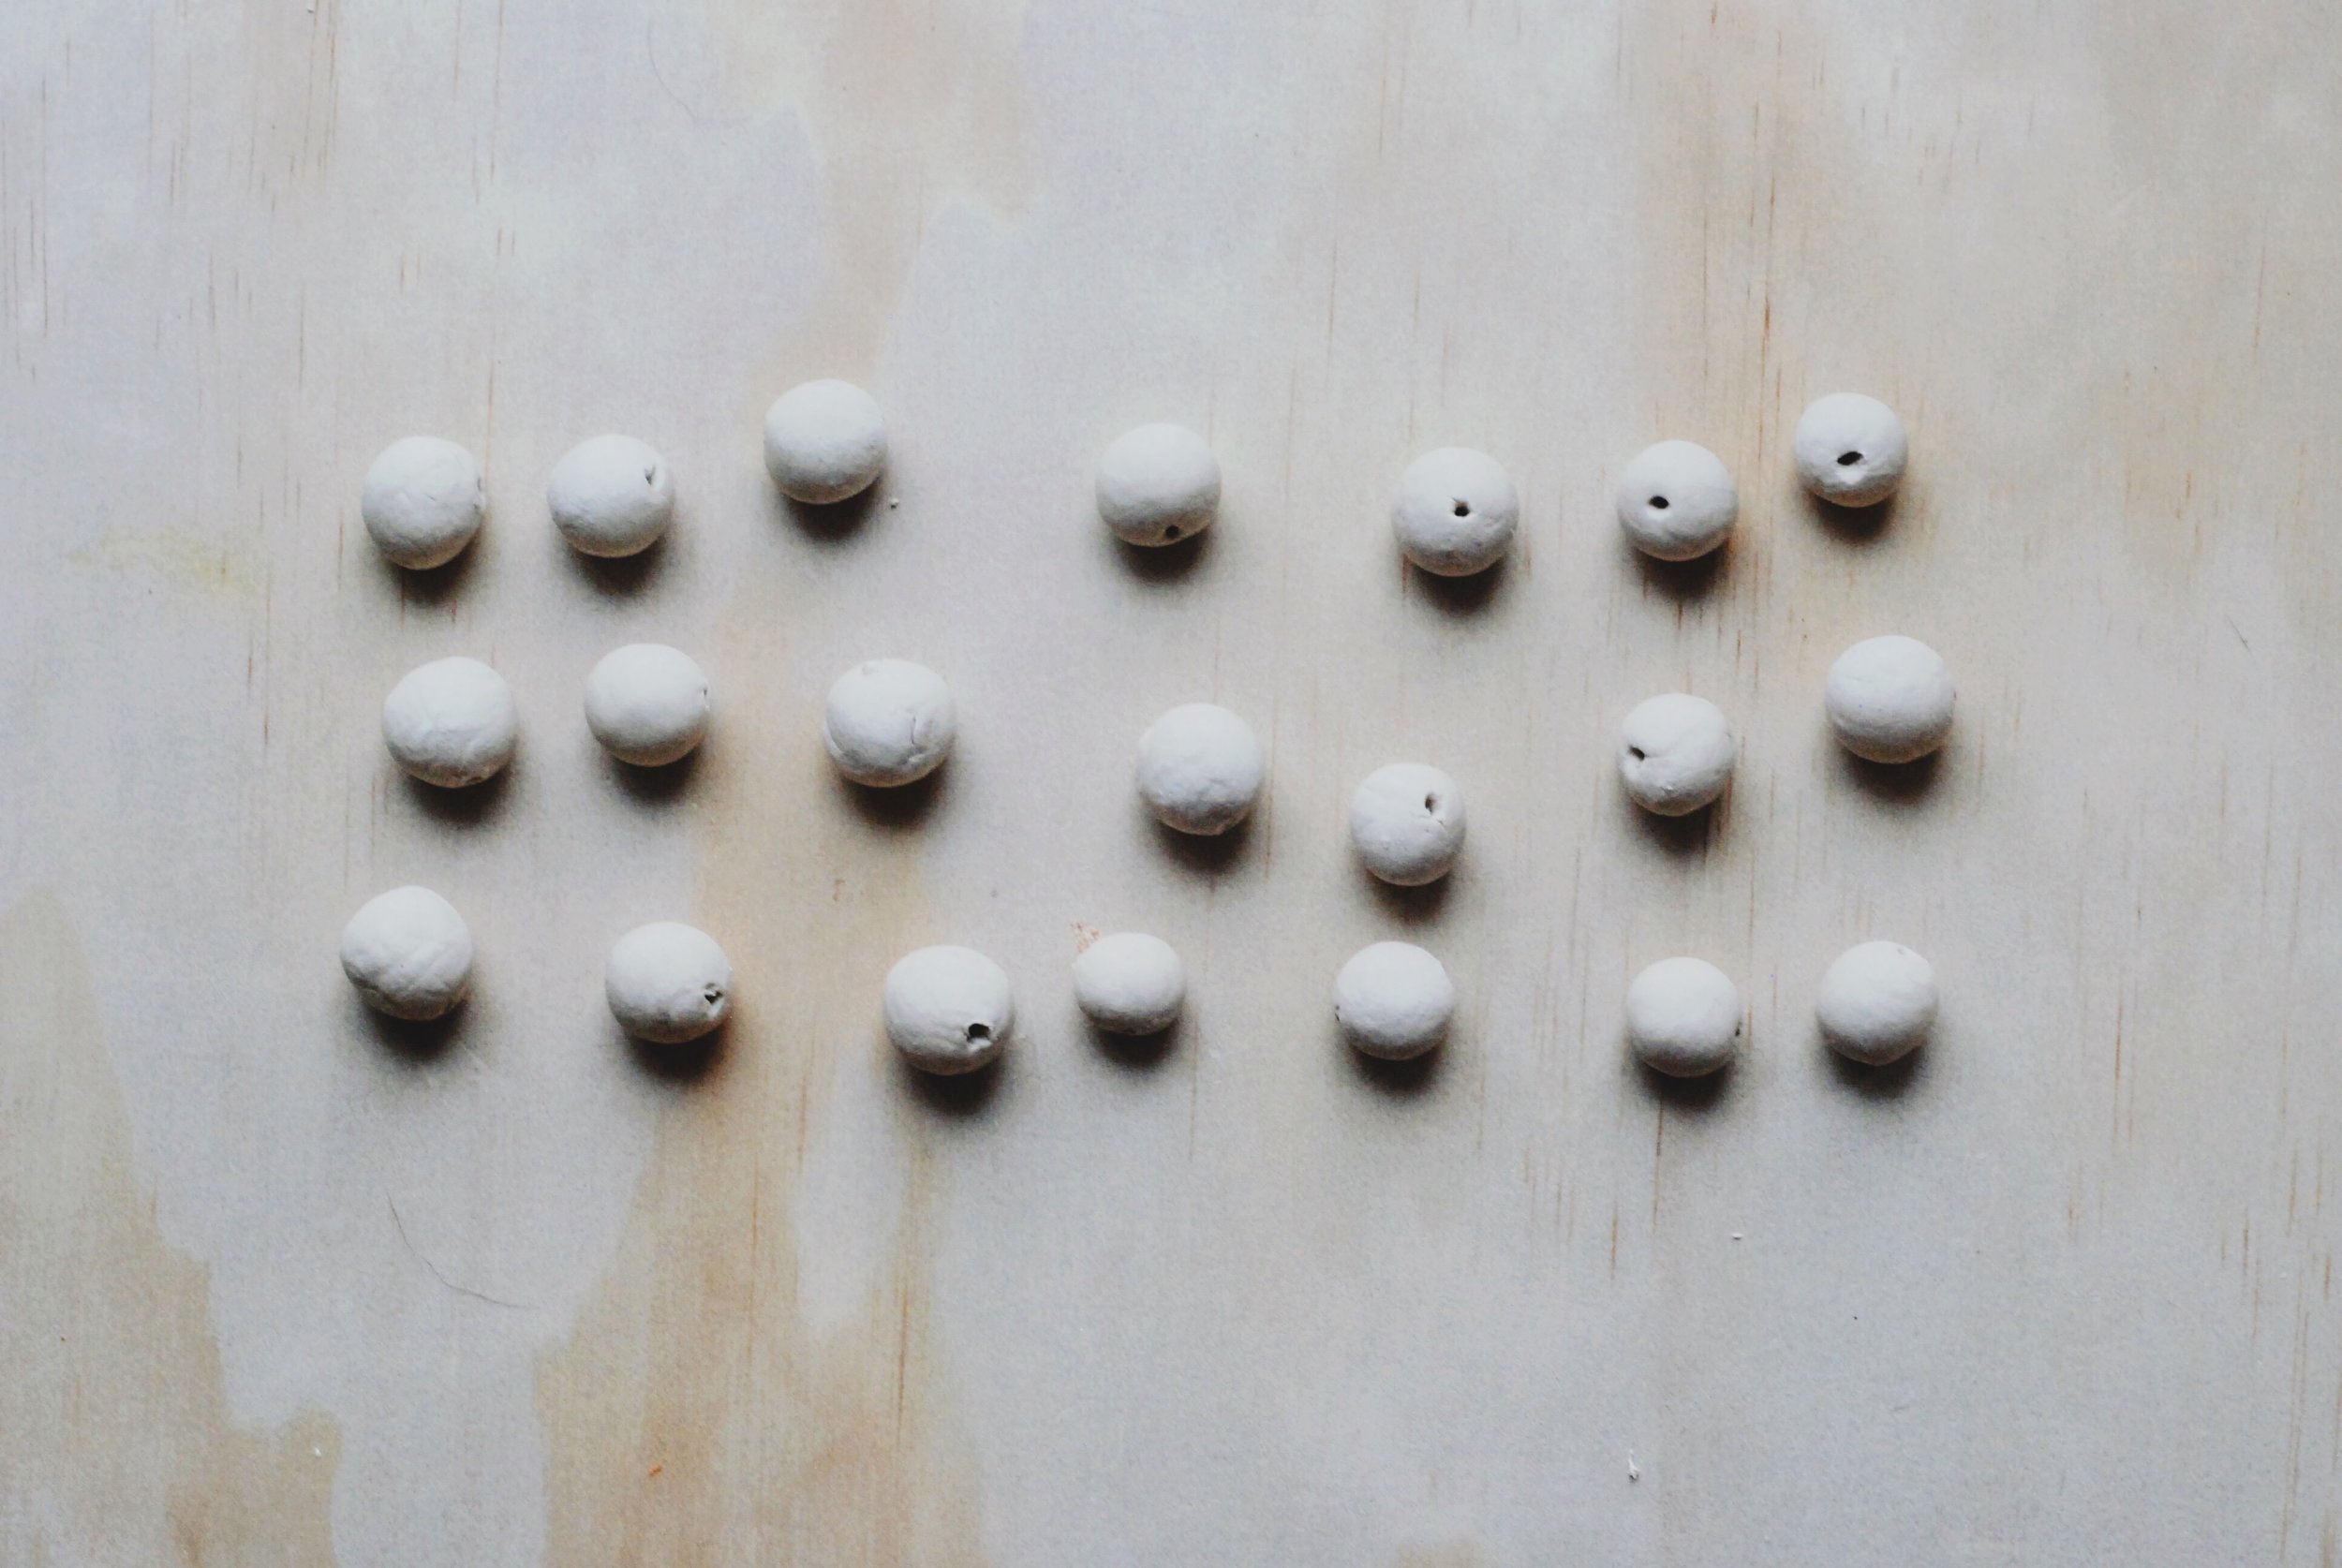
Keep going as long as it's fun. I made about 35 beads before the novelty wore off. I had a nice emotionally-healthy chat with myself about how this is actually supposed to be fun and I didn't need to go crazy and make strands and strands to decorate the tree, I could make a shorter strand and figure out some creative way to make it look awesome.
step 7:
Find a dog-free zone to let the beads dry for 1-3 days.
YES I SAID THIS STEP COULD TAKE UP TO THREE DAYS.
Try not to obsessively check to see if they're dry yet. My experience is it doesn't help. I have this experience because I'm pretty obssessed with checking things to see if they're dry yet.
Stringing the beads
At long last they are dry and your patience has paid off! Now to begin the slow art of stringing them.
STEP 1:
Figure out how long a string you want to make and how much space you want between the beads.
Here's things to weigh:
- How many beads you made
- How much space you want between them
- What do you want to use it for
- The longer the string is the harder it is to tie into knots (slower, more likely to get tangled) because you have to pull the full length of the string through over and over again.
- It's much easier to cut extra string off than add more string in
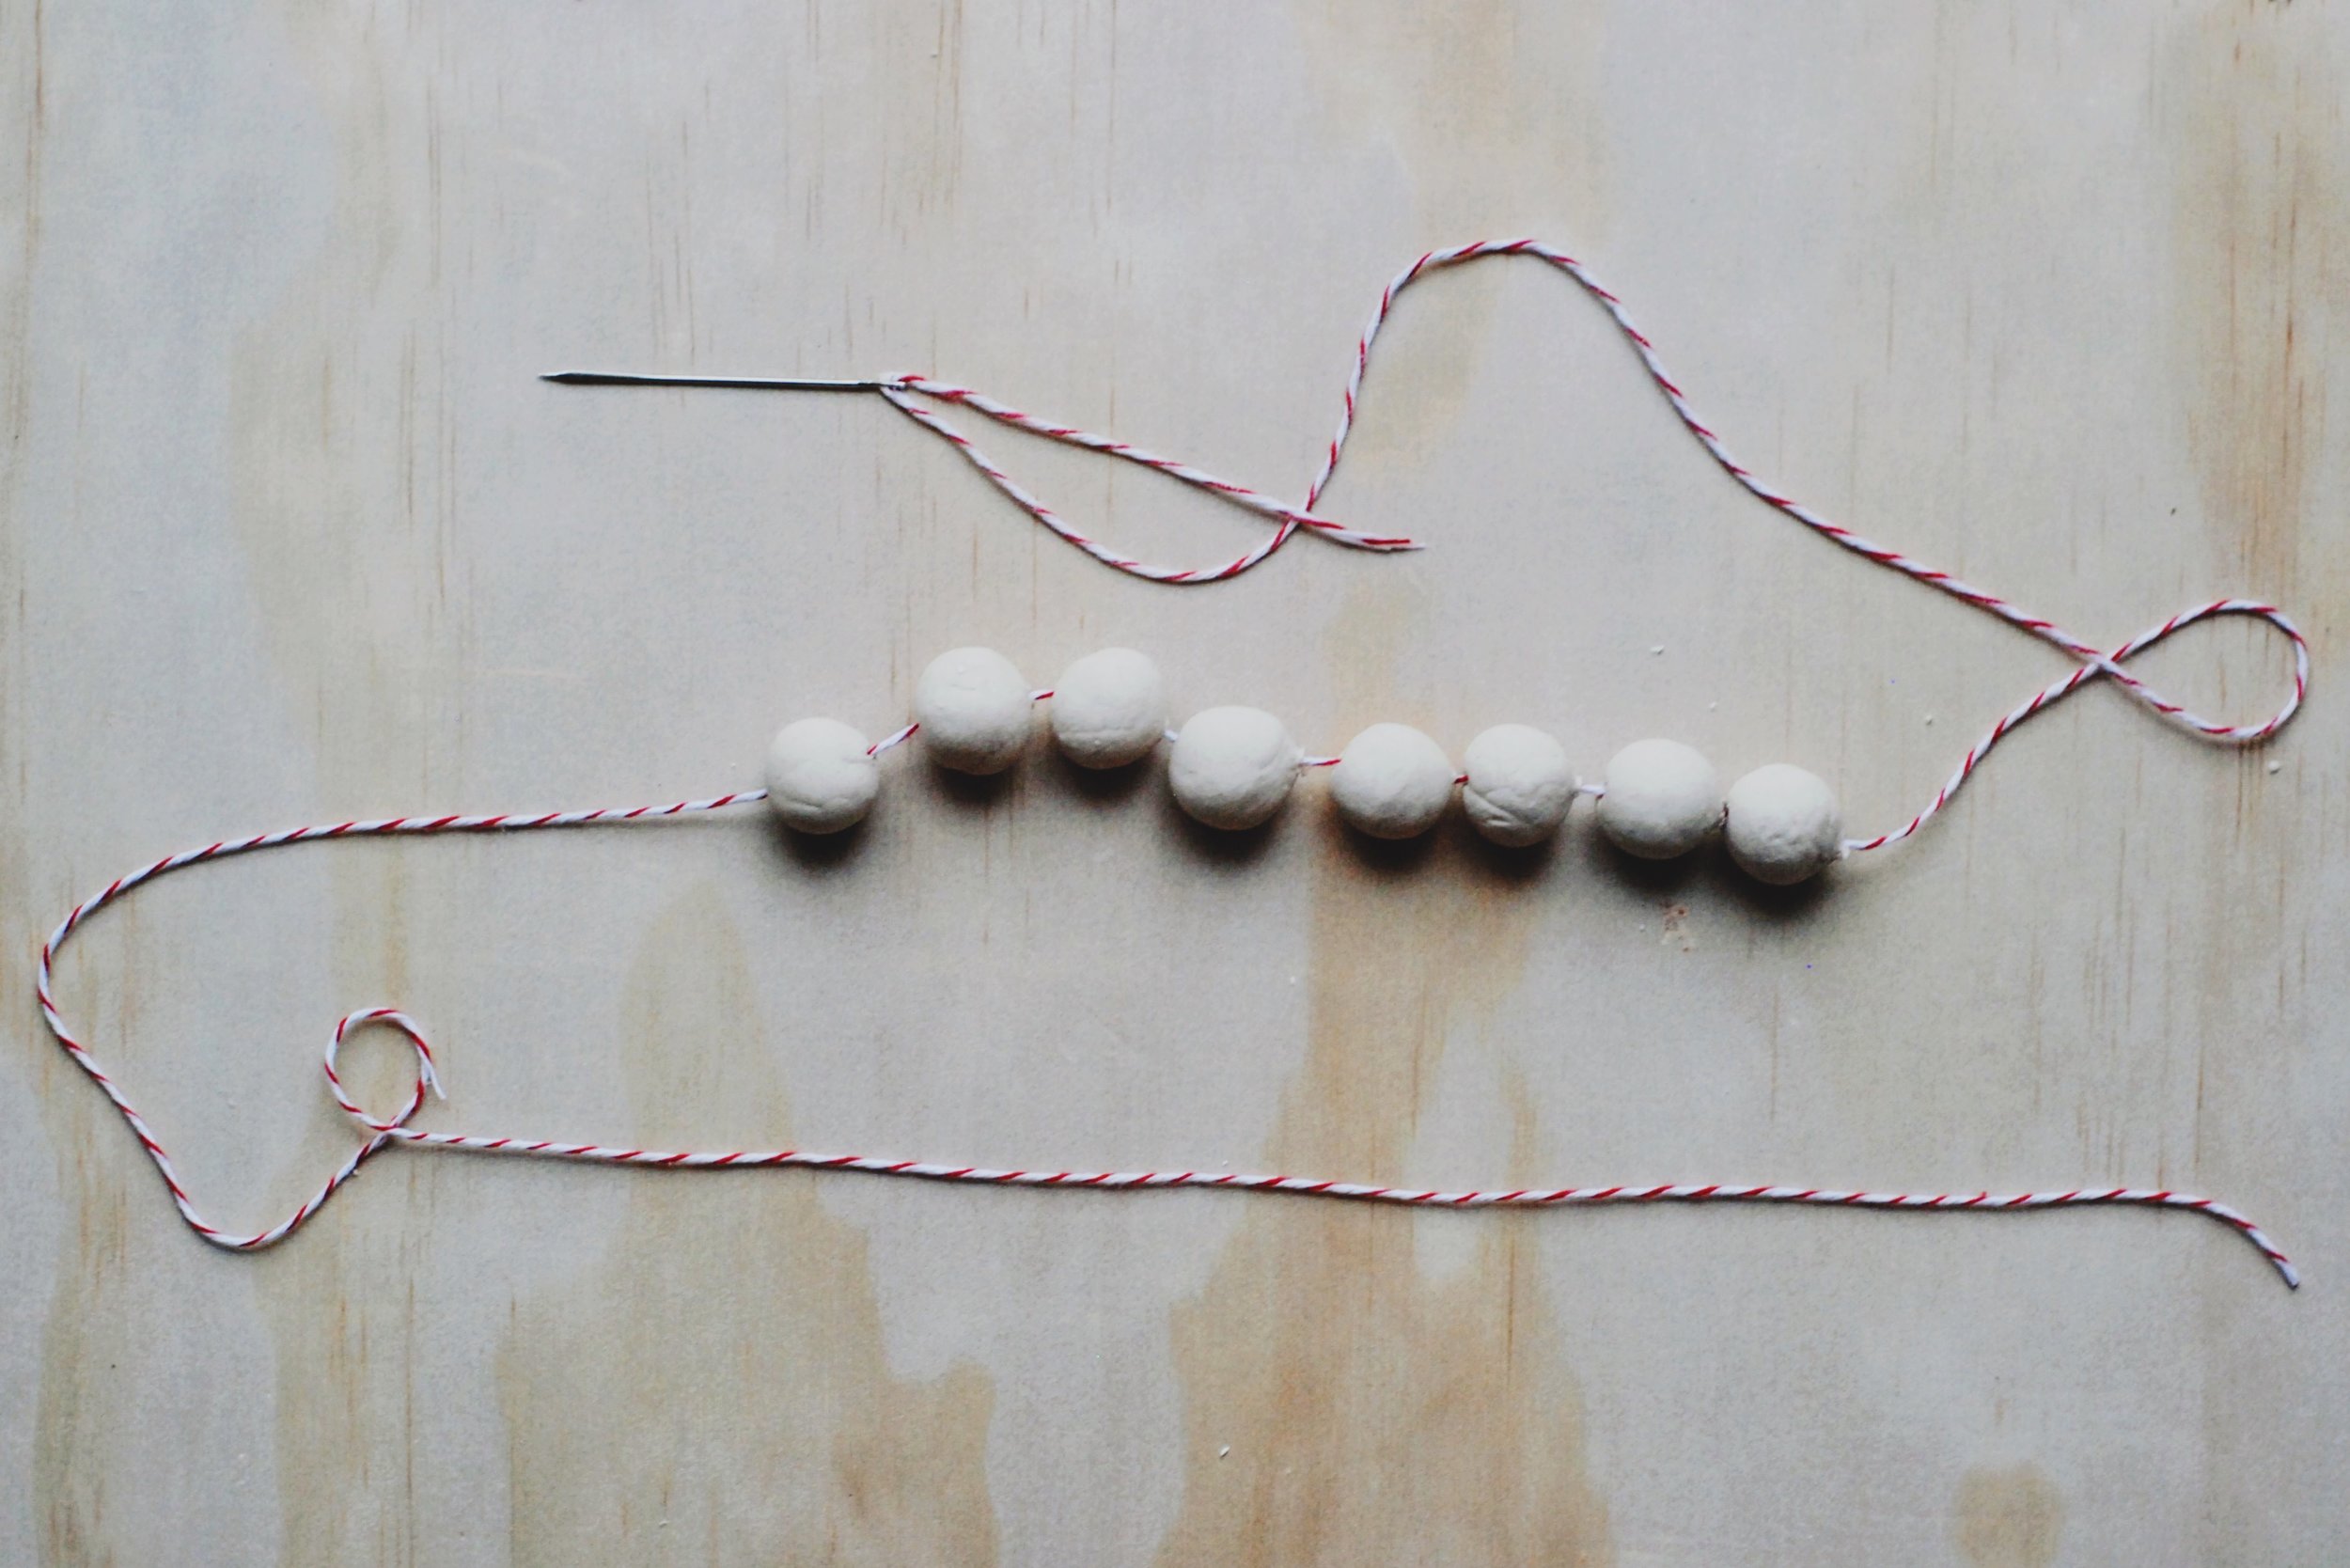
I used a string about 4 times the length of the beads lined up end to end, although I had 3 beads leftover and wish I had gone with 4.5 lengths. I wanted to leave lots of string at the end so tying them to things would remain an option.

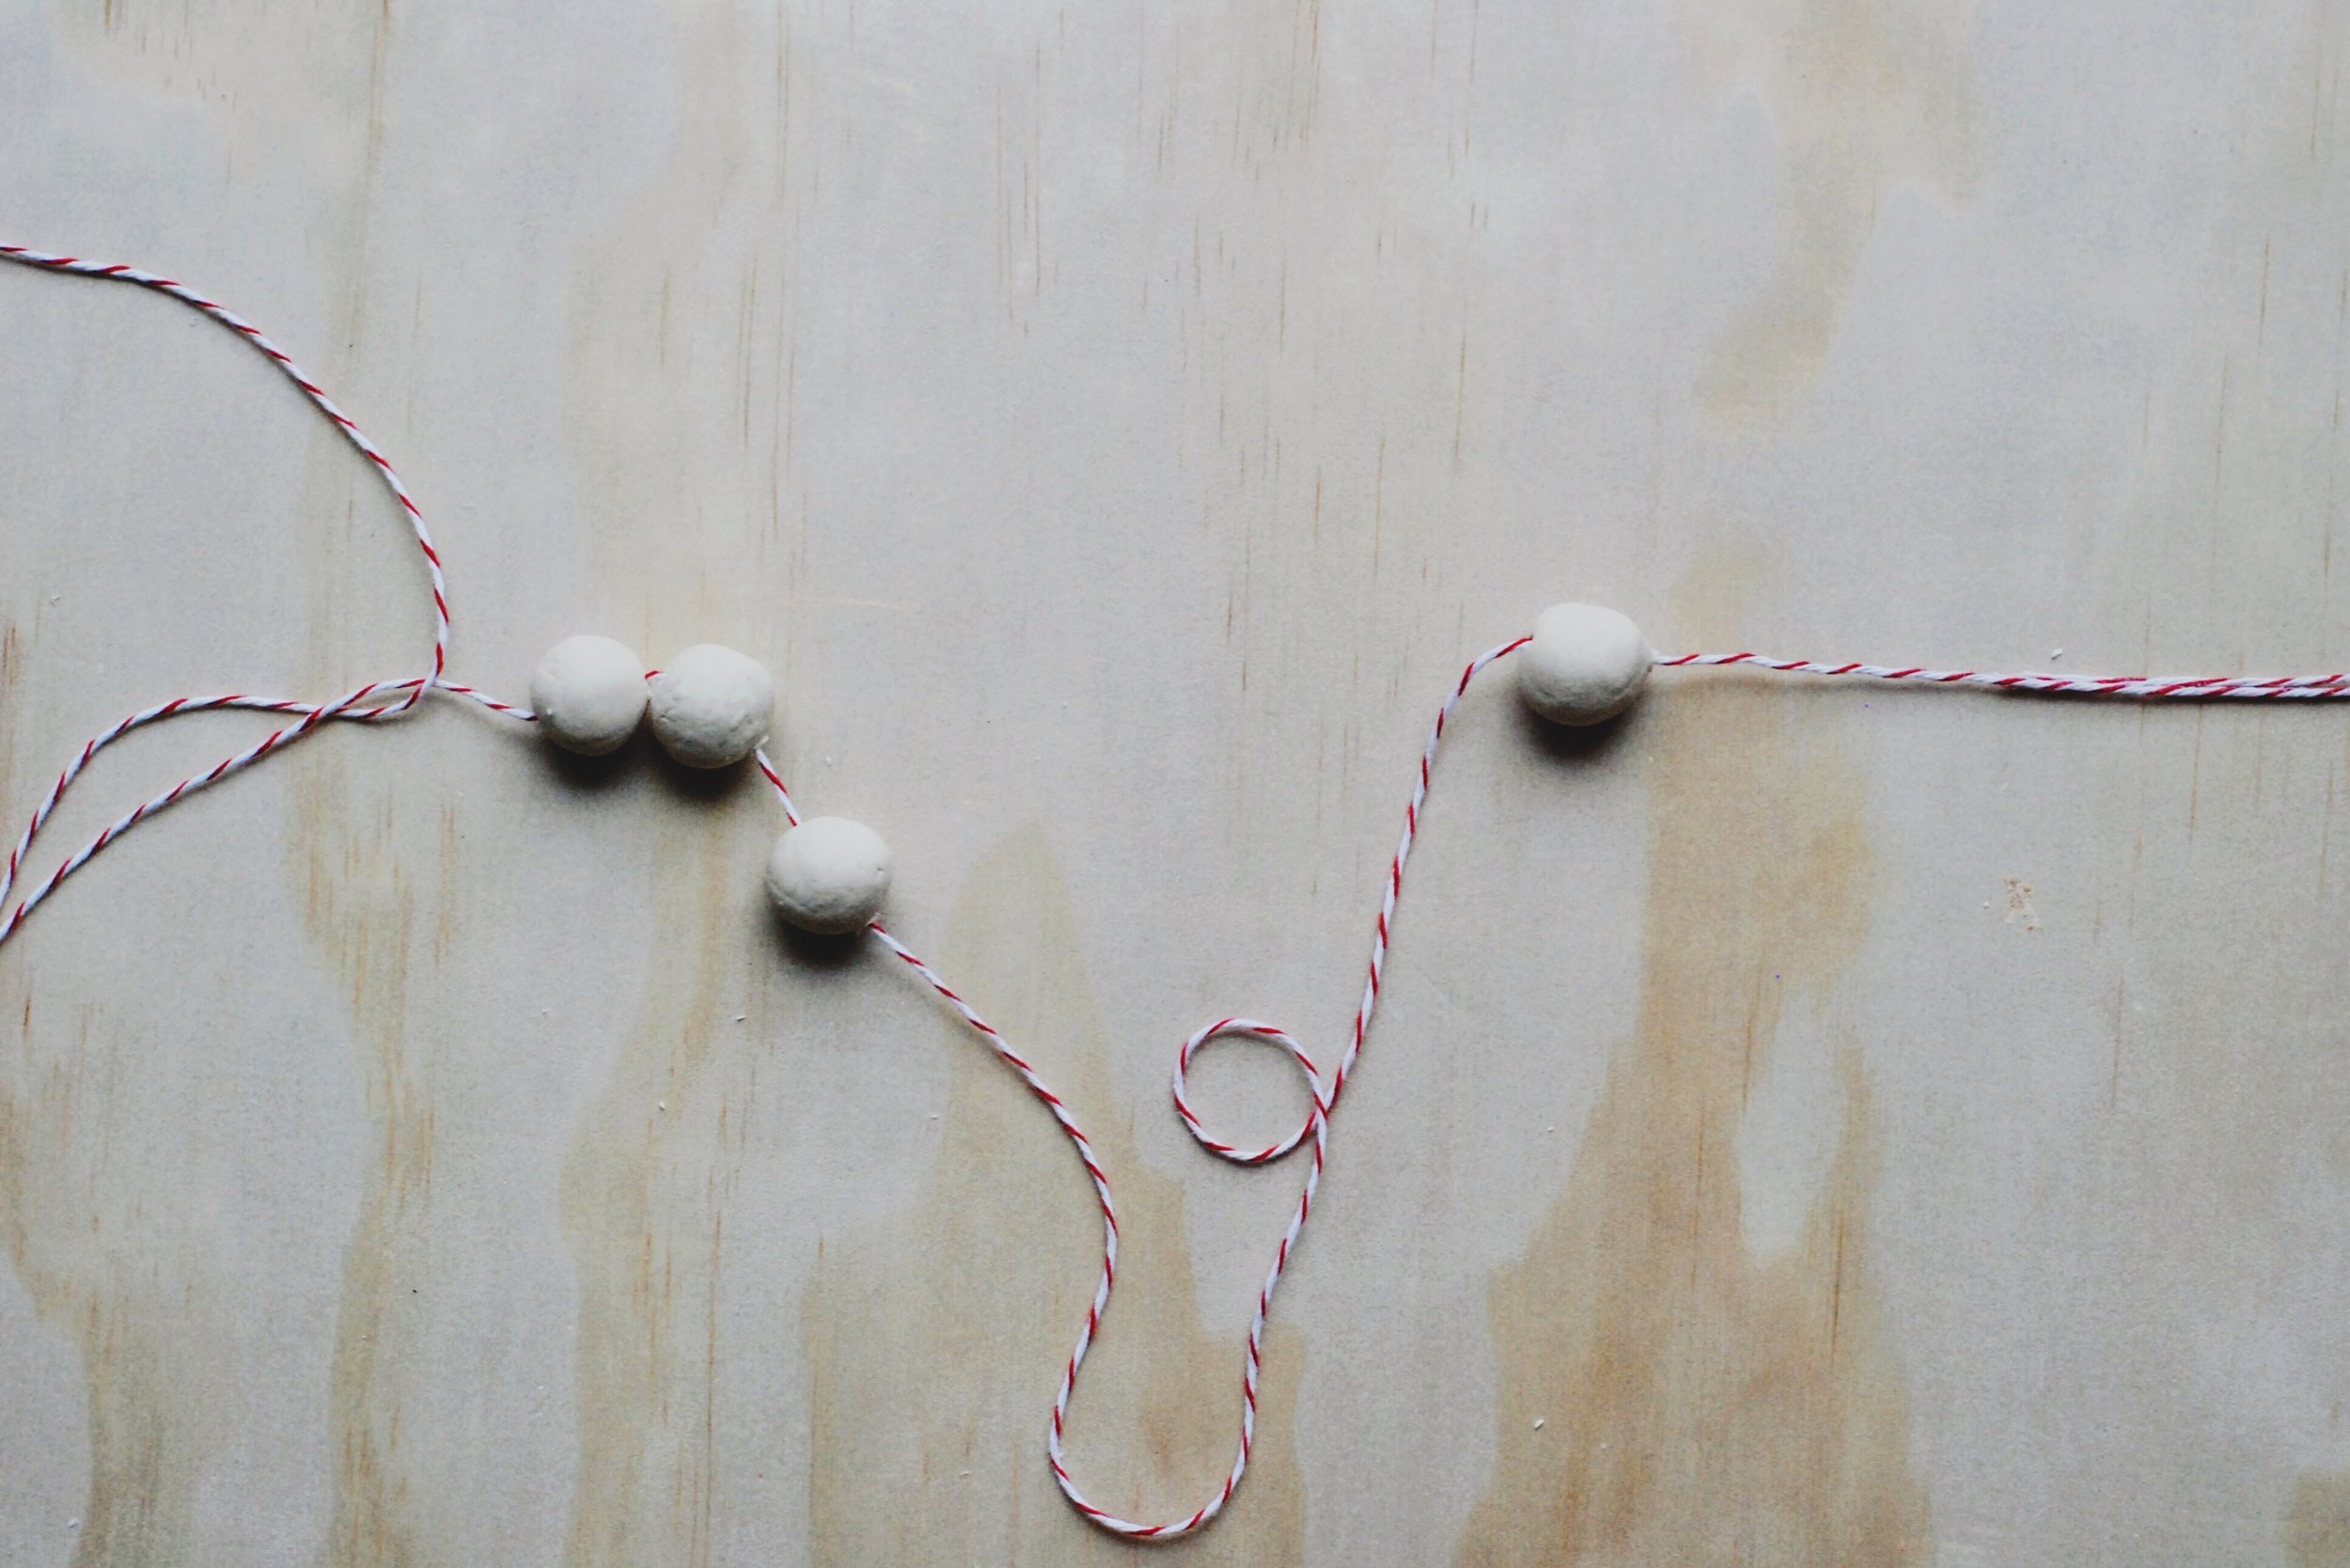
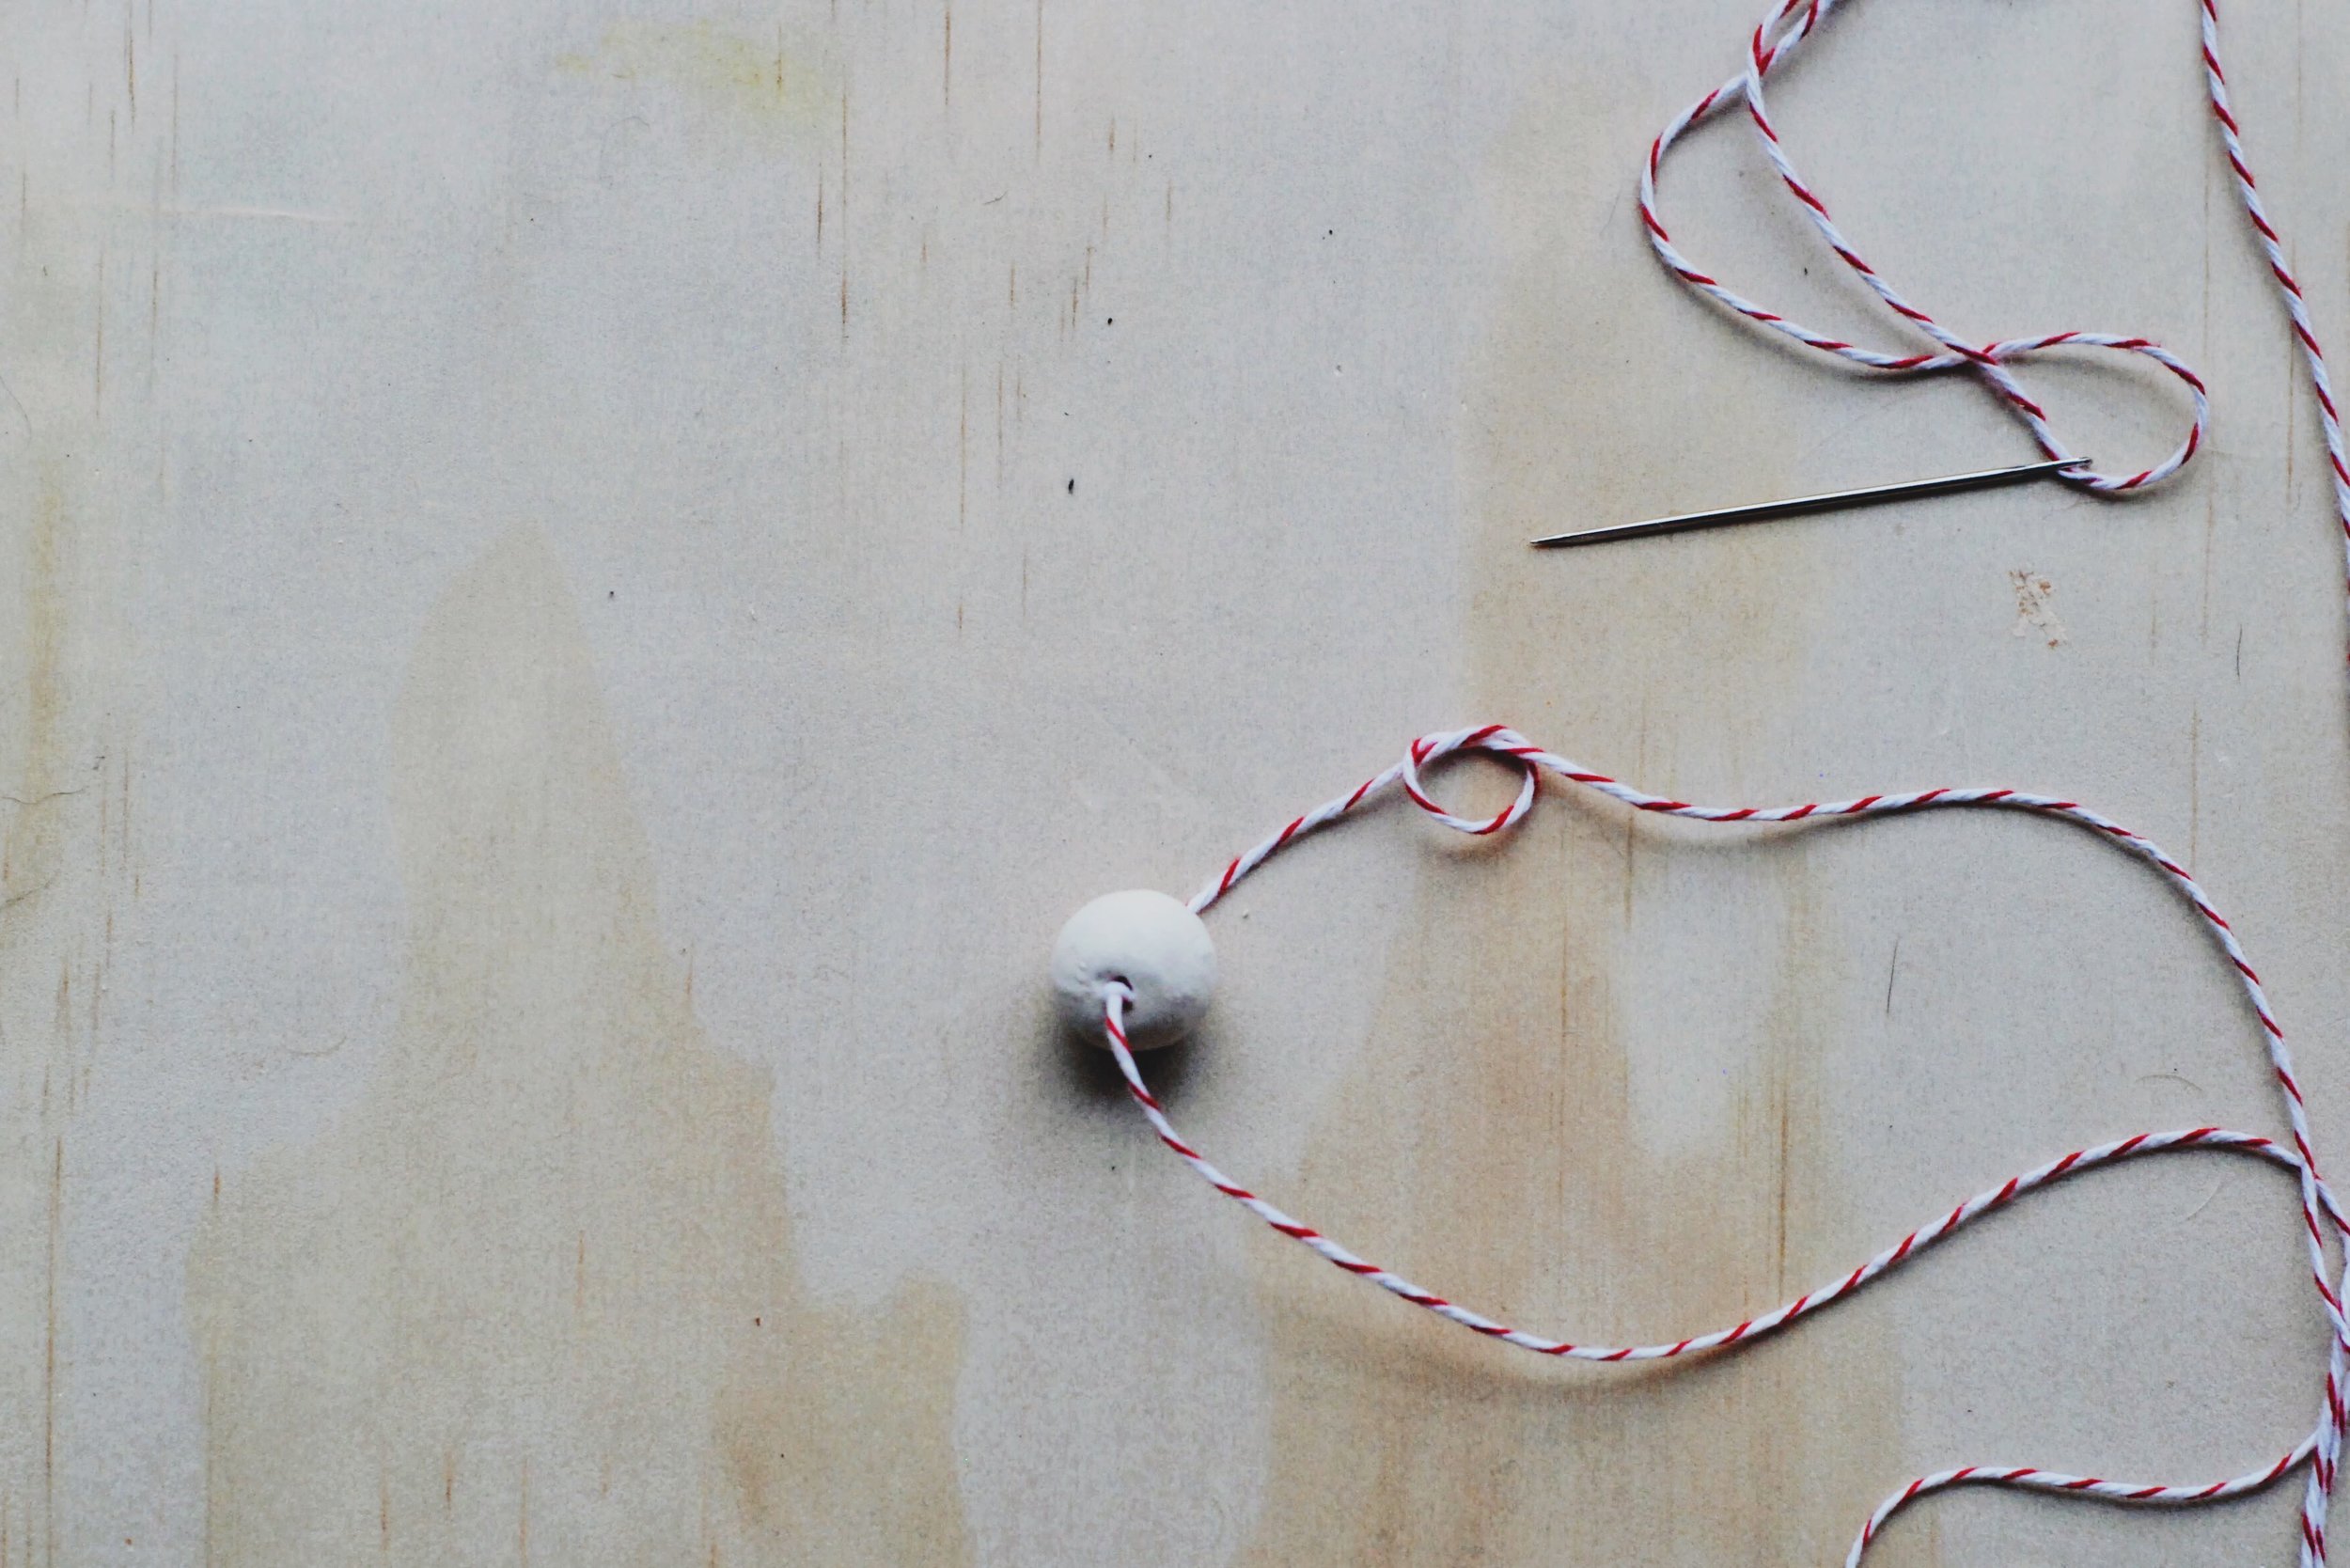
Step 2:
Tie a knot in the string. I tried to show the type of knot you want to make in the above photo (I think it's just the most basic knot ever the "overhand knot"). Make a loop and send one end through it. These types of knots slip to the spot you want fairly easily and only use one end so they don't wrap the beads up with them.
Special note: If you use twine like mine it can be really hard to undo a knot without the fibres getting messed up and wrecking the pattern so try not to make any mistakes that require a knot-undo. It's a slow art.
You only need to make one knot because the bead holes were carefully calibrated to be the size of the needle and thread so anything bigger than that (a knot) will stop the beads from moving.
To space my first knot I used the length of my pointer finger to mark approximately where the next bead should start from the last bead, but this knot doesn't matter as much in terms of placement.
Step 3:
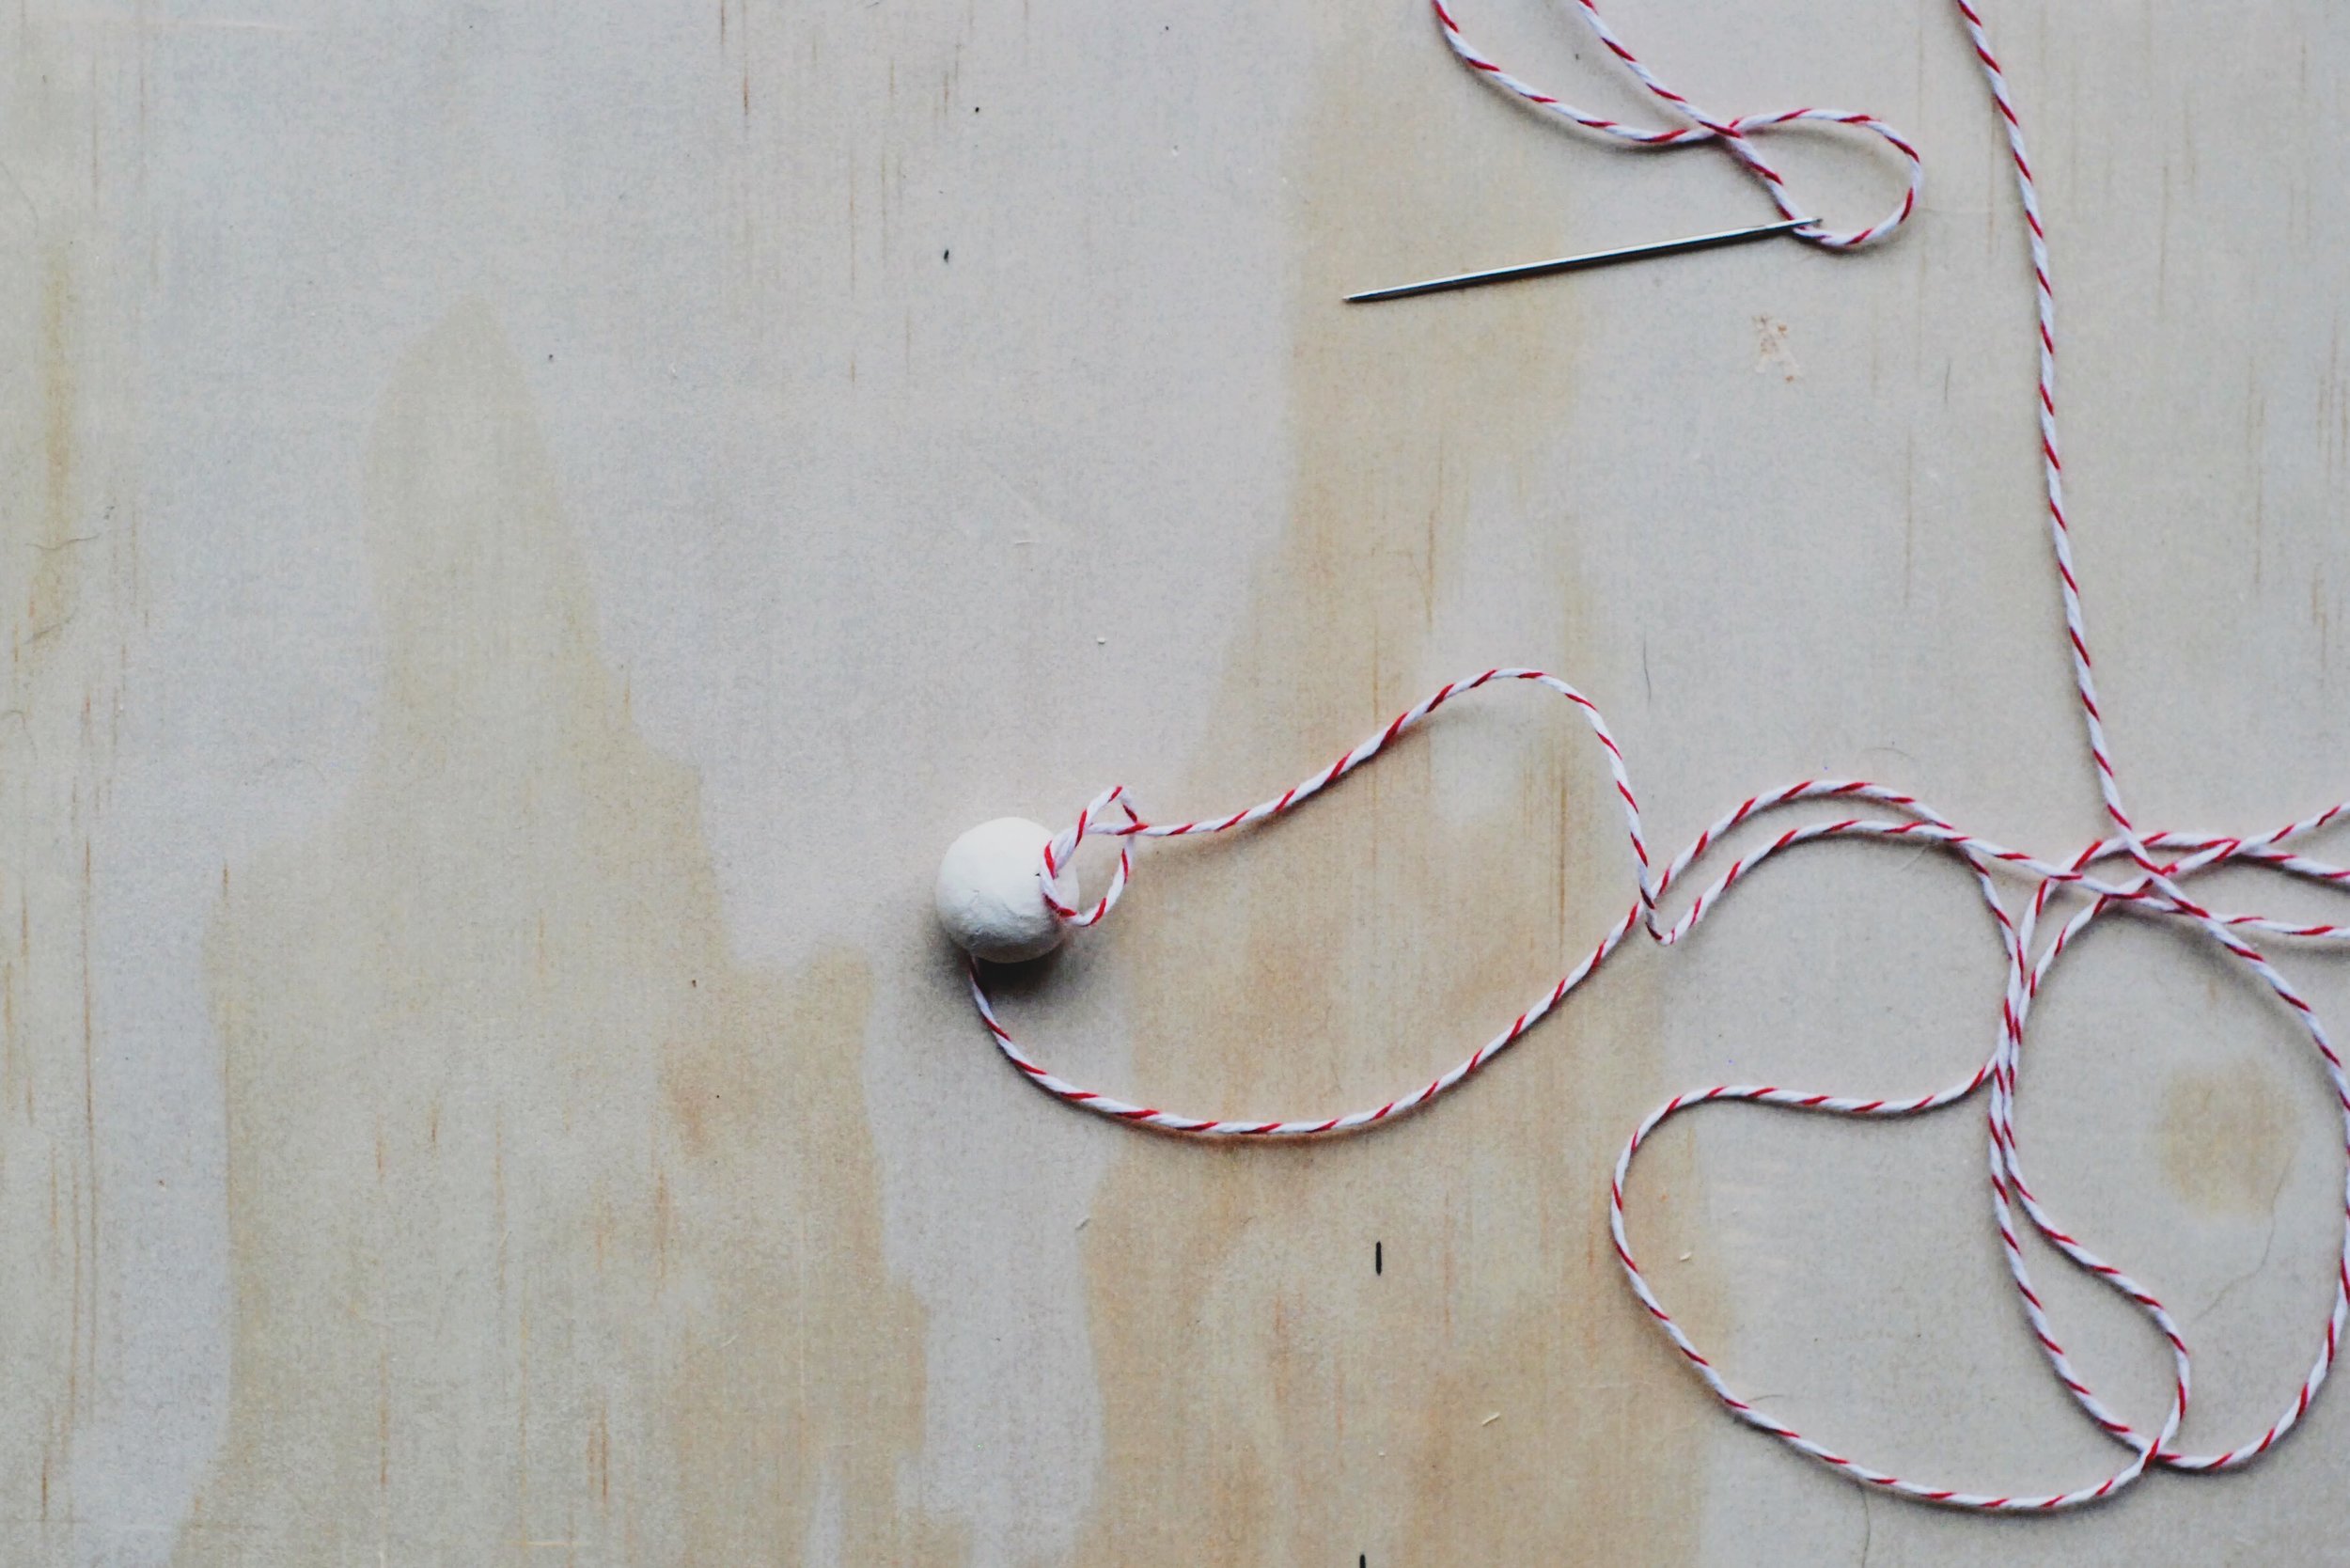
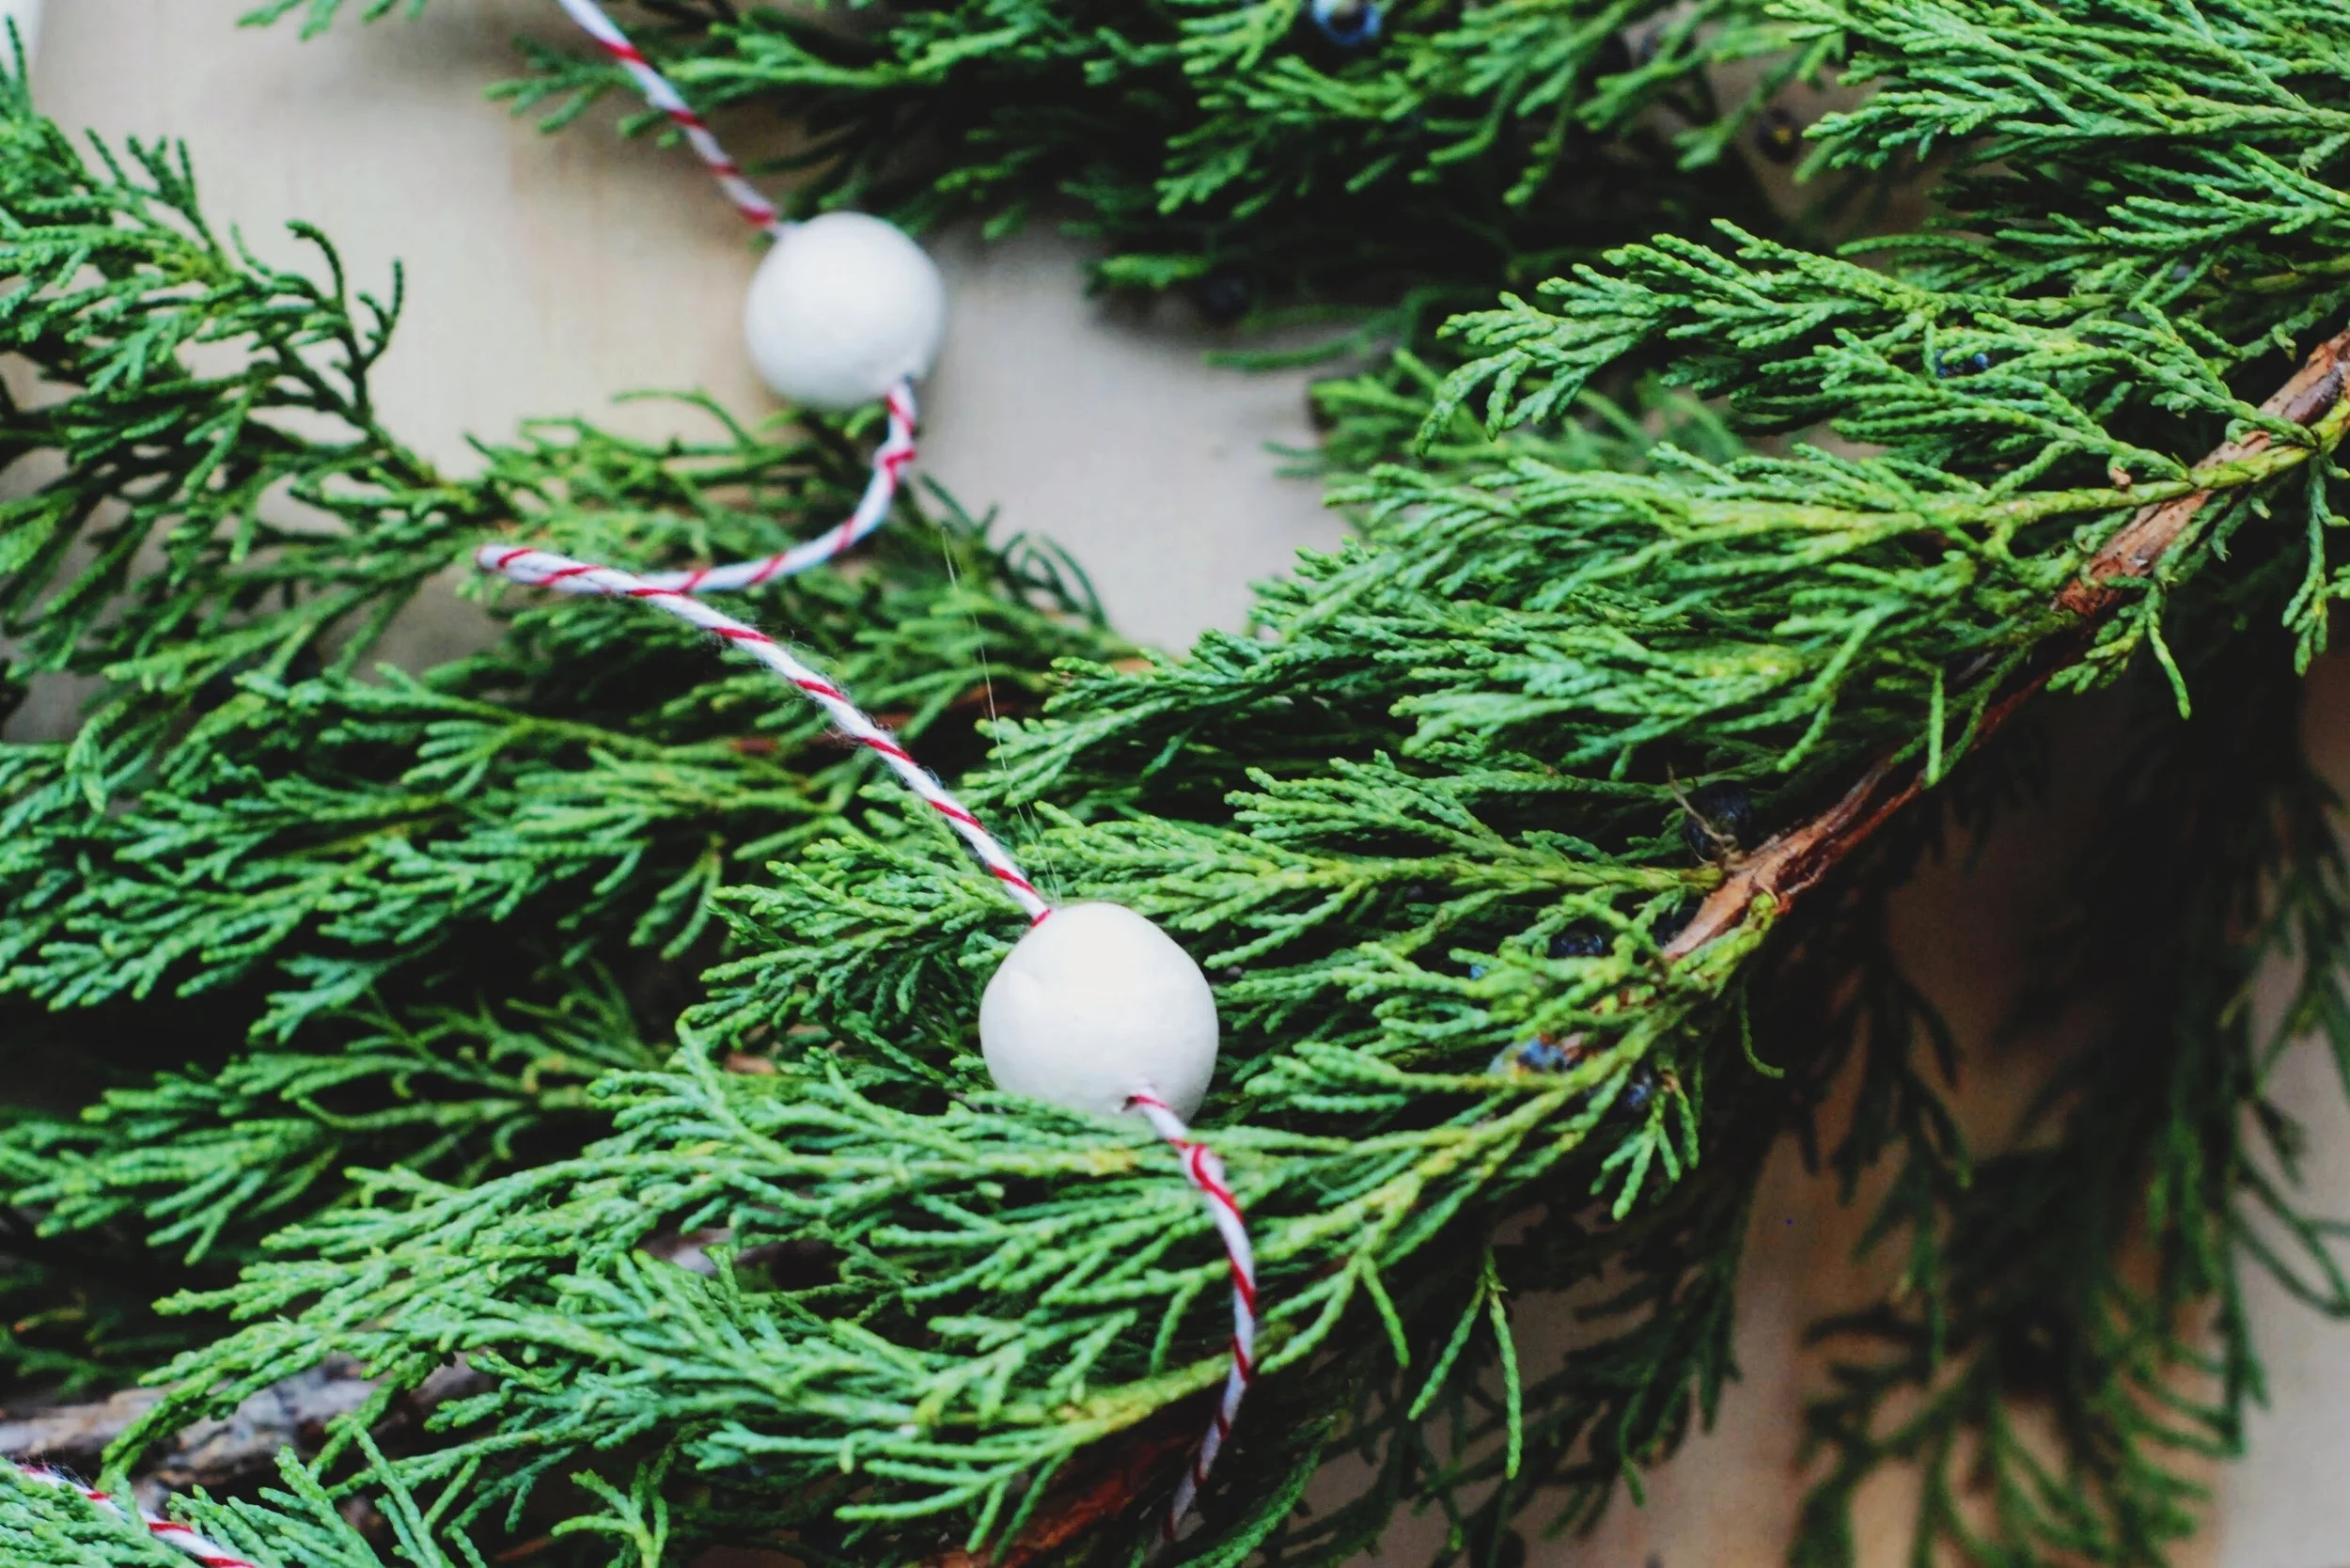
String the bead using the needle on the end of the thread. Make the same knot as above, but this time make sure that you are very careful with the placement. Be careful because the bead will move back and forth between your knots so if you are, for example, draping it equally on a pine bough if the beads can slip they won't be spaced equally.
Make the knot and slowly, carefully, with lots of slack, slip the knot down to very near the bead. Pull until it forms a knot, but no need to pull too tight as you want the knot as fluffy as possible so it stops the bead from moving.
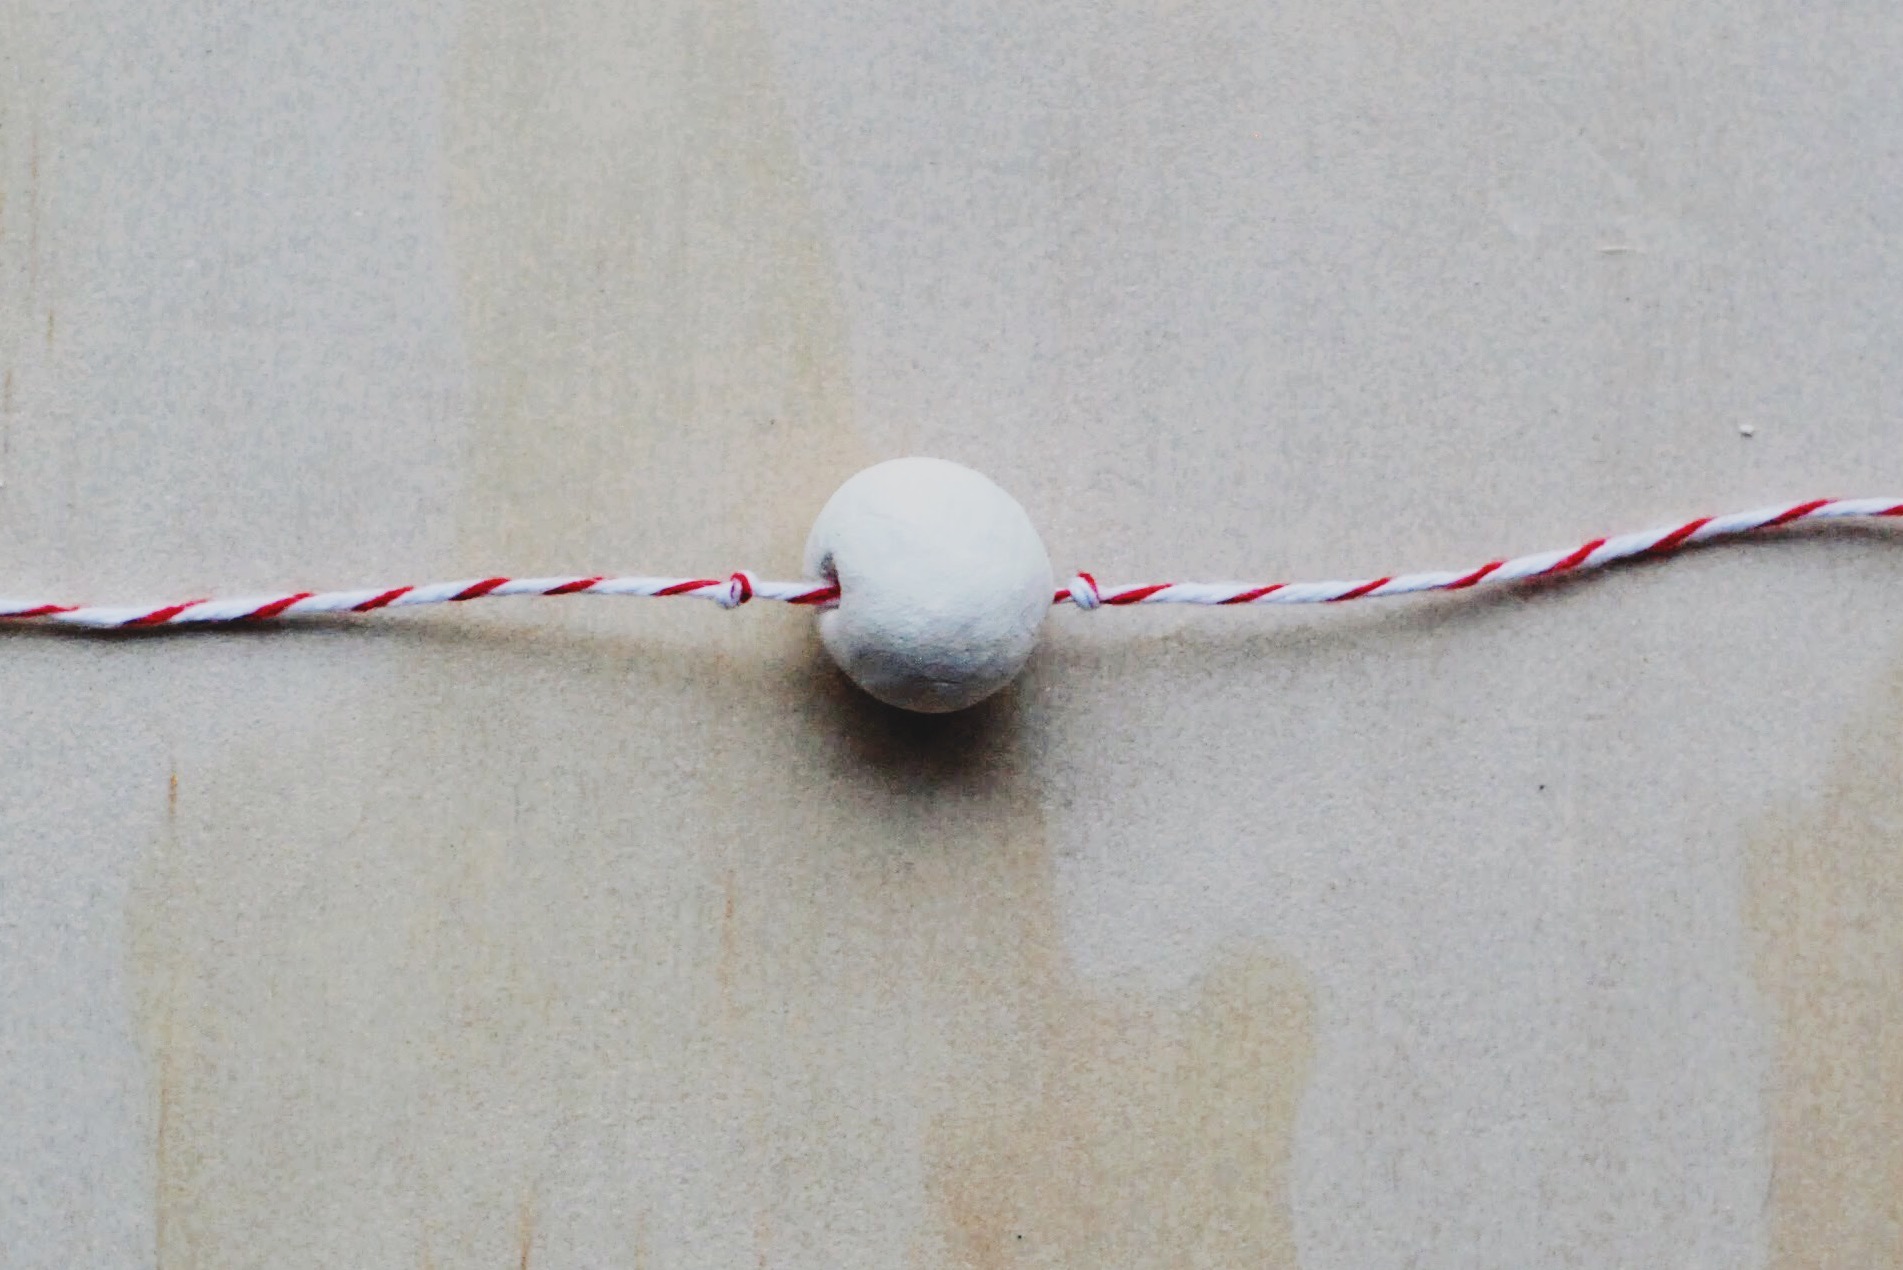
Your bead should now look like this. Did you do it? I'm very impressed. This is not a skill you're born with if you are me so look at you go.
Step 4:
Repeat until you've used up your beads, you're sick of it, or your thread has enough beads on it.
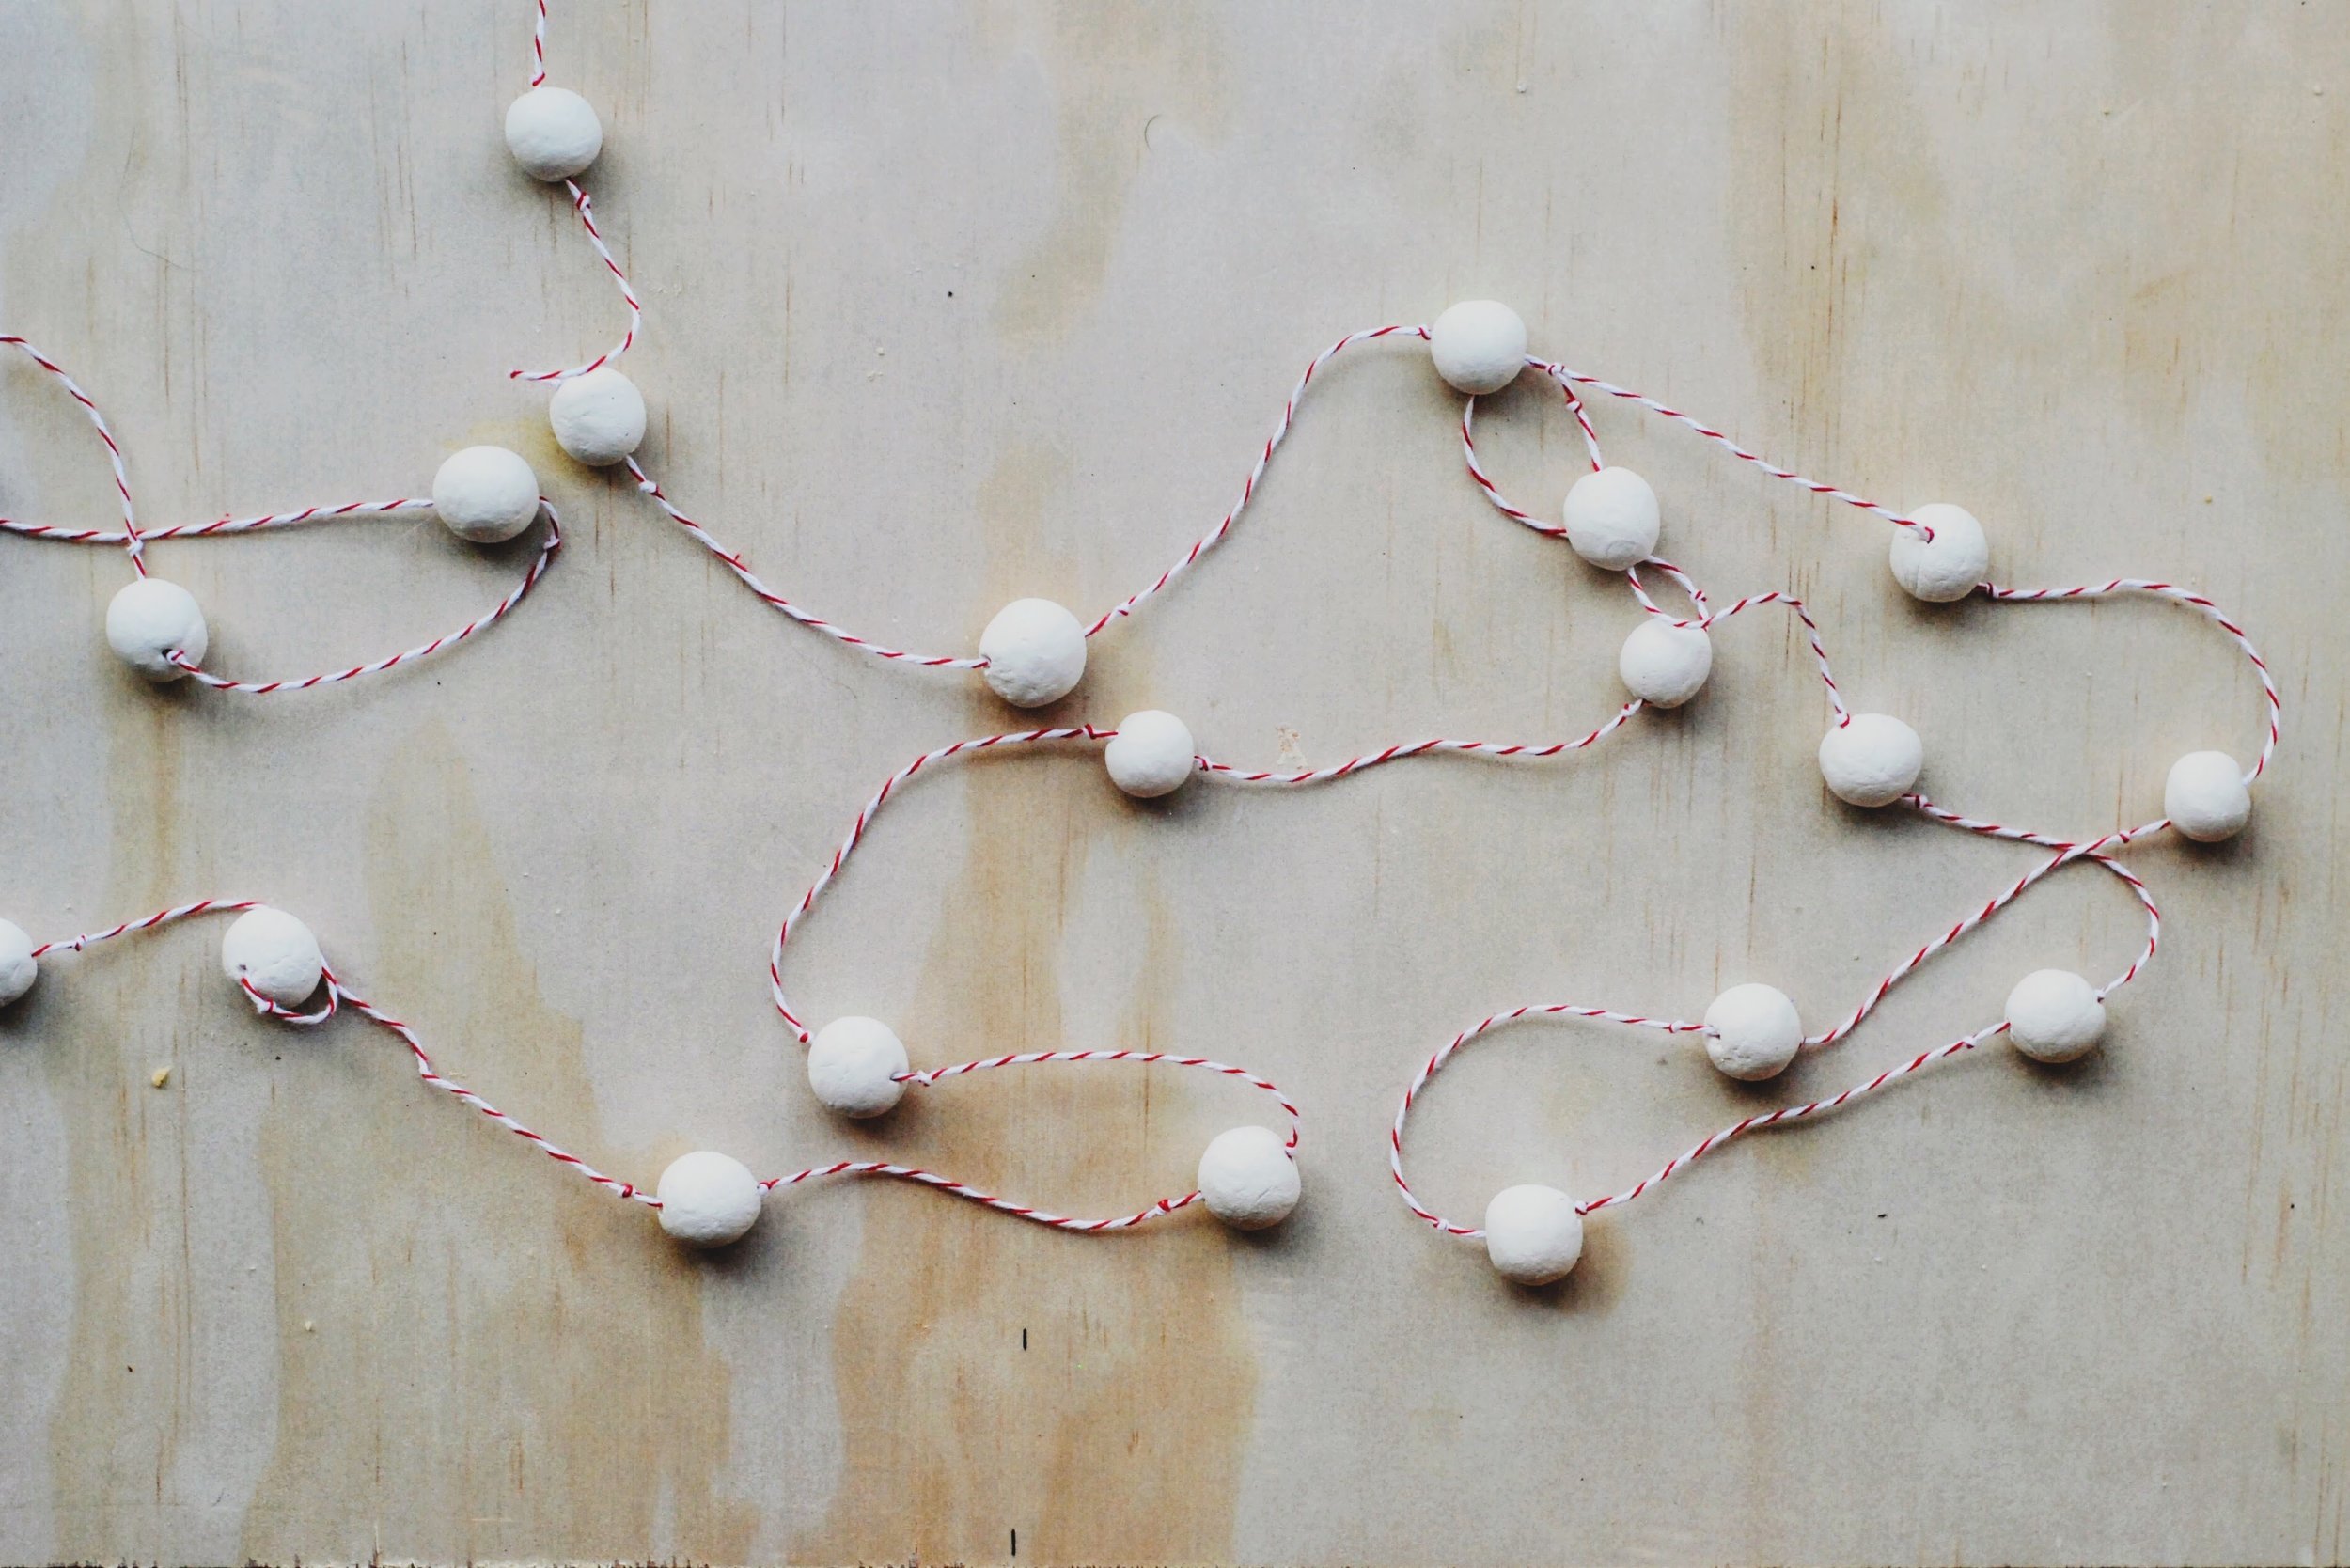
Oh man congratulations. That took forever but don't you feel like a super crafty mega babe for having done it?


Can’t even wait to start wearing my metallics and sequins and match them with red lips - but before I treat myself to another shade, I reveal my tried-and-tested hottest tips for picking your bold red lip this holiday season. You’re going to want to rush out and buy some for your holiday party too.